
 LinkBack URL
 About LinkBacks

I served a toolmaking apprenticeship back in 1974 to 1978 but never practiced it during my working career and, now retired from business I have more time for my metal working hobby.
Having used a surface, cylindrical and tool & cutter grinder back then, I appreciated the precision and fine finish capability that these machines provided and wished this for my workshop, but a lack of space and the cost to buy individually was too prohibitive.
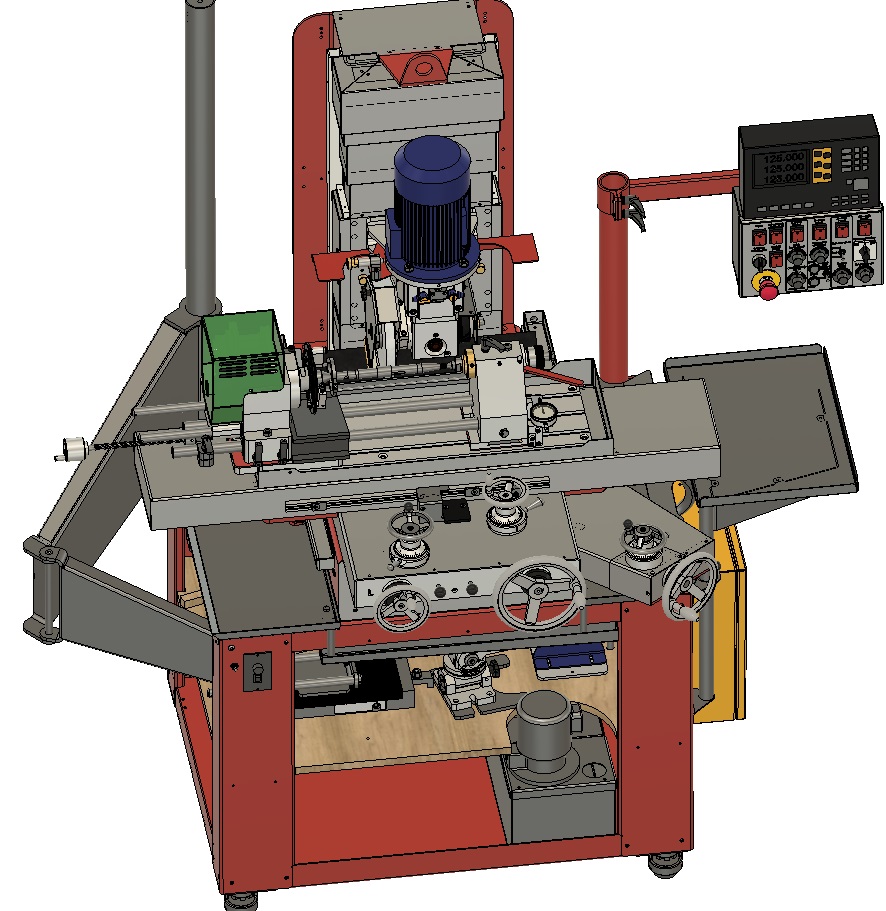
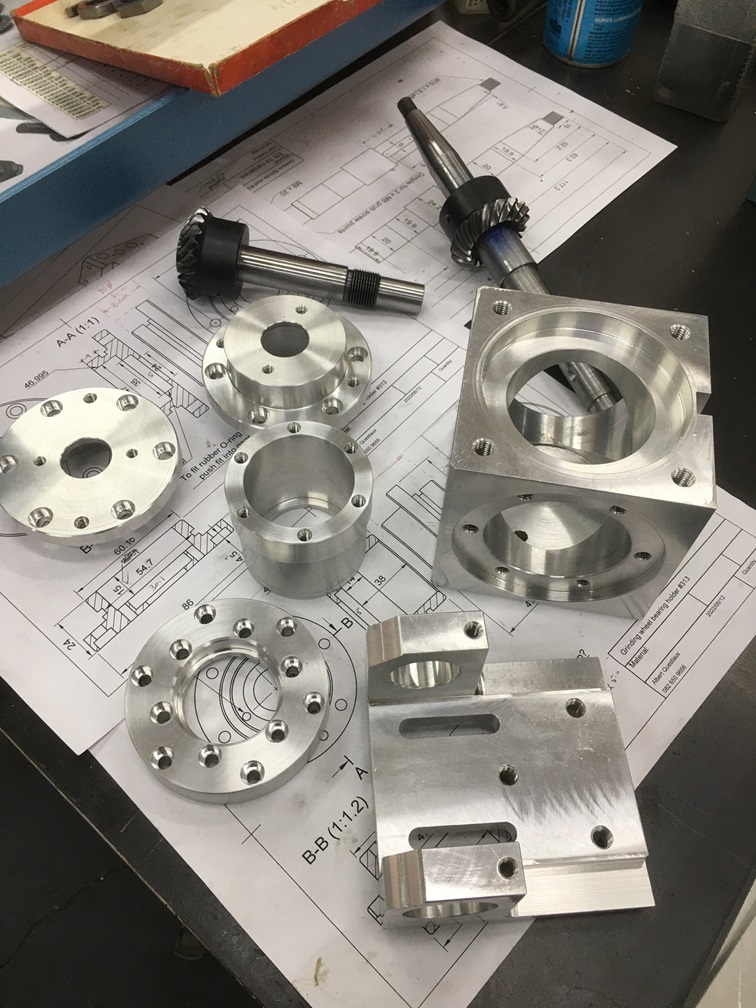
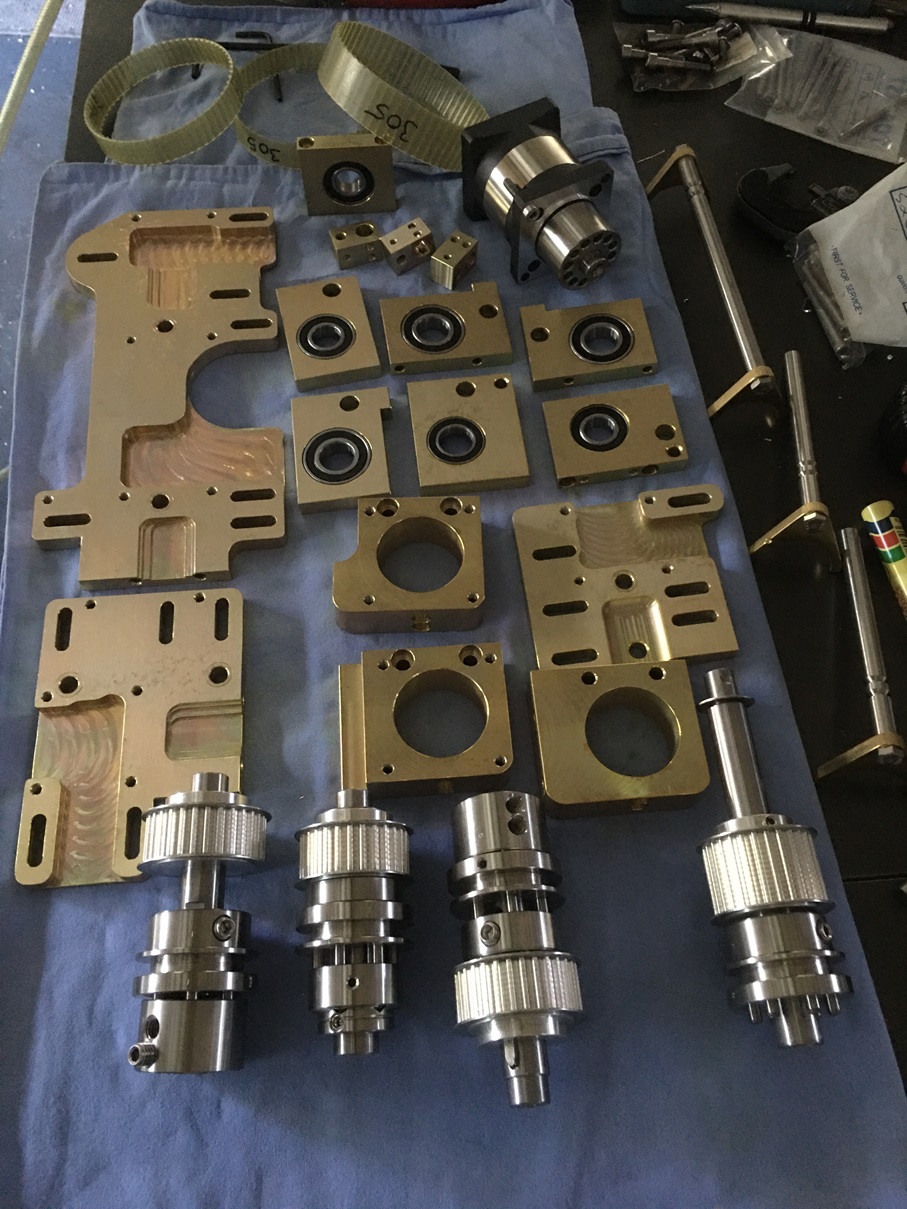
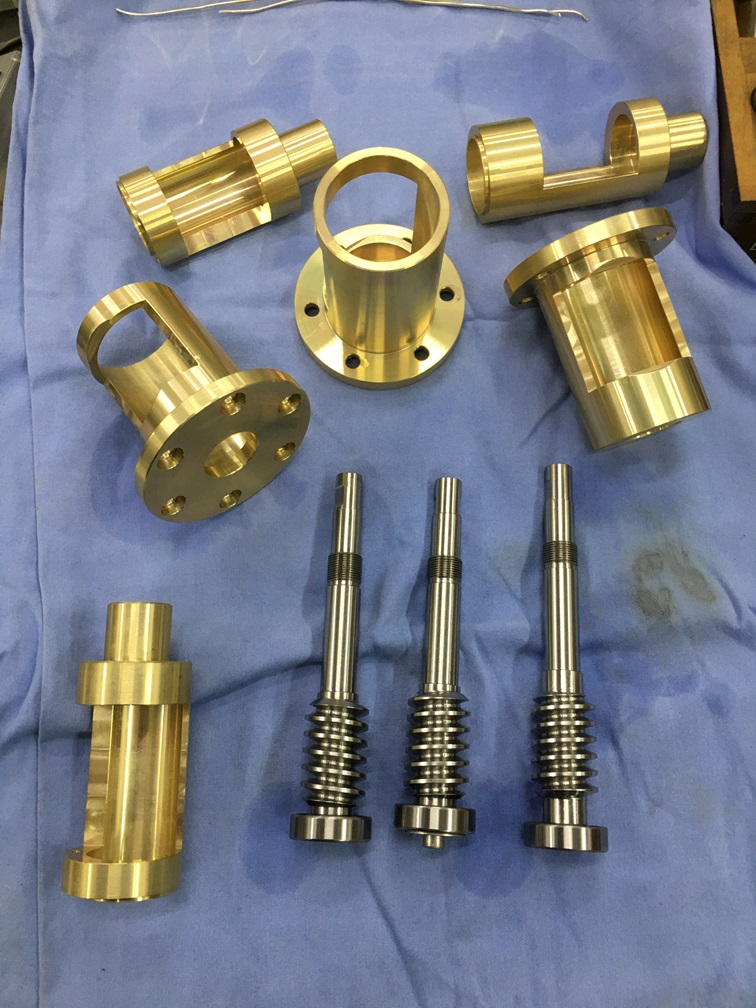
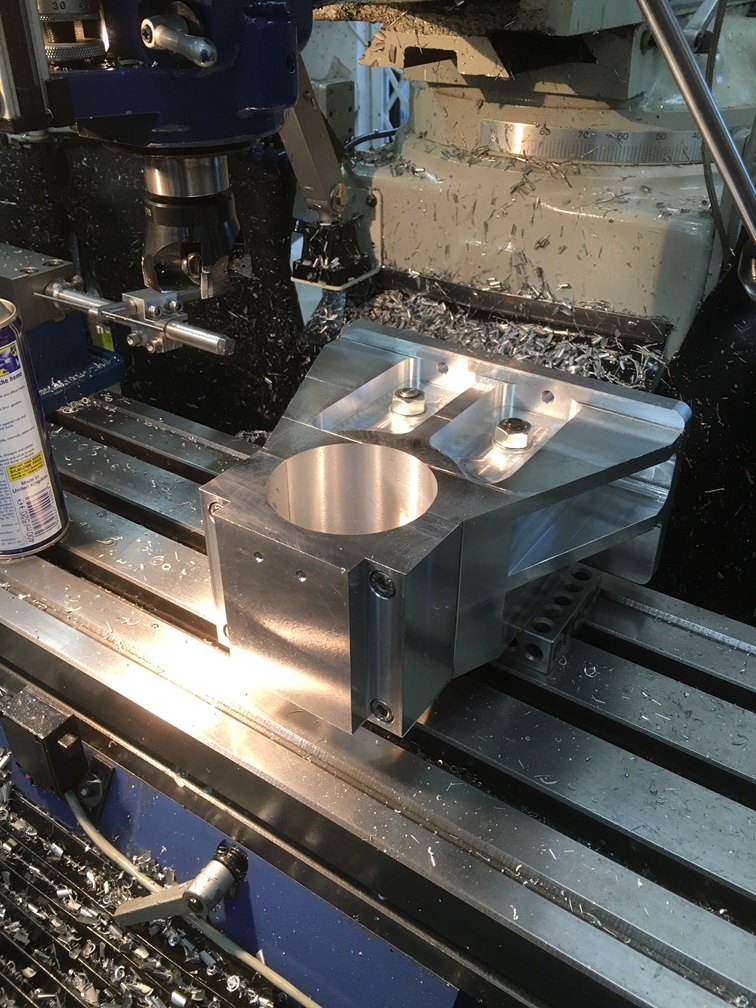
So, using Fusion 360 CAD I set out to design a single universal grinding machine that could do all these functions and that I could build at home on my existing Chinese milling machine and lathe.
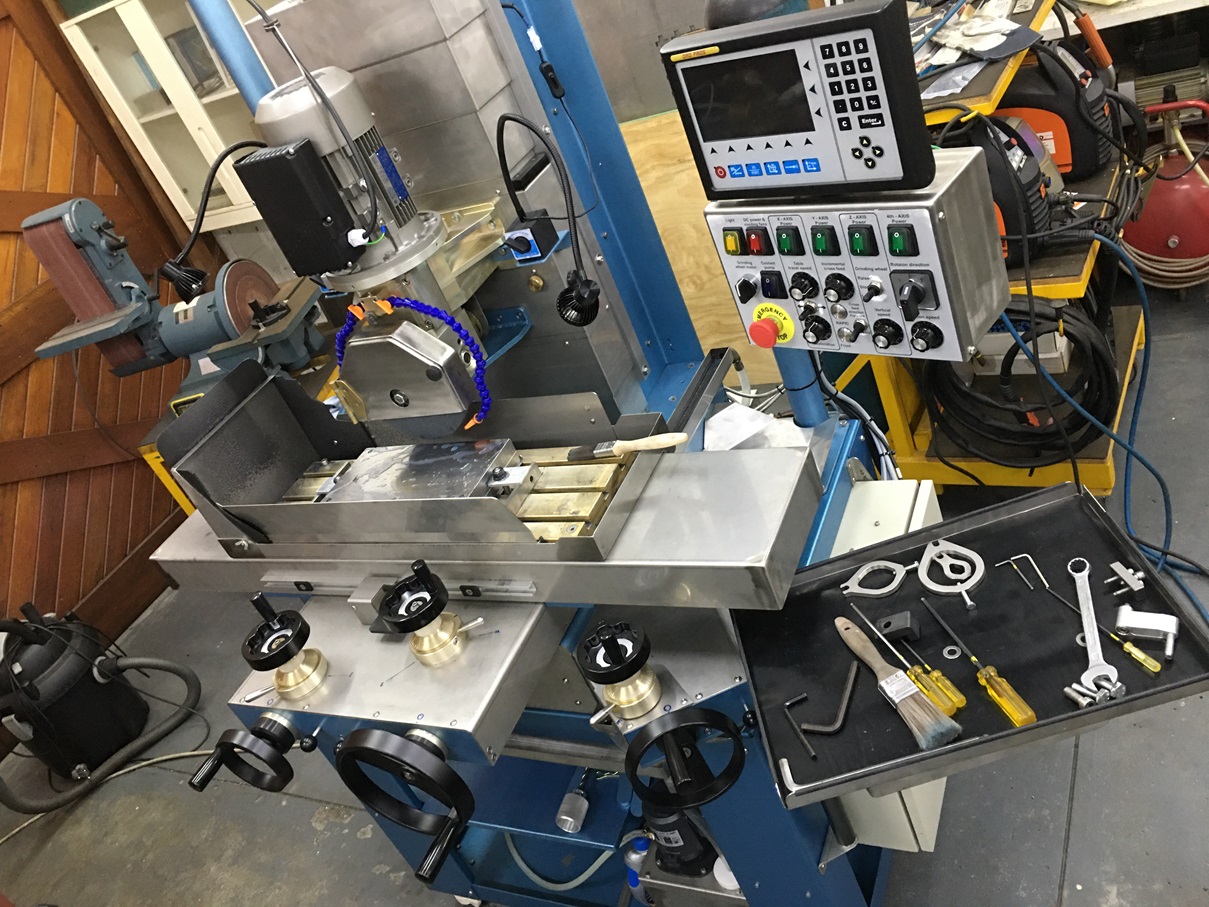
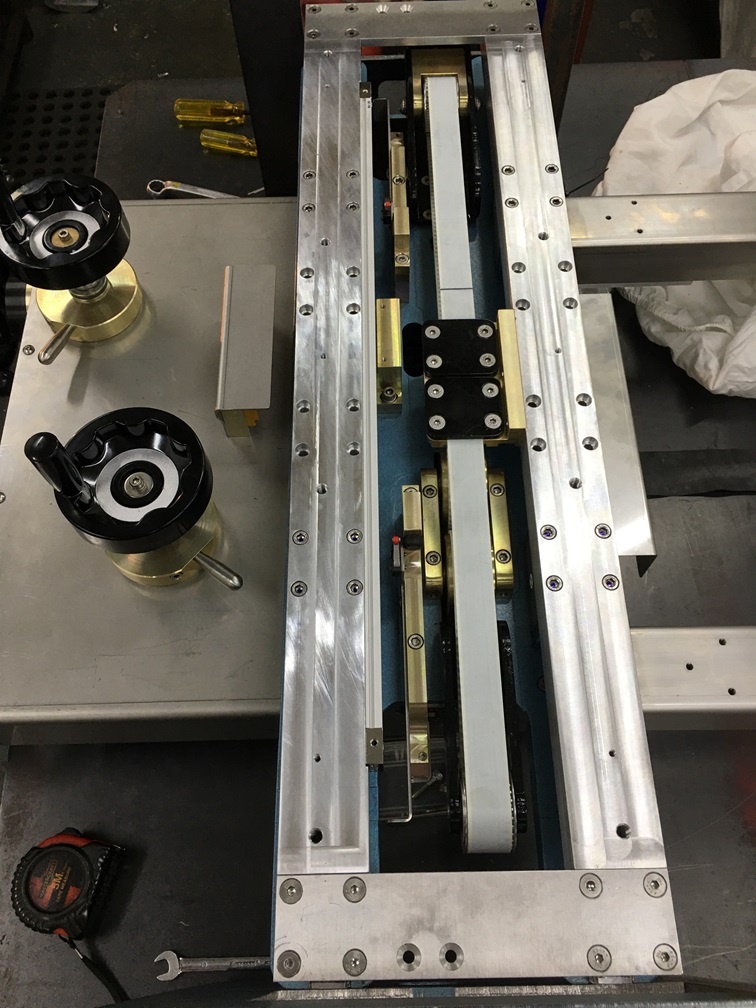
The precision I wanted was 0.01mm or better for both surface & cylindrical grinding. To achieve this, I included both a course and fine feed system for each axis with a DRO for positioning in addition to the standard mechanical vernier scales. To achieve this accuracy, it had to include a coolant and drainage system.
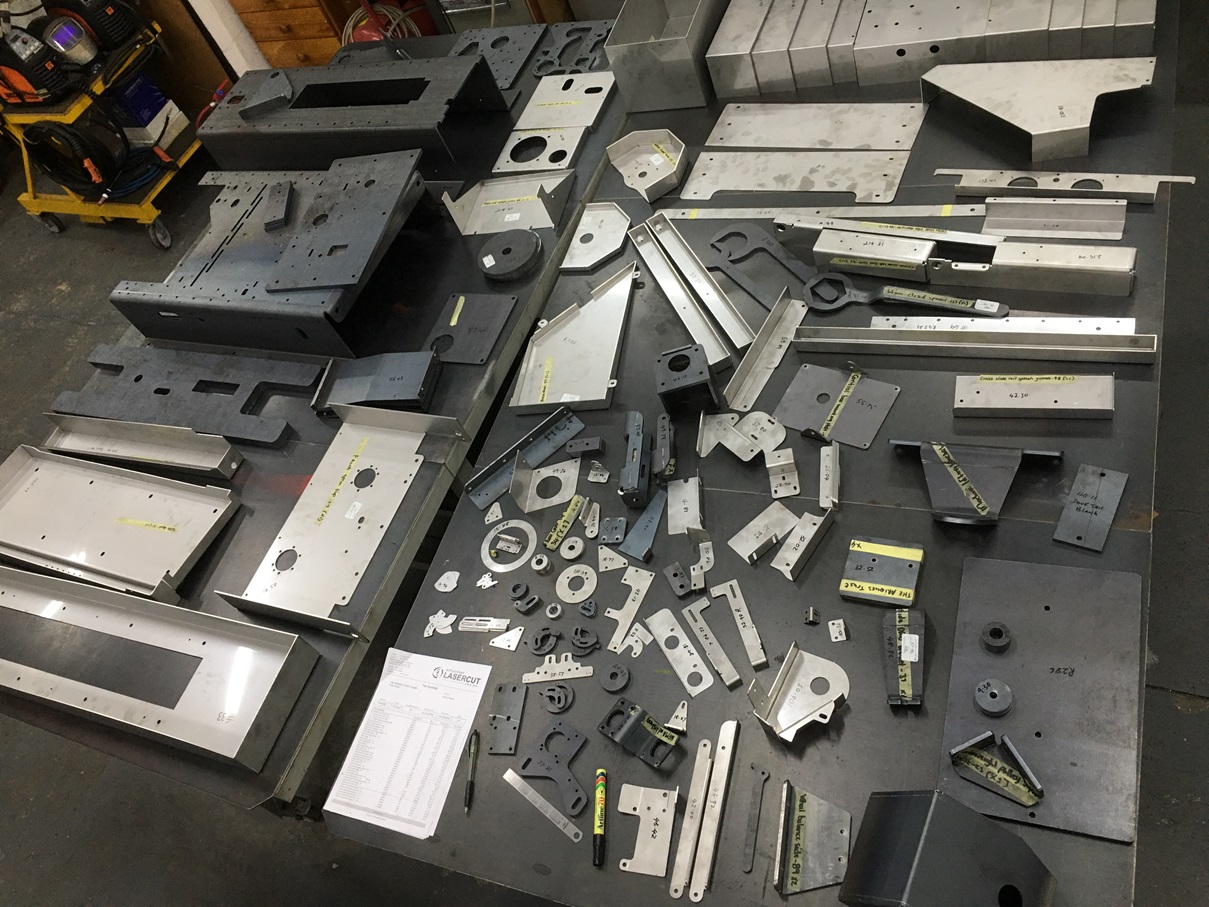
The sheet metal parts, also designed on Fusion 360, I had laser cut and bent by outside contractor.
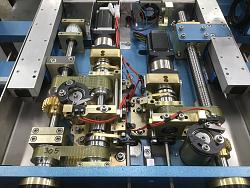
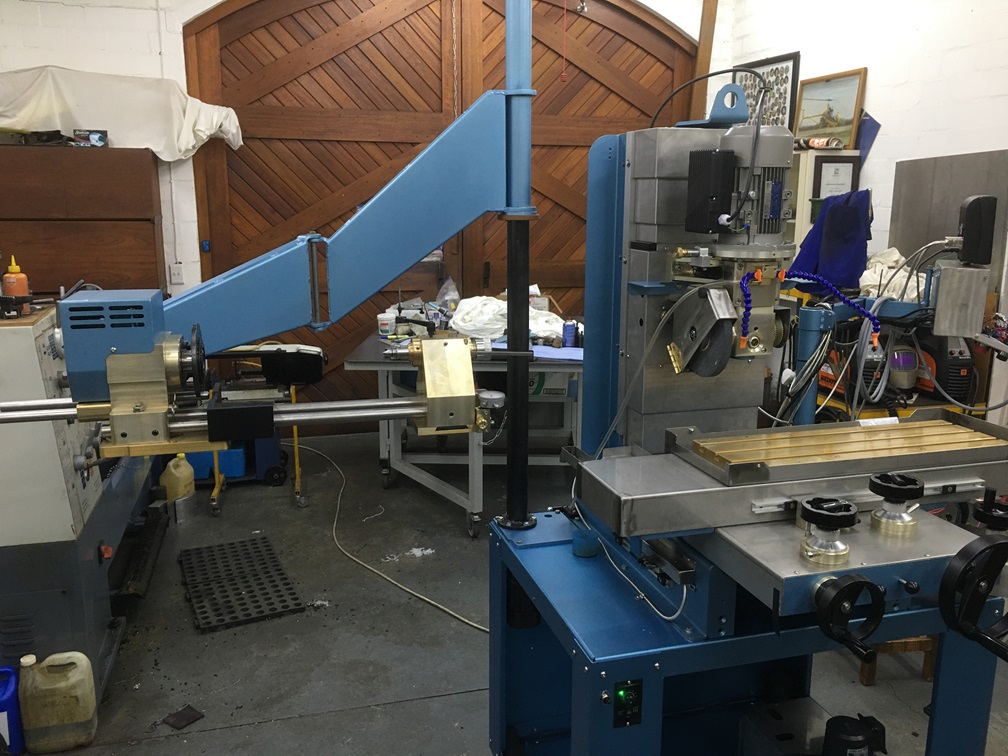
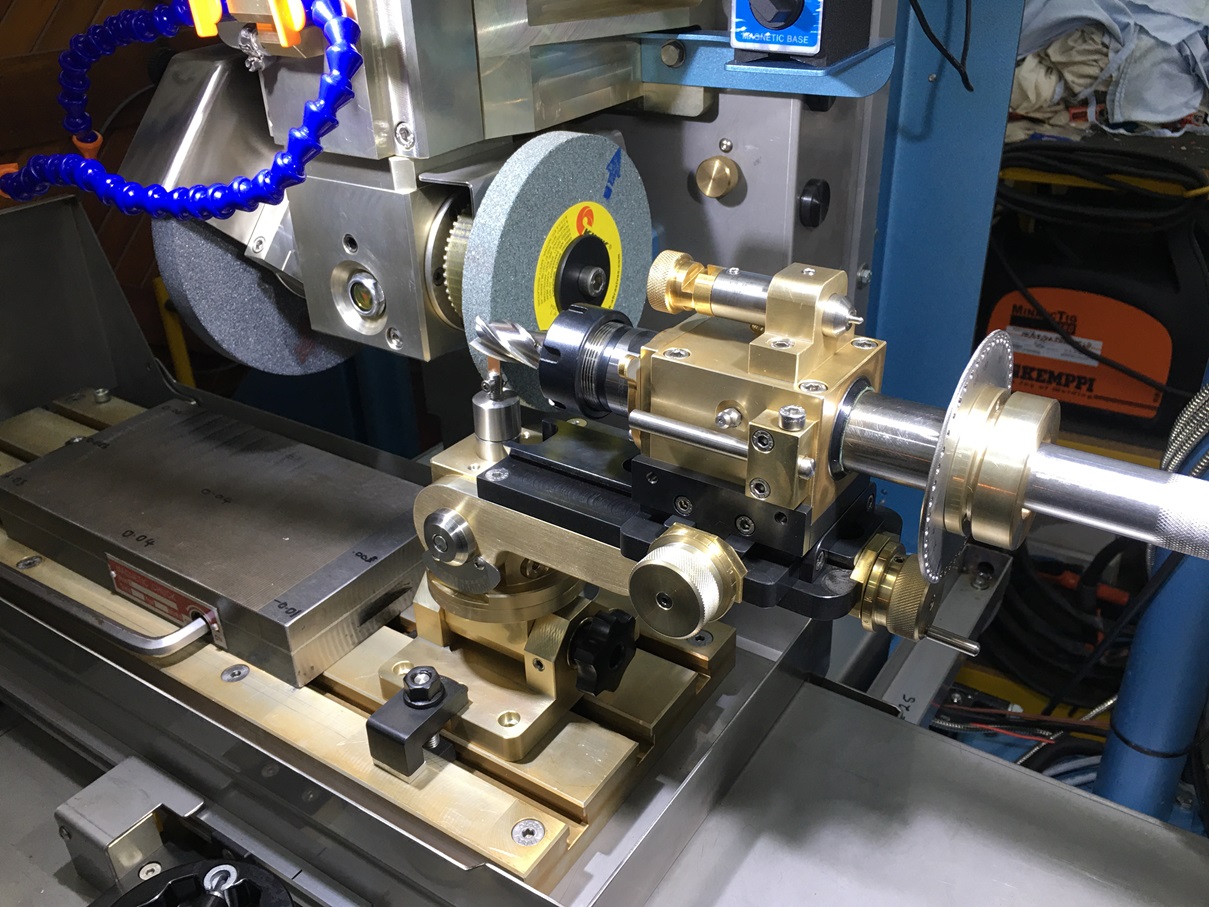
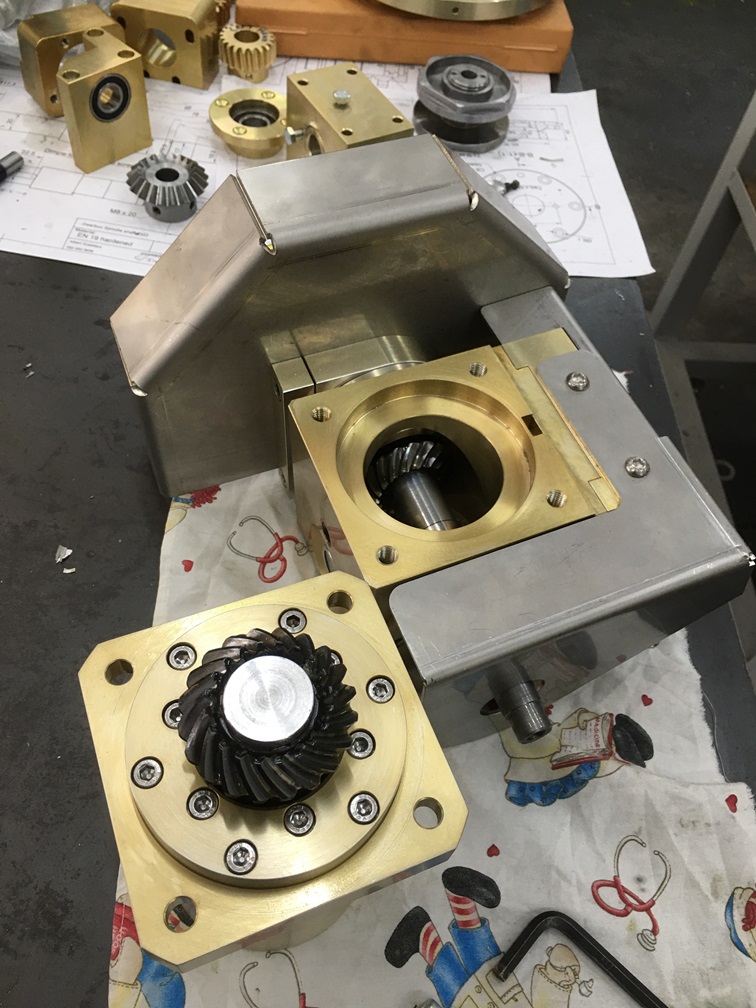
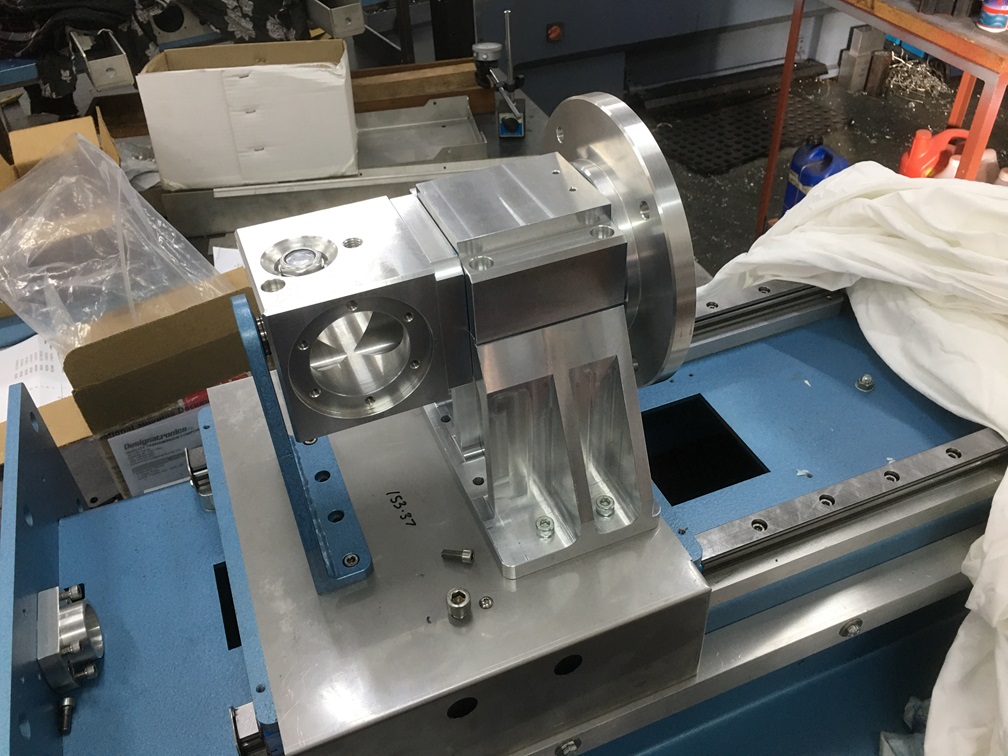
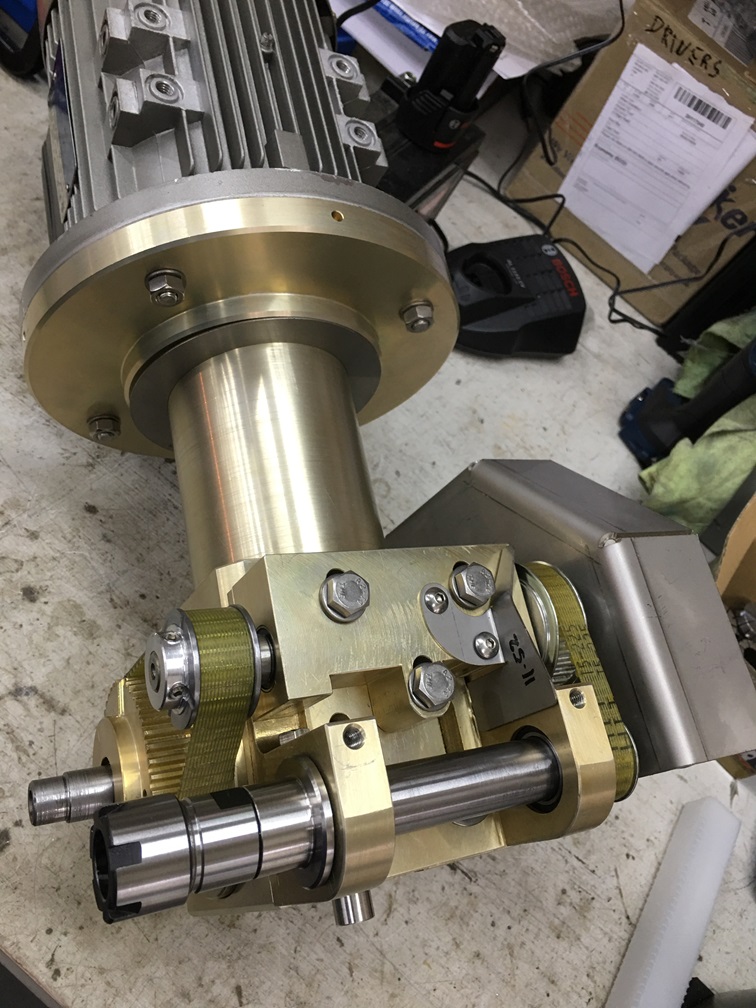
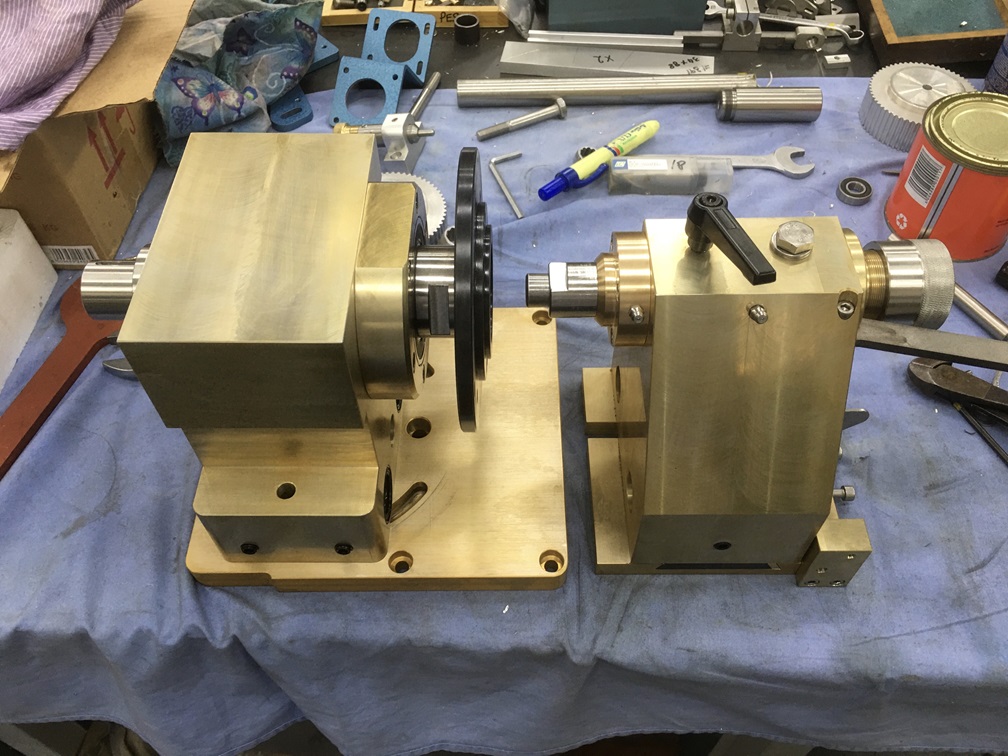
The basic design is a X & Y axis table with a rotatable grinding head using a vertically mounted motor on the Z-axis with 90-degree gearbox driving the grinding wheel spindle. A removable 4th axis (the cylindrical grinding attachment) would be lifted from shelf below and placed onto the table using a remote arm, ….to save damaging my back. This could be interchanged with the magnetic chuck and Tool & cutter grinding attachment.
I’m a novice at posting so not sure how this post turns out.
I’ll post an overall CAD sketch of the machine and some photos showing the different uses and some build photos.
Also adding Http files for the subassembly's that you can view and disassemble even without downloading Fusion 360.
Universal grinder complete assembly: https://a360.co/4jypWQL (large file)
Base subassembly: https://a360.co/4prFZRw
Cross slide assembly: https://a360.co/4sM6Lav
Table assembly: https://a360.co/49J9ny4
Column tower assembly: https://a360.co/4jAbCHA
Column drive assembly: https://a360.co/4q7c1Dz
Grinding head assembly: https://a360.co/3YvQZT5
4th axis Work head assembly: https://a360.co/4pwdvGq
Tool & Cutter attachment: https://a360.co/4slHNOK
Pedestal assembly: https://a360.co/4jrXZKd
4th axis lifting arm assembly: https://a360.co/4svGYD7
X-axis fine-feed worm screw assembly: https://a360.co/44UQhCA
Zip file with 44 additional photos: https://diqn32j8nouaz.cloudfront.net...der_photos.zip
Zip file with 17 additional PDFs: https://diqn32j8nouaz.cloudfront.net...bertq_PDFs.zip
Post ID grinding clocking:
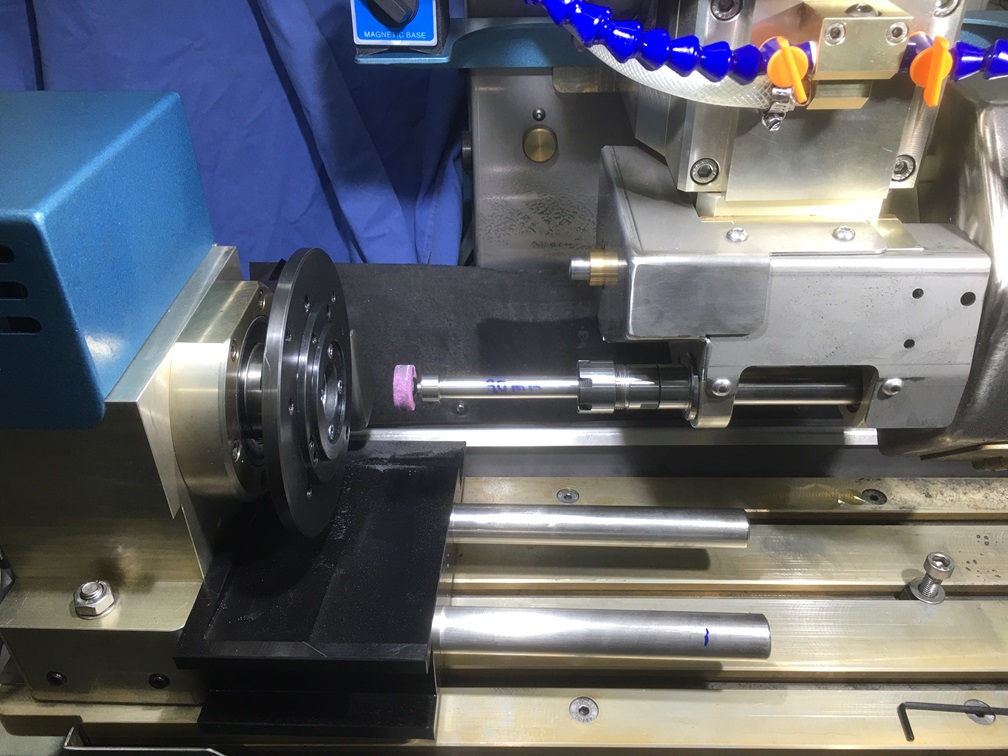
First OD grind:
Worm screw fine feed engagement:
Surface grinding with auto Y-axis feed:
Testing sliding dust shield movement:


 Reply With Quote

Bookmarks