Free 186 More Best Homemade Tools eBook:  
Get 2,000+ tool plans, full site access, and more.

User Tag List

Results 1 to 8 of 8

Thread: Makeshift lap

  1. #1
    Supporting Member Philip Davies's Avatar
    Join Date
    Dec 2015
    Location
    Reading, Berks, UK
    Posts
    877
    Thanks
    1,195
    Thanked 1,022 Times in 343 Posts

    Philip Davies's Tools

    Makeshift lap

    I wanted to bore several 26.5 mm holes in oak. They must be square to face and edge. I do not have ready access to a lathe anymore. The hole must be smooth. I do not, of course, have a 26.5 mm Forstner bit.
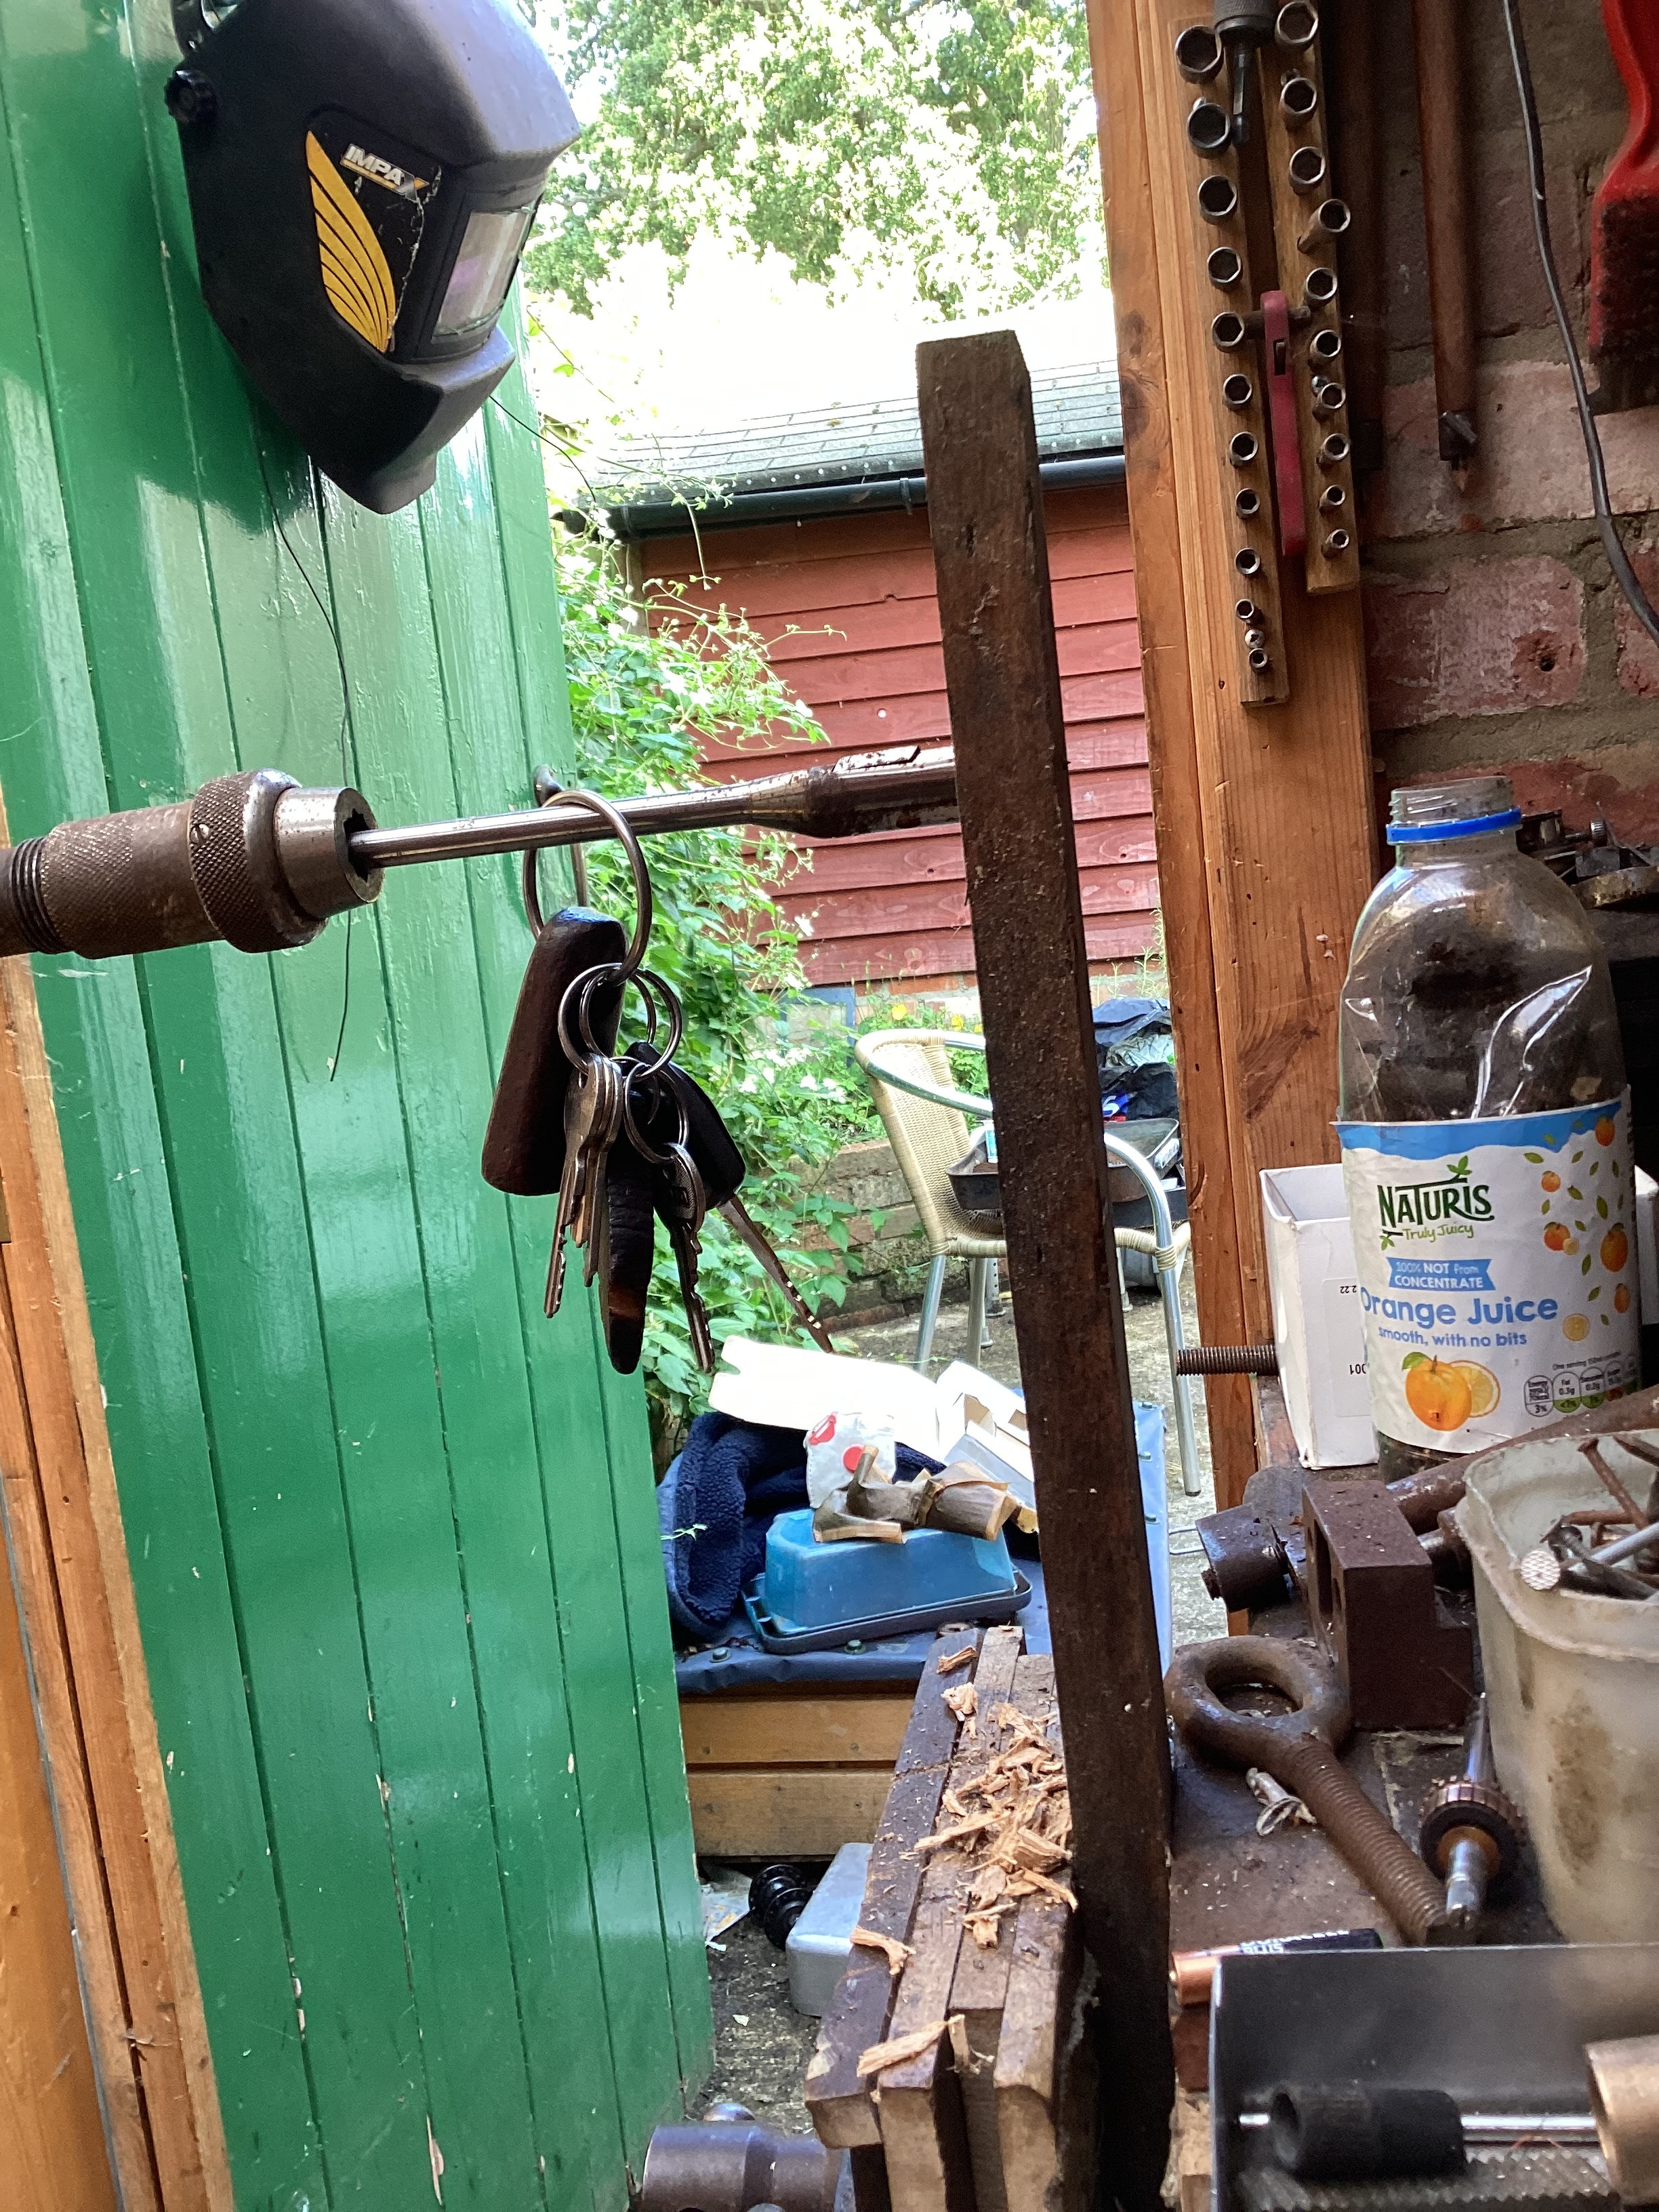
    I do however have an adjustable wood boring auger:
    Makeshift lap-img_0480.jpeg
    I hope you appreciate that the wood is plumb in the vice, it’s just my posture. You can tell by the door jamb, which is plumb, or it was.
    Why are my keys on the auger? This is a tip I learned at college, thanks, Danny. If the keys go away or towards you as you drill, then you’re not square. The other planes you must judge by eye. Well, this is just a tip. The bore, as expected, is not at all satisfactory, far worse than an Forstner bit, although it might do if I just wanted to run a tube through it.
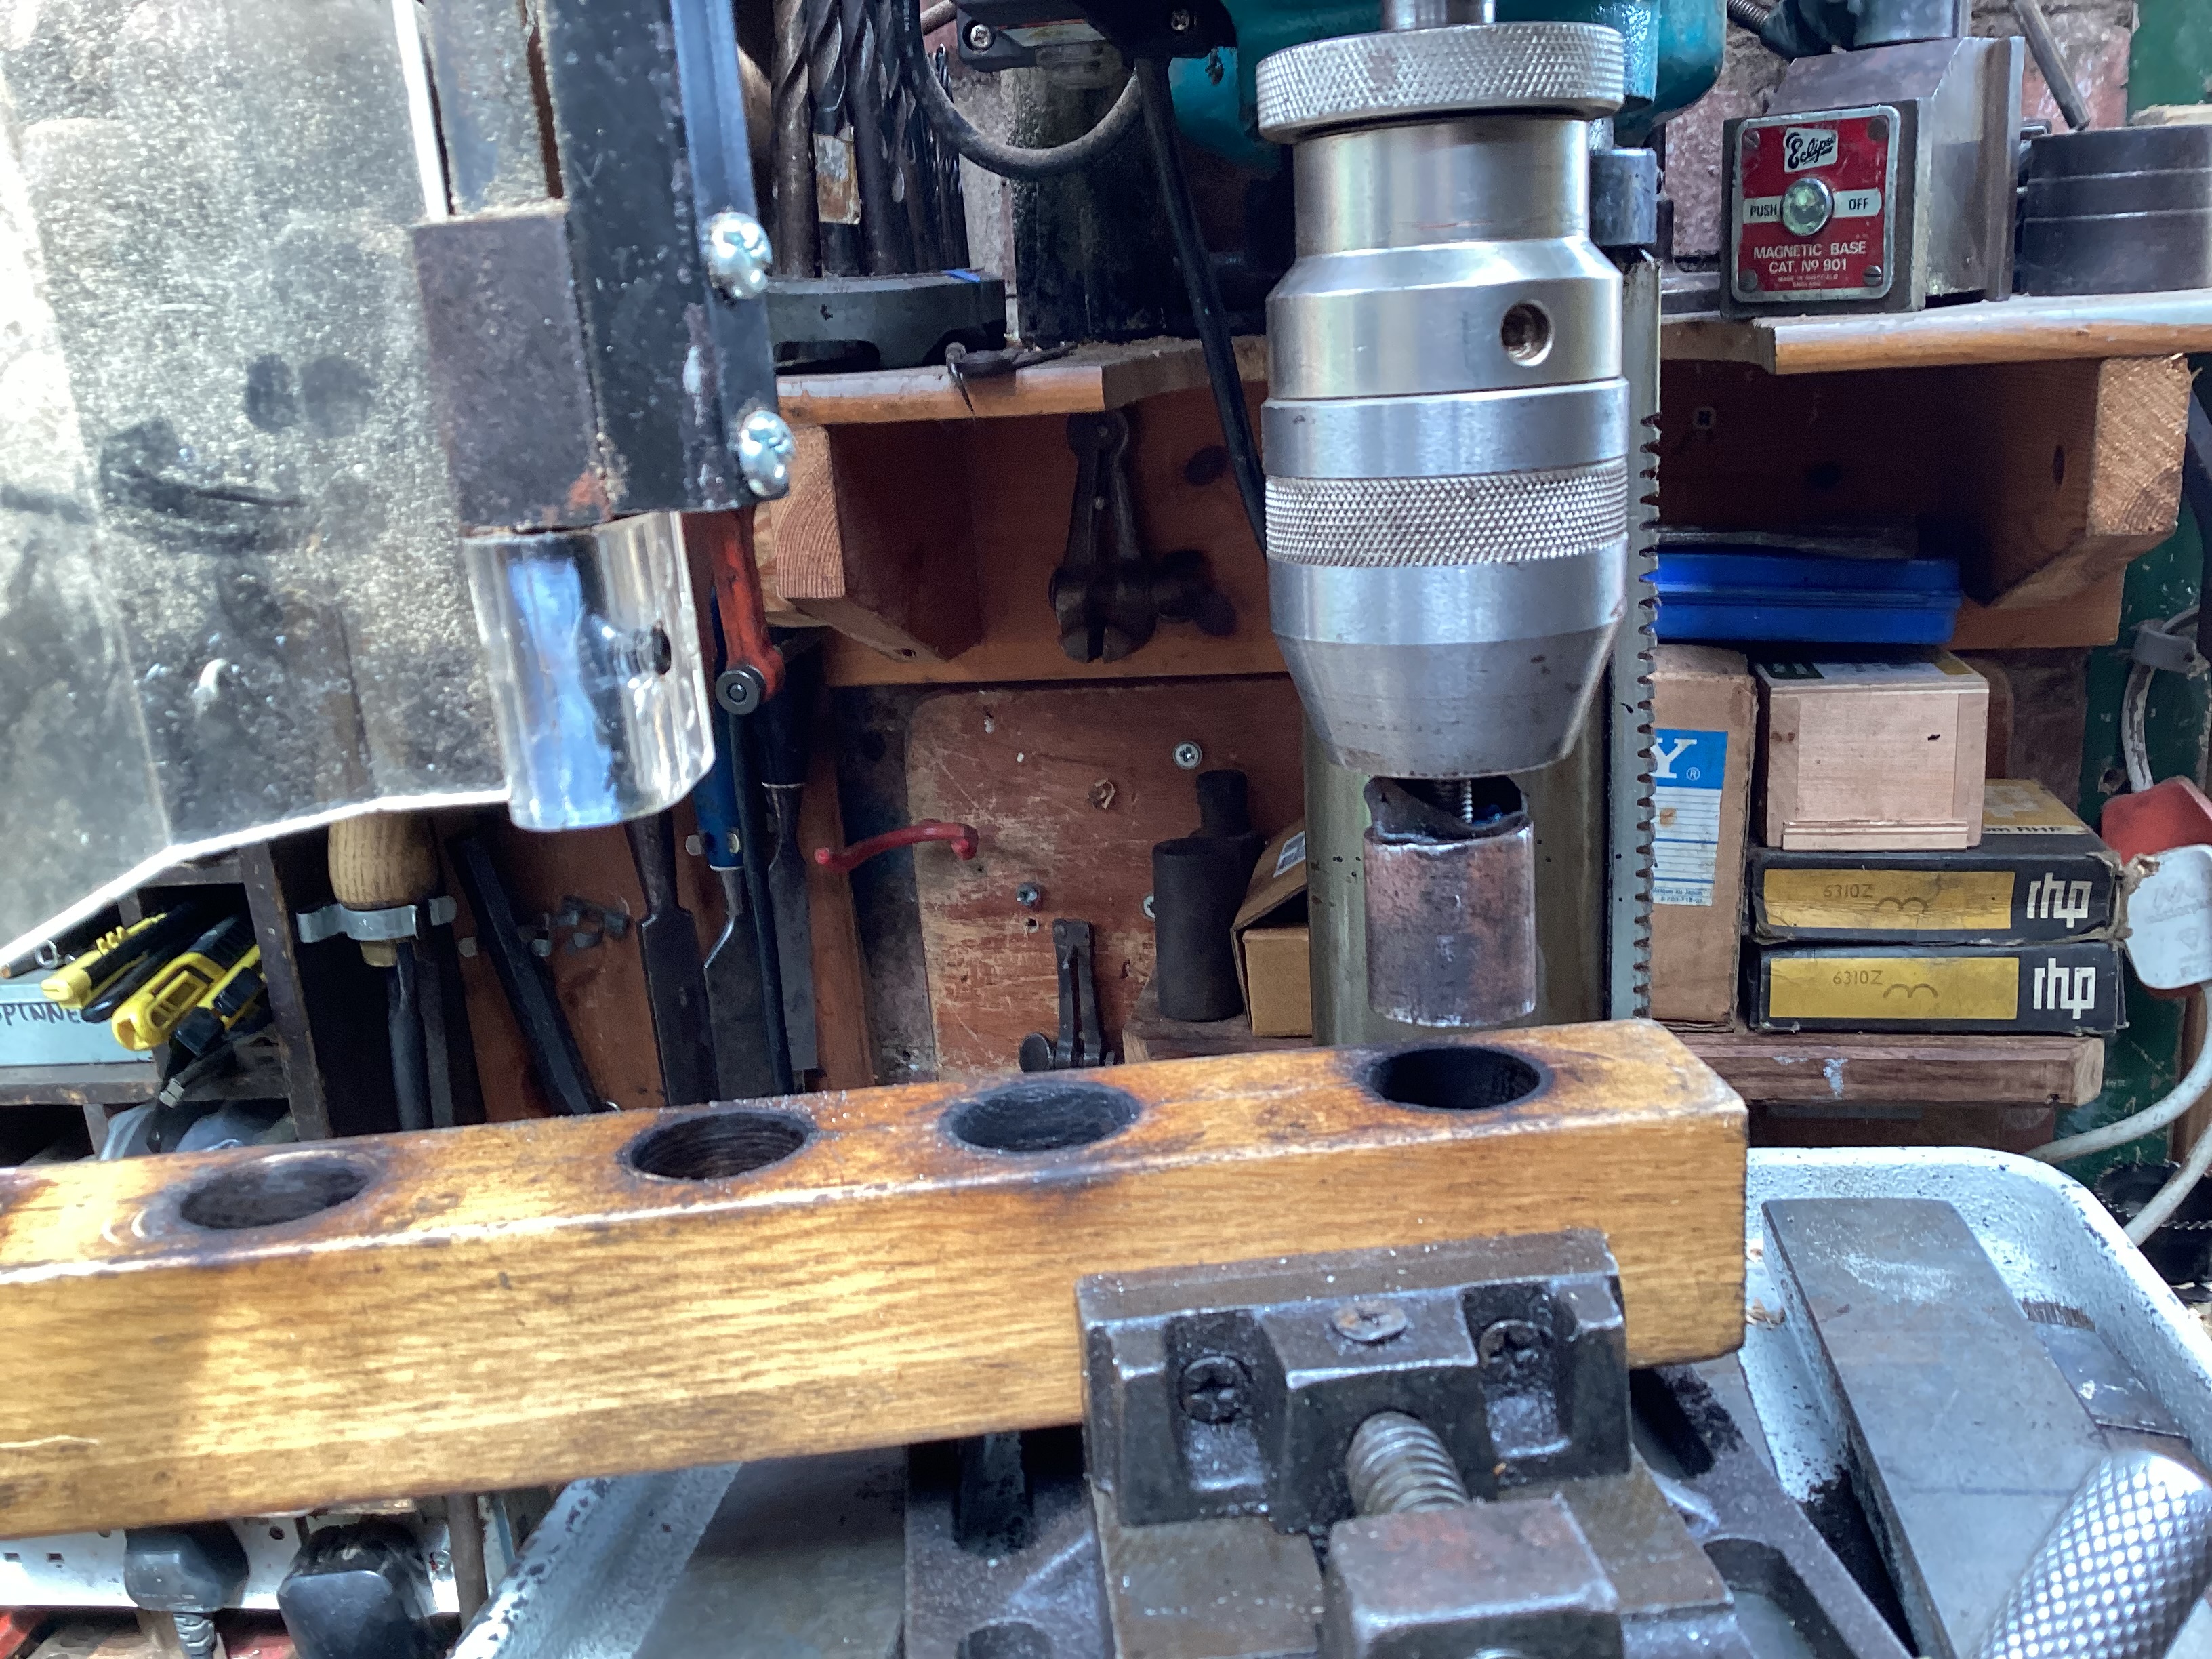
    I have a 25mm Forstner bit to remove most of the waste. This was the first operation.
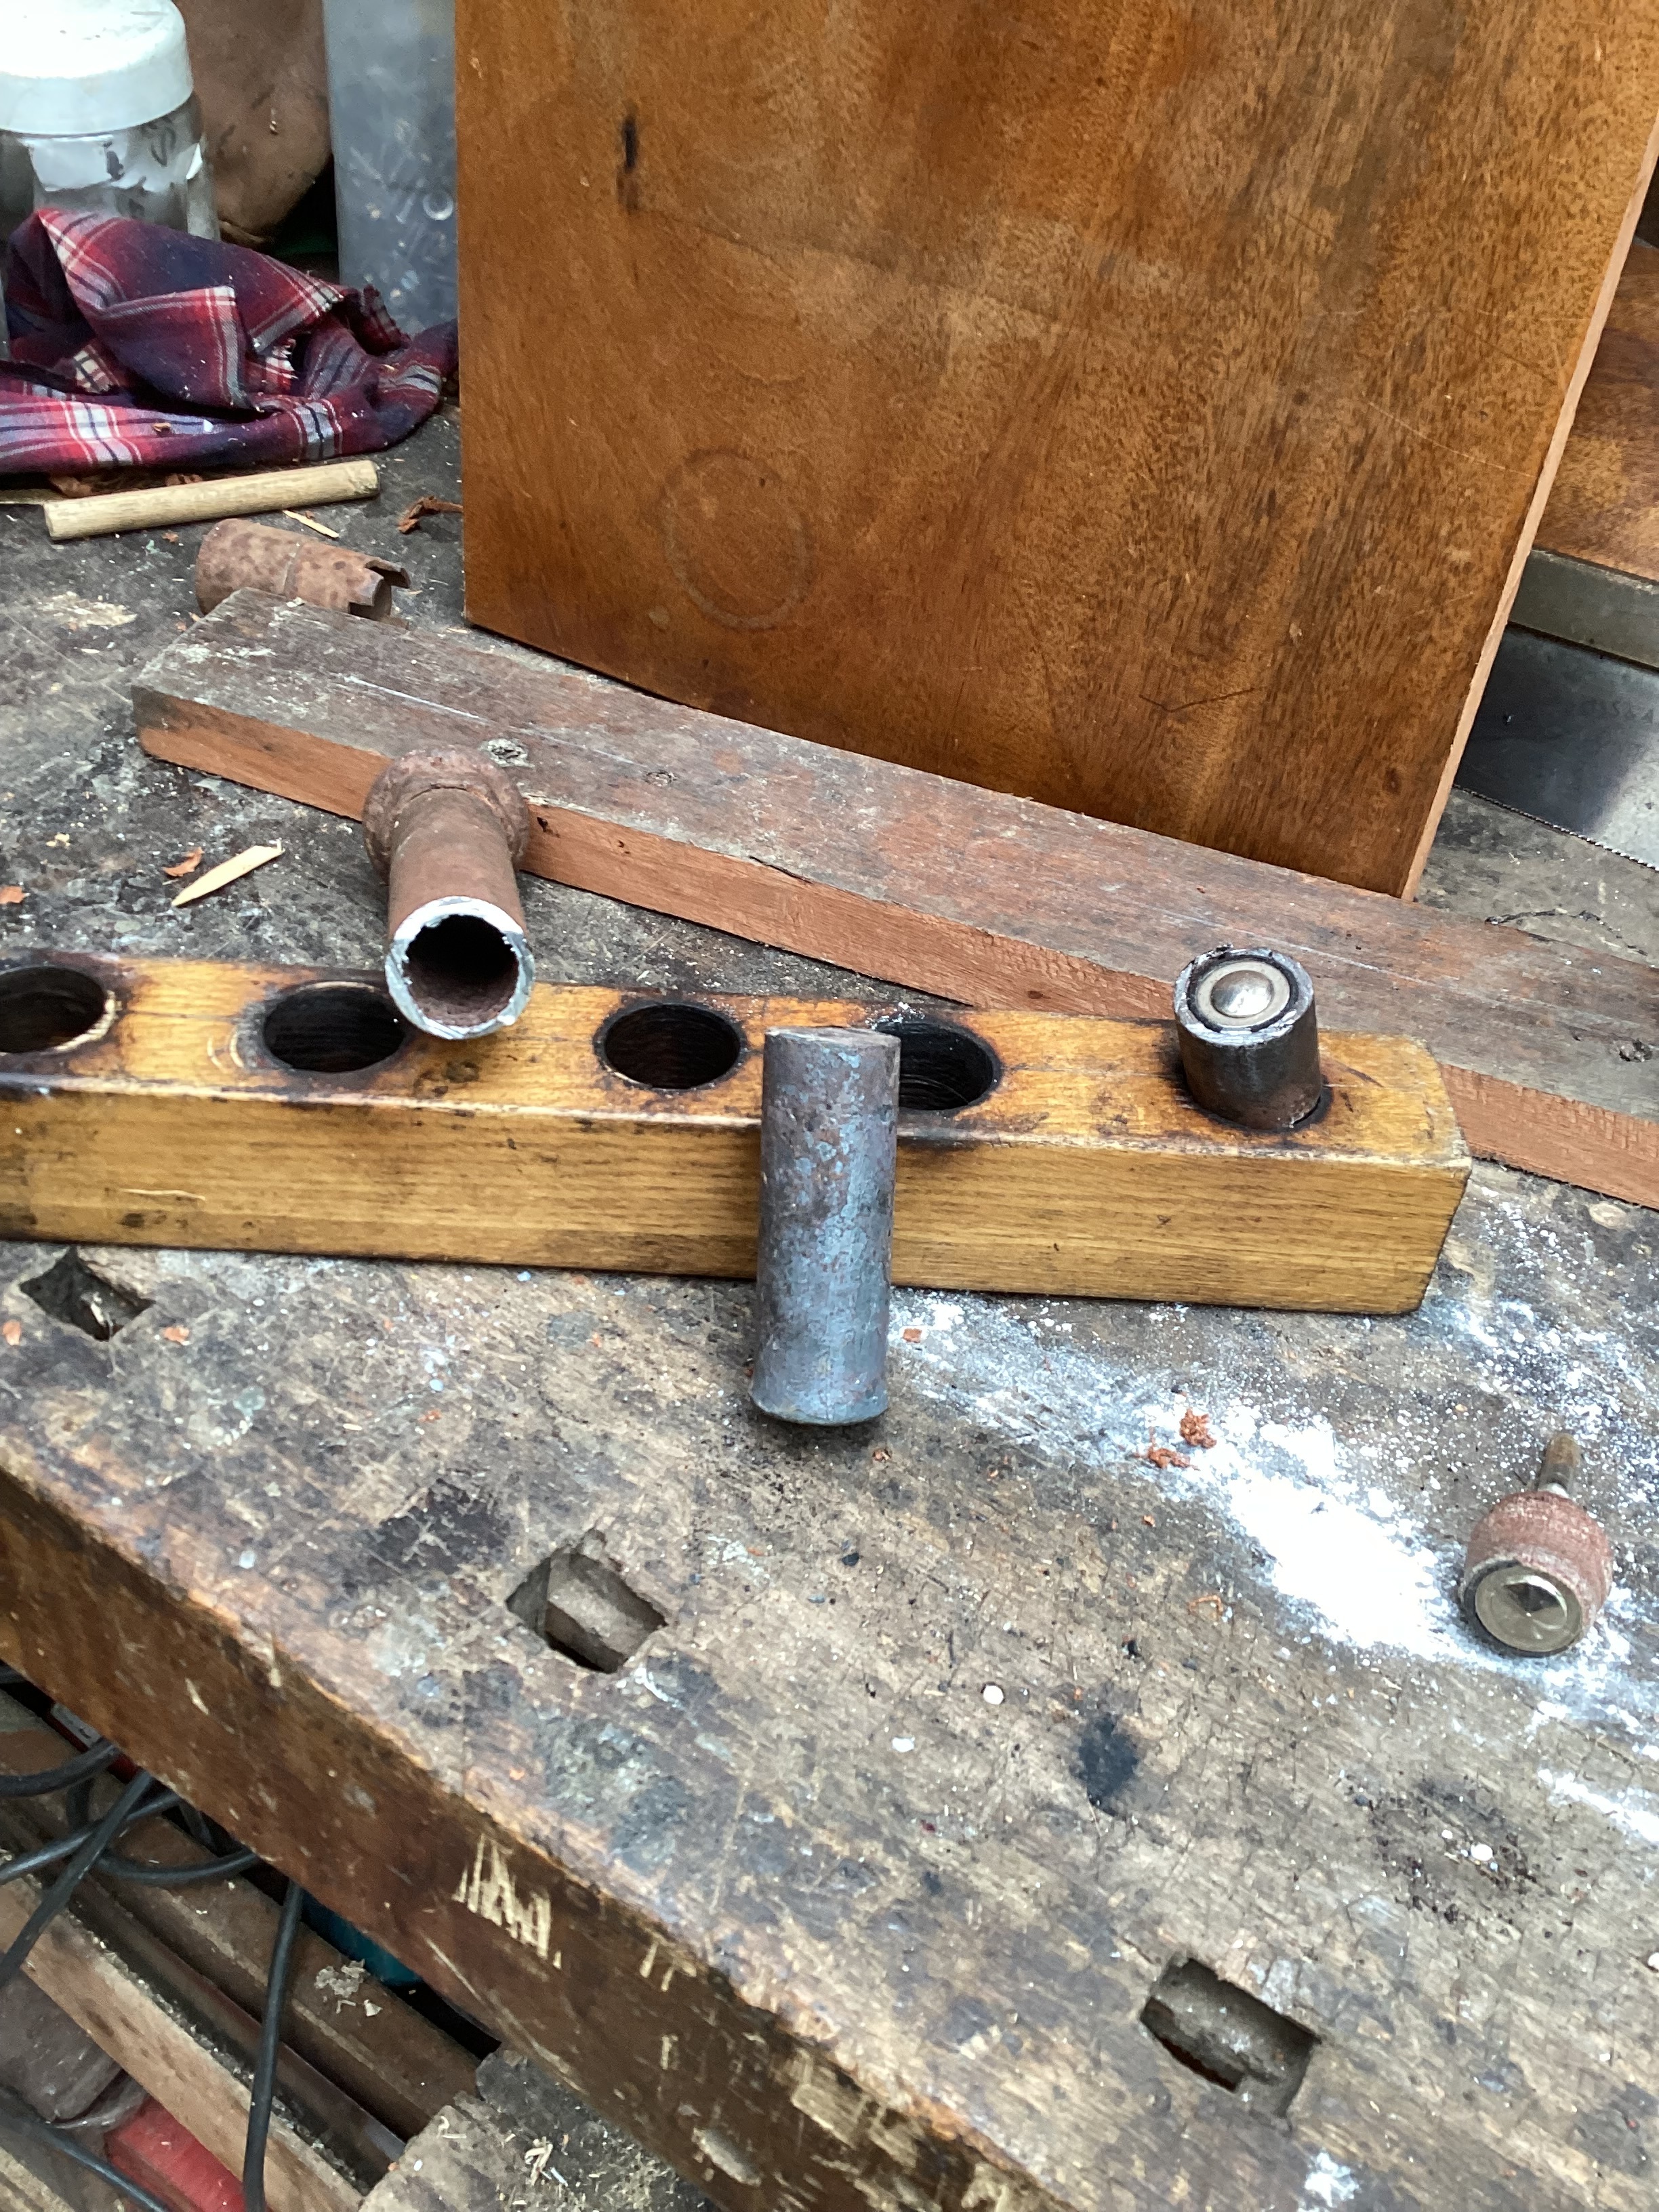
    I also have a short piece of round bar, 25.35 at the largest diameter.
    This I heated red hot, and taking it outside, pushed it though each of the holes, from each side. (2 heats).
    This is the result, the steel, now cold, in the centre.
    Makeshift lap-img_0486.jpeg
    The holes taper towards the middle. Now I need to remove the taper and any excess material.
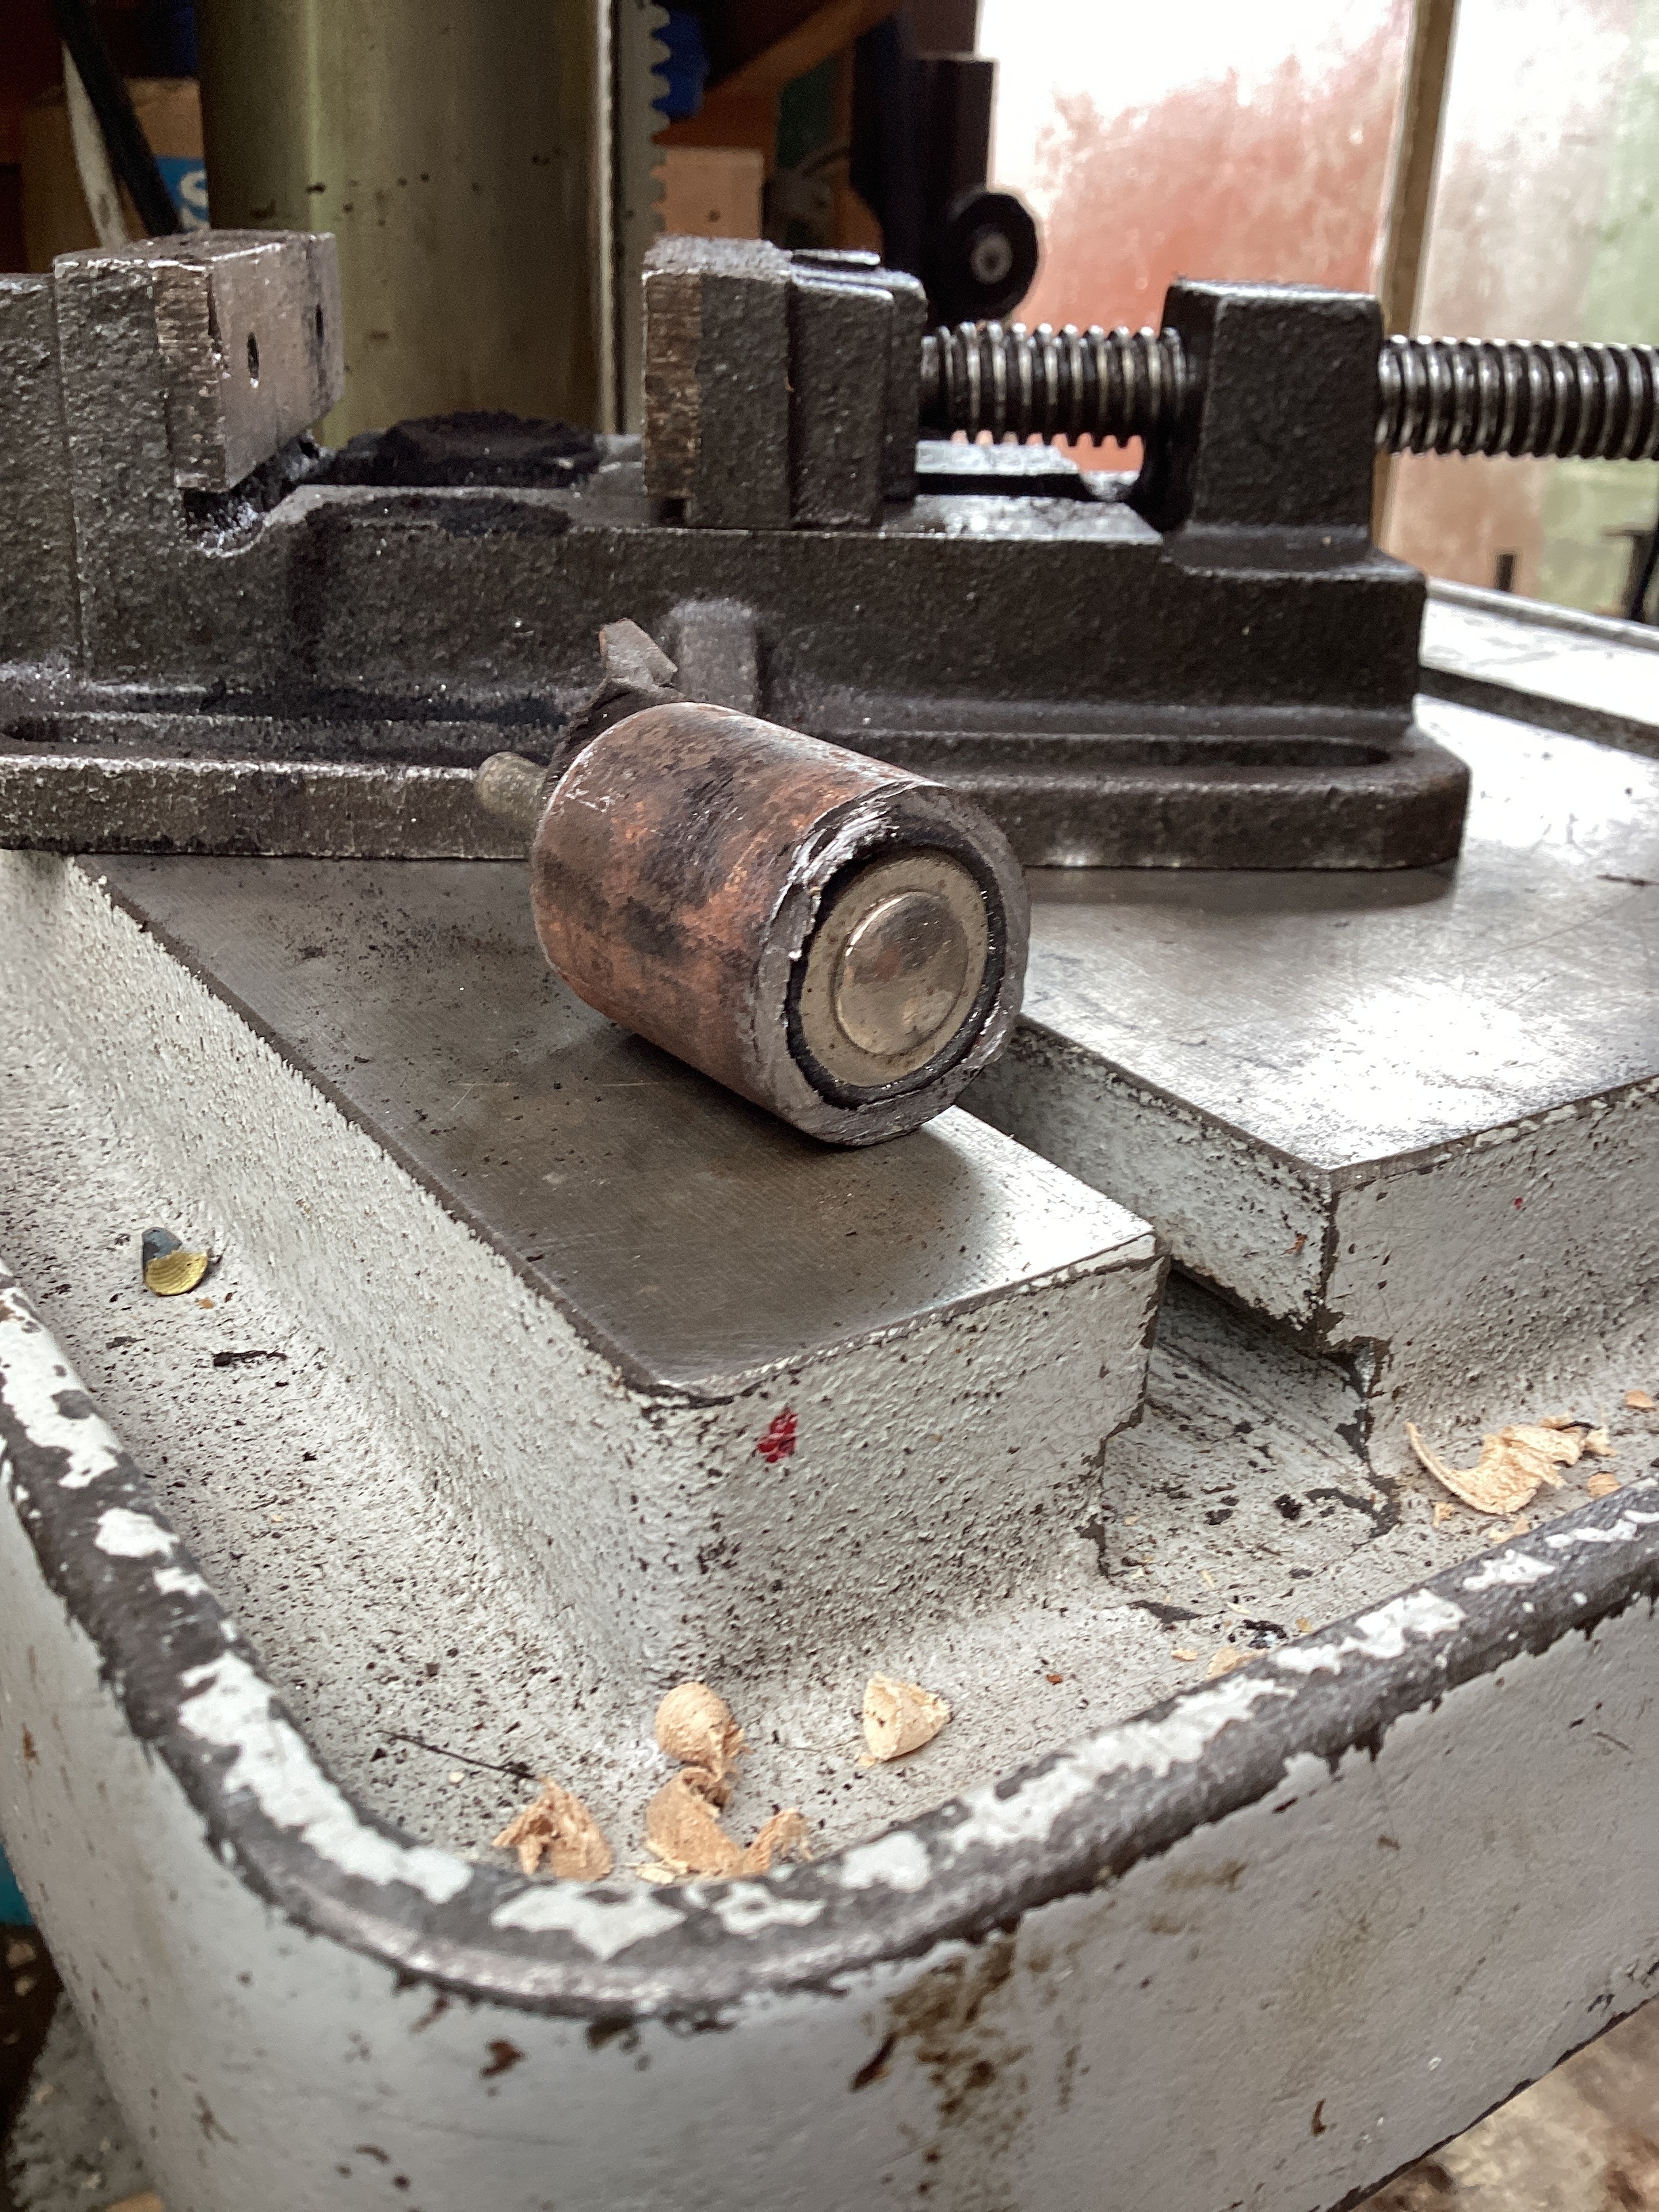
    The tube on the left is just under 27 mm. On the right you see an ordinary sanding spindle, 20 mm dia. I have wrapped a bit of tape around the rubber sleeve, pushed it into the tube and tightened the nut on the arbor. Then I cut through the steel tube leaving a slight excess. This is the lap which I then abraded, with it in the drill chuck and the motor running.
    I ran it until I was happy with the diameter, then passed it through the holes, with very little resistance.
    Makeshift lap-img_0484.jpeg
    Makeshift lap-image.jpg
    I suppose if I had needed to drill, say 27.5 mm, I would have sawn down the tube, wedged it open, and used more tape on the arbor.
    You may think that burning the holes out made it very time-consuming. It wasn’t the only job, though, I was just using the opportunity presented by the unseasonable weather. Also, I wanted the oak hardened around the holes, as well as smooth. This is the way I learned to fabricate makeshift bearings.
    Attached Thumbnails Attached Thumbnails Makeshift lap-img_0484.jpeg  

    186 More Best Homemade Tools eBook

  2. The Following 4 Users Say Thank You to Philip Davies For This Useful Post:

    hemmjo (Aug 8, 2023), Jon (Aug 31, 2023), mr mikey (Aug 8, 2023), rlm98253 (Aug 7, 2023)

  3. #2
    Supporting Member Frank S's Avatar
    Join Date
    Aug 2015
    Location
    Peacock TX
    Posts
    11,229
    Thanks
    1,986
    Thanked 8,793 Times in 4,211 Posts

    Frank S's Tools
    Making do with the tools at hand is something we all have to deal with. the Key though is knowing how.
    Good job on your oak bearing holes. When I was still a kid it was my job to make split bearings for some of our older at that time farm equipment, We had a hand cranked drill press mounted on a wall in the barn with an adjustable auger bit like yours. Bore the hole to size saw in half then rasp for take up as they would wear, every winter make up a new set We didn't bother burnishing them or charring to harden. Just run the equipment for a day with the new bearings before greasing seemed to make them last through the spring planting

    2000 Tool Plans
    Never try to tell me it can't be done
    When I have to paint I use KBS products

  4. The Following 2 Users Say Thank You to Frank S For This Useful Post:

    hemmjo (Aug 8, 2023), Philip Davies (Aug 8, 2023)

  5. #3
    Supporting Member hemmjo's Avatar
    Join Date
    Feb 2017
    Posts
    2,553
    Thanks
    226
    Thanked 1,453 Times in 823 Posts

    hemmjo's Tools
    Very nice, we do not think much, well me anyway, of using wooden bearing much these days, have to keep that in mind!!

    The key trick is a good one also.

  6. The Following User Says Thank You to hemmjo For This Useful Post:

    Philip Davies (Aug 8, 2023)

  7. #4
    Supporting Member Frank S's Avatar
    Join Date
    Aug 2015
    Location
    Peacock TX
    Posts
    11,229
    Thanks
    1,986
    Thanked 8,793 Times in 4,211 Posts

    Frank S's Tools
    Quote Originally Posted by hemmjo View Post
    Very nice, we do not think much, well me anyway, of using wooden bearing much these days, have to keep that in mind!!

    The key trick is a good one also.
    Another material most don't think about using anymore as a bearing is leather. my dad and I were bringing an older truck back home to rebuild the engine but it was still running. I was following him in it when the engine started knocking whenever I let off the peddle to shift. I flashed the headlights several times to get his attention so he would stop. we found a place to pull off the road and I showed him what it was doing by giving it a little gas then letting off. We still had about a 100 miles to go and knew it was not going to make it in that condition, and that would have been a long way to chain tow it, so we dropped the pan removed the rod cap and there wasn't hardly anything left of the insert shell. He cut a couple pieces off his belt 1 a little longer than the other placed the longer piece in the top half of the rod cut holes for the rod bolts and the shorter piece in the cap Tightened it up then removed it and shaved a little off a couple times put the pan back on all this without draining the oil out of the pan. I kept the RPMs as low as possible we drove about 40MPH the rest of the way. If we hadn't done that the engine would have thrown the rod possibly damaging the crank beyond a regrind and even could have put a window in the block As it turned out we managed to save everything just had the crank turned something like .010& .020 bored the block ourselves with our Quikway, decked the block and the head with his huge file. New pistons rings bearings gaskets and a valve job. I drove it back to the customer at 60,70 and sometimes with my feet flat on the floor the 300 miles and took the bus home.
    Never try to tell me it can't be done
    When I have to paint I use KBS products

  8. The Following 2 Users Say Thank You to Frank S For This Useful Post:

    baja (Aug 9, 2023), hemmjo (Aug 9, 2023)

  9. #5
    Supporting Member IntheGroove's Avatar
    Join Date
    May 2019
    Location
    Lake Tahoe
    Posts
    1,925
    Thanks
    182
    Thanked 858 Times in 522 Posts

    IntheGroove's Tools
    A friend of told a similar story about a knocking engine while he was in the Army. The only tool he had was a pair of vice grips. He Pulled the pan and fixed it and made it back to camp...

  10. The Following User Says Thank You to IntheGroove For This Useful Post:

    hemmjo (Aug 9, 2023)

  11. #6
    Supporting Member hemmjo's Avatar
    Join Date
    Feb 2017
    Posts
    2,553
    Thanks
    226
    Thanked 1,453 Times in 823 Posts

    hemmjo's Tools
    Those are good stories. These days you would have to pull the engine to drop the pan. At least they have started putting the oil filters on top. But I think that is more so the "service technicians" don't get dirty when they service your car that it is for consumer convenience.

  12. #7
    Supporting Member Frank S's Avatar
    Join Date
    Aug 2015
    Location
    Peacock TX
    Posts
    11,229
    Thanks
    1,986
    Thanked 8,793 Times in 4,211 Posts

    Frank S's Tools
    Quote Originally Posted by hemmjo View Post
    Those are good stories. These days you would have to pull the engine to drop the pan. At least they have started putting the oil filters on top. But I think that is more so the "service technicians" don't get dirty when they service your car that it is for consumer convenience.
    And the easiest way to pull the engine is to lift the whole vehicle off of the sub frame. A real PITA
    Ford hasn't gotten that smart yet. They even put a paper resin belly pan under the engine on their hybrids 10 screws to remove it then the filter can only be accessed with a socket type filter wrench, same with the pickups.
    Last edited by Frank S; Aug 9, 2023 at 09:24 AM.
    Never try to tell me it can't be done
    When I have to paint I use KBS products

  13. #8
    Supporting Member baja's Avatar
    Join Date
    Dec 2017
    Posts
    251
    Thanks
    7,631
    Thanked 82 Times in 60 Posts

    baja's Tools
    Quote Originally Posted by Frank S View Post
    Making do with the tools at hand is something we all have to deal with. the Key though is knowing how.
    Good job on your oak bearing holes. When I was still a kid it was my job to make split bearings for some of our older at that time farm equipment, We had a hand cranked drill press mounted on a wall in the barn with an adjustable auger bit like yours. Bore the hole to size saw in half then rasp for take up as they would wear, every winter make up a new set We didn't bother burnishing them or charring to harden. Just run the equipment for a day with the new bearings before greasing seemed to make them last through the spring planting
    Another way old favorite was pork rind. I used it years ago on a Chevy six with poured babbit bearings. Don`t remember how that turned out.


    186 More Best Homemade Tools eBook

Thread Information

Users Browsing this Thread

There are currently 1 users browsing this thread. (0 members and 1 guests)

Tags for this Thread

Bookmarks

Posting Permissions

  • You may not post new threads
  • You may not post replies
  • You may not post attachments
  • You may not edit your posts
  •