Free 186 More Best Homemade Tools eBook:  
New: 300+ fresh build posts/day from 275 forums → BuildThreads.com

User Tag List

Results 1 to 4 of 4

Thread: Nice labels on a home budget

Hybrid View

  1. #1
    Supporting Member Paul Alciatore's Avatar
    Join Date
    Mar 2014
    Location
    Beaumont, TX
    Posts
    304
    Thanks
    9
    Thanked 201 Times in 111 Posts

    Paul Alciatore's Tools
    I think your first photo is not the correct one.

    As I understand your post, you are showing two ways of creating a labeled front panel. One using a black solder mask with a white silk screen. So, is the white silk screen applied first and the black solder mask on top of it? Or is the black solder mask applied first with the white silk screen on top of it? And how do you insure that the board maker applies these layers in the correct sequence.

    And the second method is laser print on transparent(?) polyester laser printable labels. Or are they white? And does this method allow color images to be used? Apparently you do not use any protective coating on top of them.

    Paul A.


    Quote Originally Posted by jdurand View Post
    Two ways to do labels on a home budget for short-run items. I don't have pictures handy of everything as I've moved most files off our server to an archive in preparation for our move.

    Anyway,

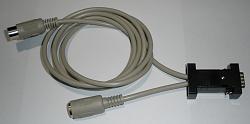
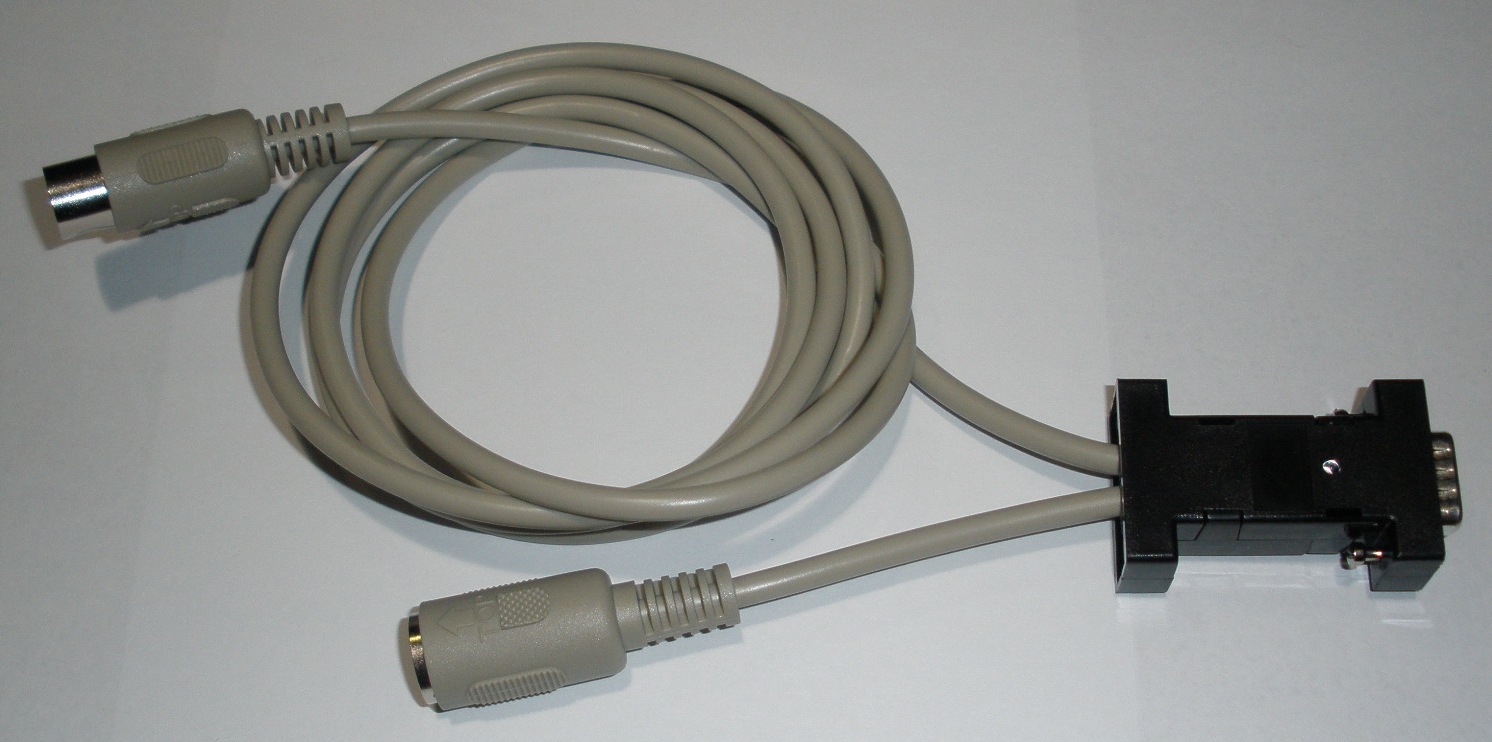
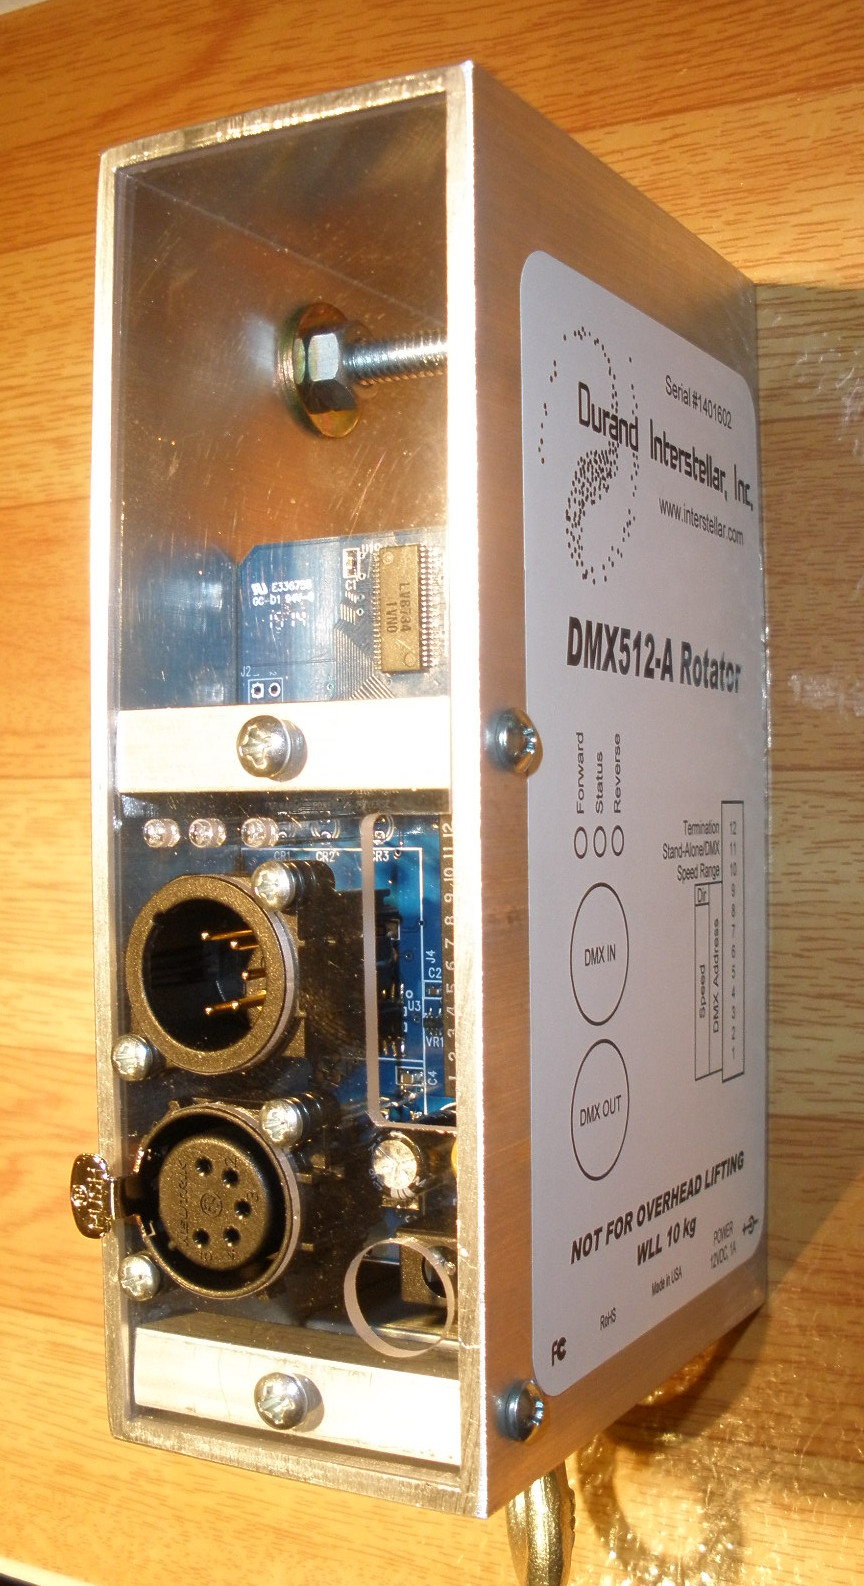
    #1 Front panel for small electronic products. I've used this on several items, the first was even put into production by my customer. When laying out the PC board for their product which fit in a standard Pactec box, we made a break-off section of the board which had holes for LEDs, connectors, controls and white silkscreen labeling. The board got a black solder mask. All they had to do was snap off this end of the board, slip it over the controls and screw it down in the box. Nice looking end panel.

    You can't see the end panel in this one but you can see how it's used, the wires come through it and it's got the product name and company on it.

    Nice labels on a home budget-midi-rs232.jpg

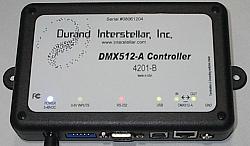
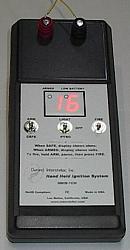
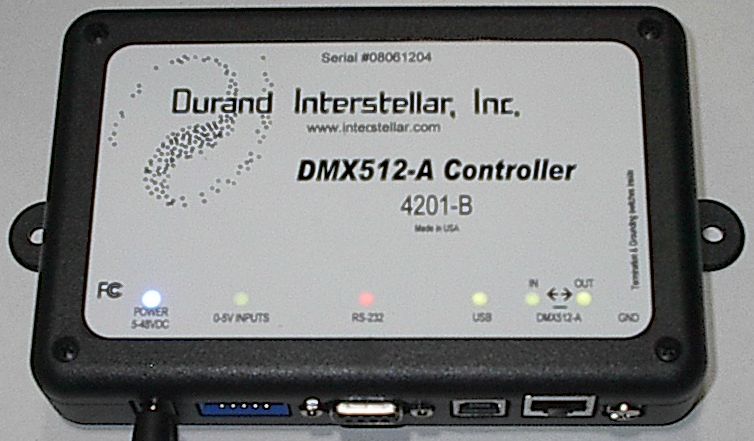
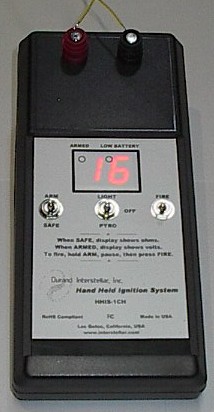
    #2 I found polyester laser printable labels. Depending on your laser printer toner sticks better or worse to these, try to not curl or bend after printing. LEDs will shine right through this so you don't even need holes. The labels are water proof, I have some around 10 years old on our gates telling people to not let the chickens out...still in good shape. Here's some samples

    Nice labels on a home budget-4201-b.jpg

    Nice labels on a home budget-hhis-1ch.jpg

    Nice labels on a home budget-rotator.jpg
    Paul A.

  2. #2
    Supporting Member jdurand's Avatar
    Join Date
    May 2019
    Location
    Krasnodar Krai, Russian Federation
    Posts
    1,504
    Thanks
    135
    Thanked 891 Times in 500 Posts

    jdurand's Tools
    Quote Originally Posted by Paul Alciatore View Post
    I think your first photo is not the correct one.

    As I understand your post, you are showing two ways of creating a labeled front panel. One using a black solder mask with a white silk screen. So, is the white silk screen applied first and the black solder mask on top of it? Or is the black solder mask applied first with the white silk screen on top of it? And how do you insure that the board maker applies these layers in the correct sequence.

    And the second method is laser print on transparent(?) polyester laser printable labels. Or are they white? And does this method allow color images to be used? Apparently you do not use any protective coating on top of them.

    Paul A.
    Standard PC board production, solder mask goes down and then white silk screen on top. You can't see the board in the first picture and everything is packed to be shipped shortly to the new place.

    The laser print is onto white polyester film labels with gummed back. They're sold as waterproof laser labels. It's thin enough that LEDs shine through with no problem but you wouldn't be able to read an LCD.

    Something else I've done is get some 2 layer sign-making plastic. Laminated black/white is what I used. Tape down to a backing in your CNC router/mill and engrave your panel and cut holes as needed.

Thread Information

Users Browsing this Thread

There are currently 1 users browsing this thread. (0 members and 1 guests)

Bookmarks

Posting Permissions

  • You may not post new threads
  • You may not post replies
  • You may not post attachments
  • You may not edit your posts
  •