
 LinkBack URL
 About LinkBacks


Hope I don't bore any of you with this rather lengthy post....
After many years of looking for a nice-sized Rotary Table for my BP clone mill, I finally located one......a Bridgeport 12", .....right here in town, and priced reasonably.
I say that because it's the same rotary table I bought at auction in 1986 when starting a machine shop business. When I sold my interest in the business, the RT stayed there. For some reason, I remembered it and asked the present owner if he'd part with it. He said "yes" and we agreed on a price that was fair to both parties. (Still, I hate paying for something twice!)
It needed a lot of cleaning up, so it was disassembled; everything checked out OK, then re-assembled. I was a bit surprised to notice there weren't any mill marks or defacing; it was the same as when I first bought it.
The thing about 12" BP RTs is that they weren't designed to be mounted vertical without a right-angle mounting bracket of some sort, unlike a Troyke. Fortunately, a bracket was purchased soon after getting the RT in '86 just for that purpose. Horizontal or "normal" isn't a problem; you just need two of the mounting ears that typically come with it.
SO,..... How to store the RT when not in use and make it easy to mount/dismount? Thought about making a jointed arm affixed to the mill column that would allow swinging the RT out of the way. Did some checking and measuring; it would need quite a bit of room just to clear the mill column and mill bed.
But, the biggest concern was how to readily convert the RT from Horizontal to Vertical or vice versa.
Came up with this stand/cart to store the RT horizontally, but through the use of a small hand winch, the RT could be raised and tilted 90º up so that the right-angle mounting bracket could be slid under and attached to it.
The stand is on 4 casters; 2 fixed at the end nearest the mill table and 2 swivel opposite. To move the RT onto the mill table, the table is lowered until the height is about the same as where the RT is on the stand. As a safety precaution, there is a wooden dowel that is inserted to lock the left mill feed handwheel to the stand so as to keep the stand from moving away from the mill.
The stand with BP RT in horizontal position. Crank for winch is stowed in a bracket that also supports the crank rod when in use.
The winch is just visible under the top framework of the stand. It sits at 20º off the y-axis
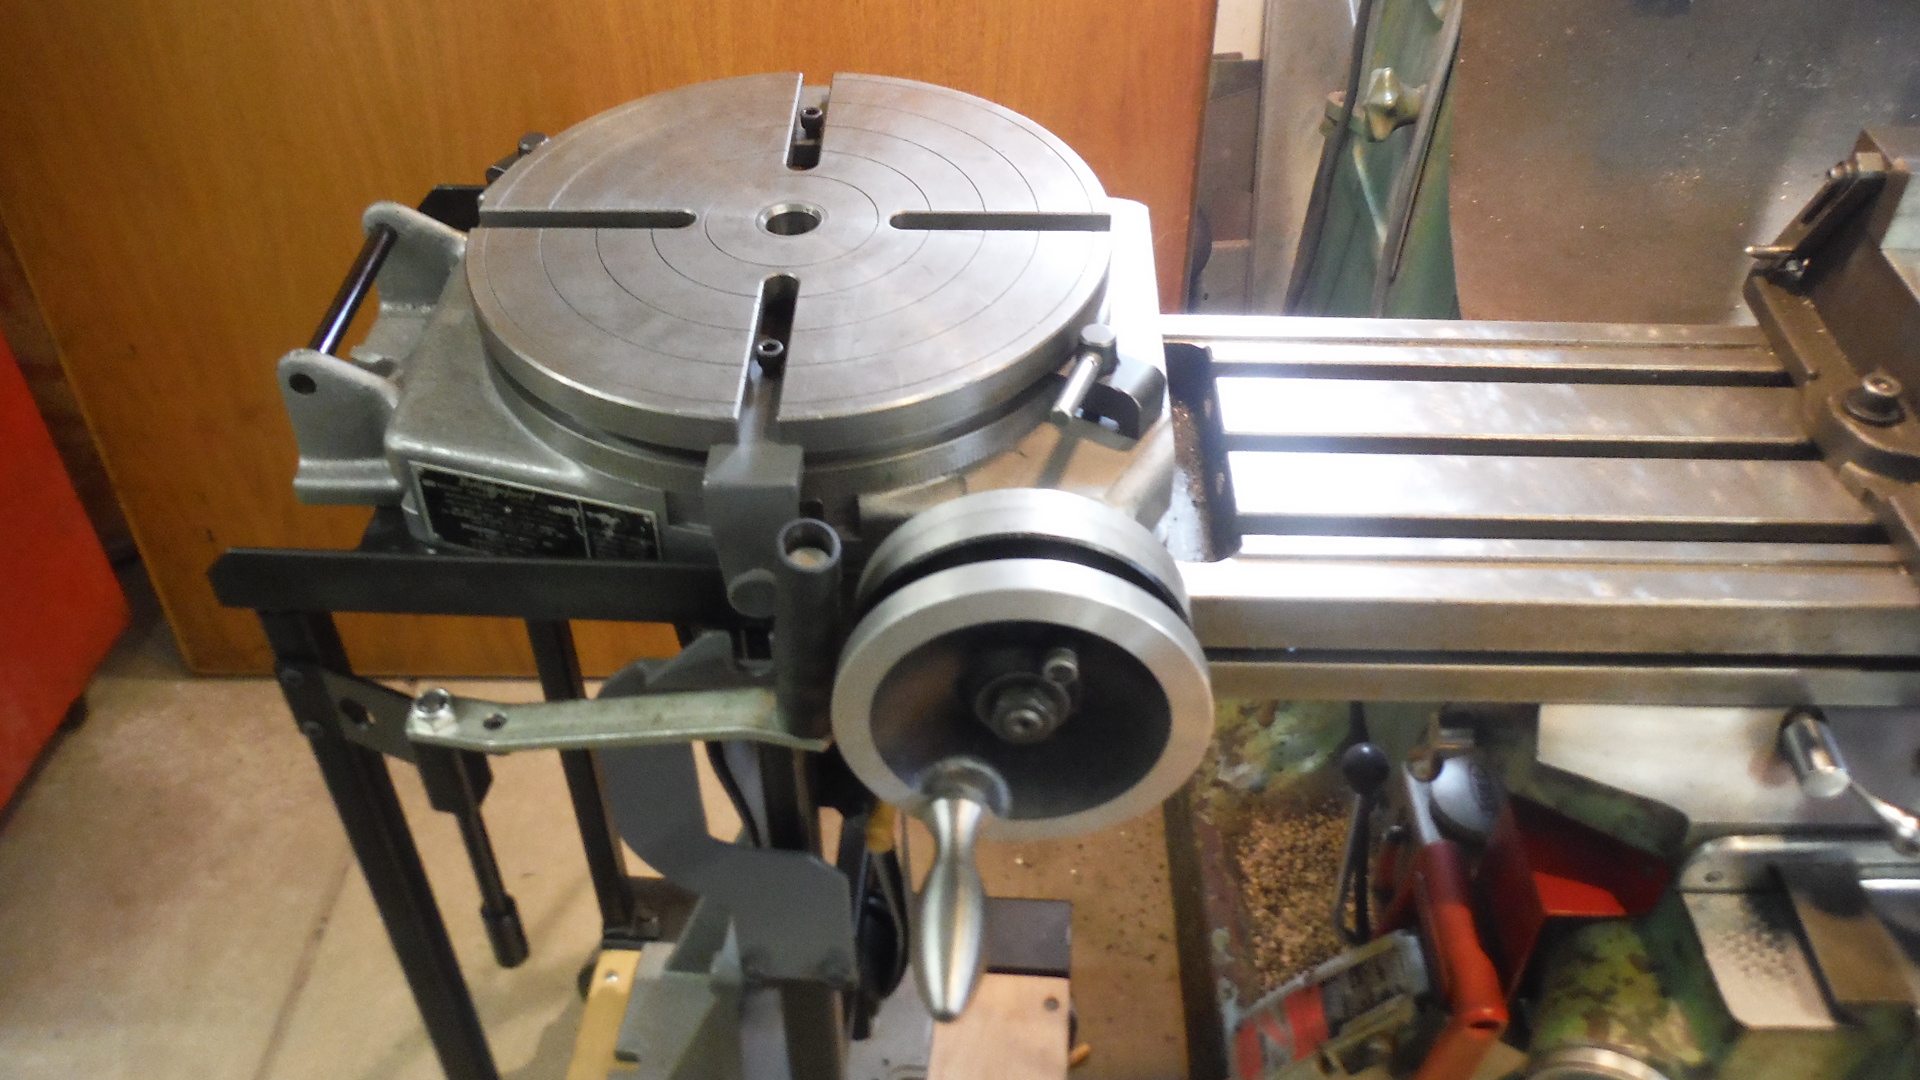
Stand is moved so that RT can slide onto mill table, which has been lowered into position.
Right below the handle of the handwheel (and barely visible) is the wooden dowel that locks the left-hand mill feed
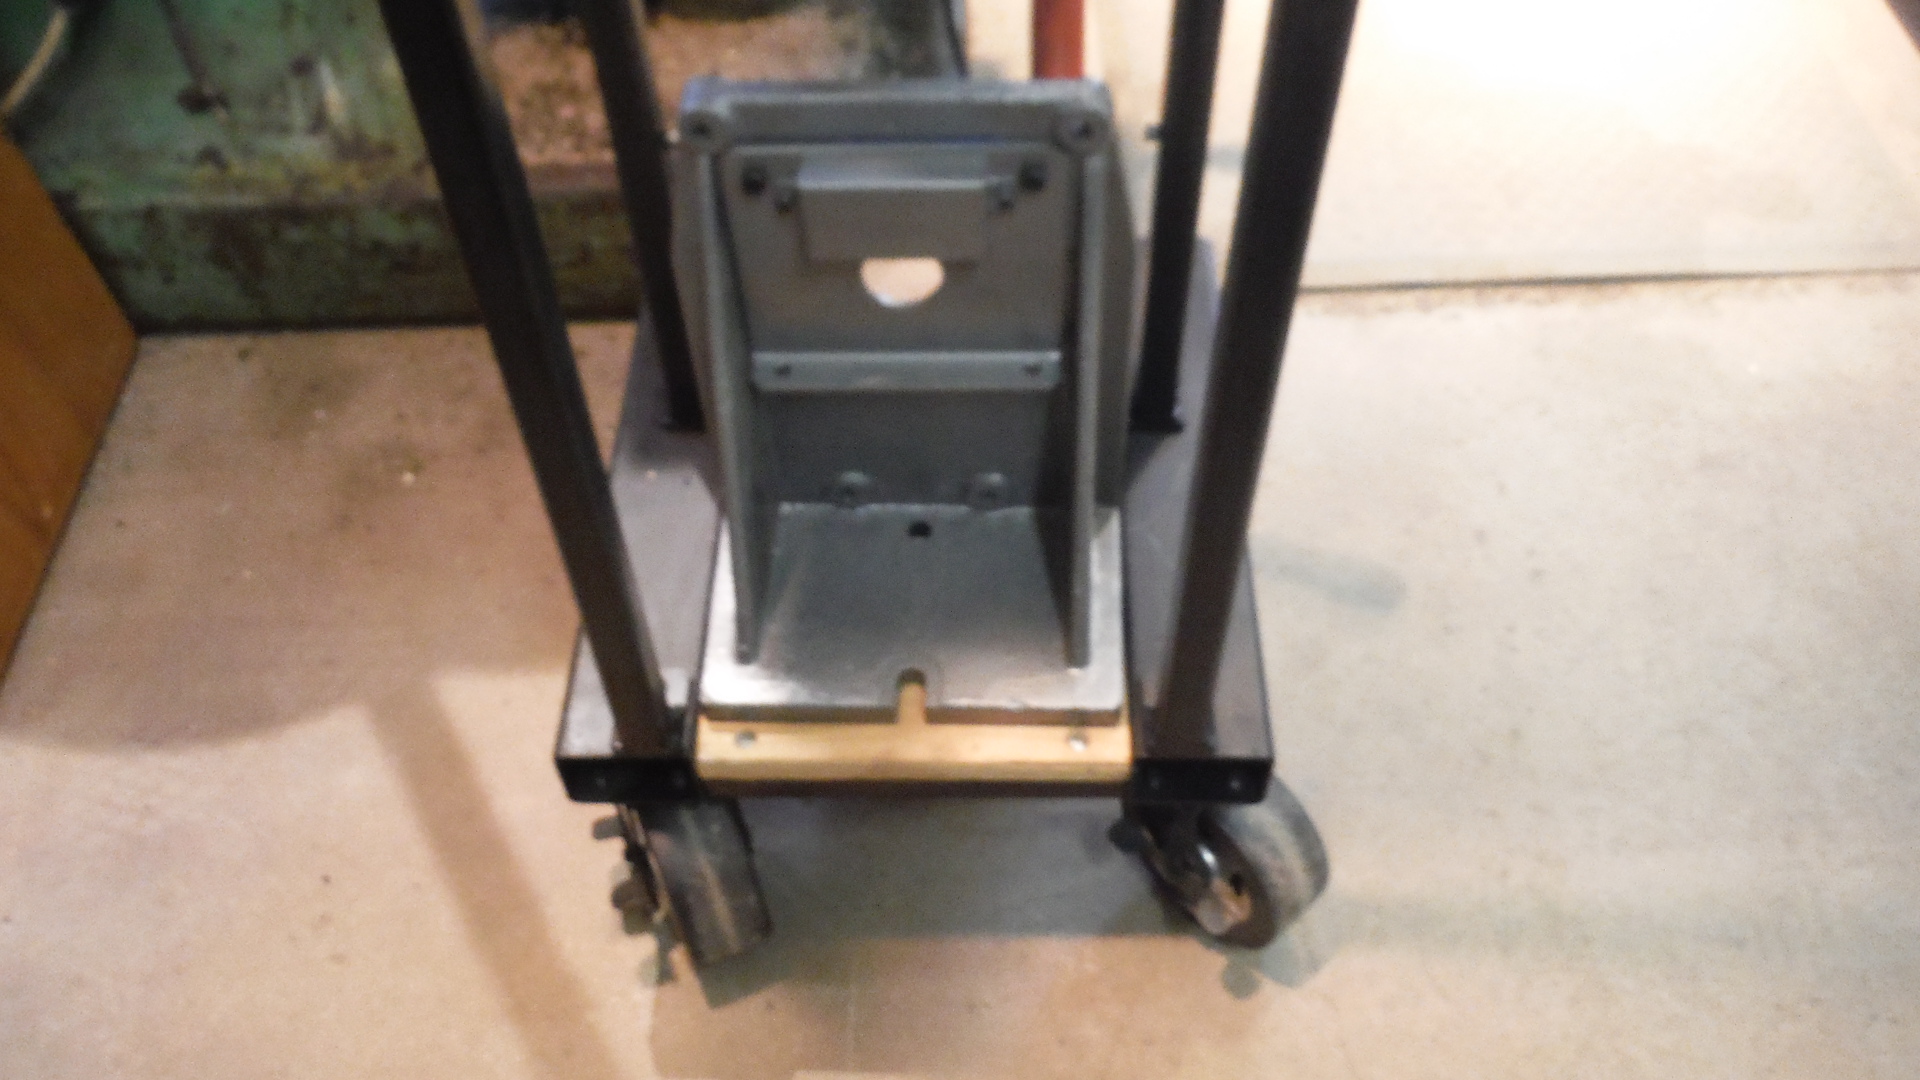
Here, the winch is pulling up on the 2 sliding vertical brackets that engage the 2) pin brackets that have been inserted into the top slots of the RT
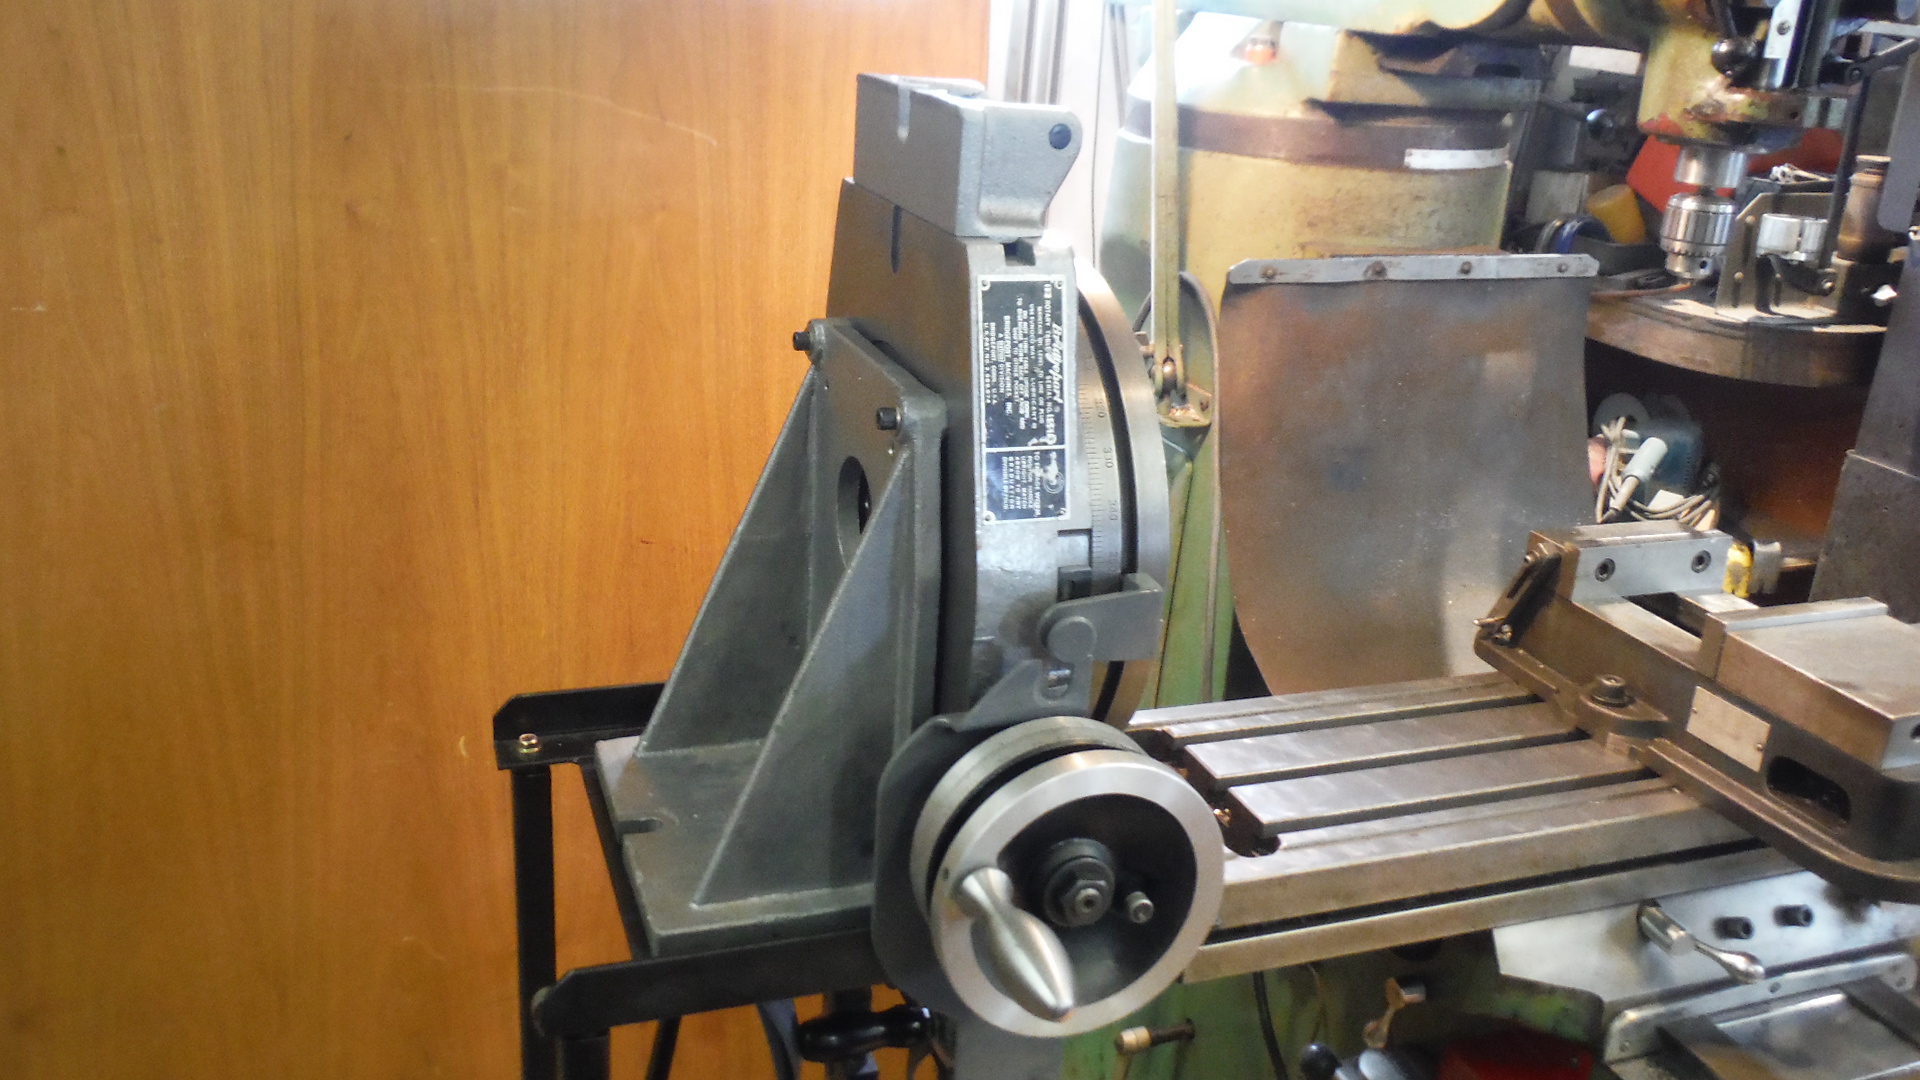
This shows the RT in the transition from horizontal to vertical. The pin brackets allow the RT to swivel freely.
Fortunately, the guess of center-of-gravity was very close..... no tendency to tilt one way or the other.
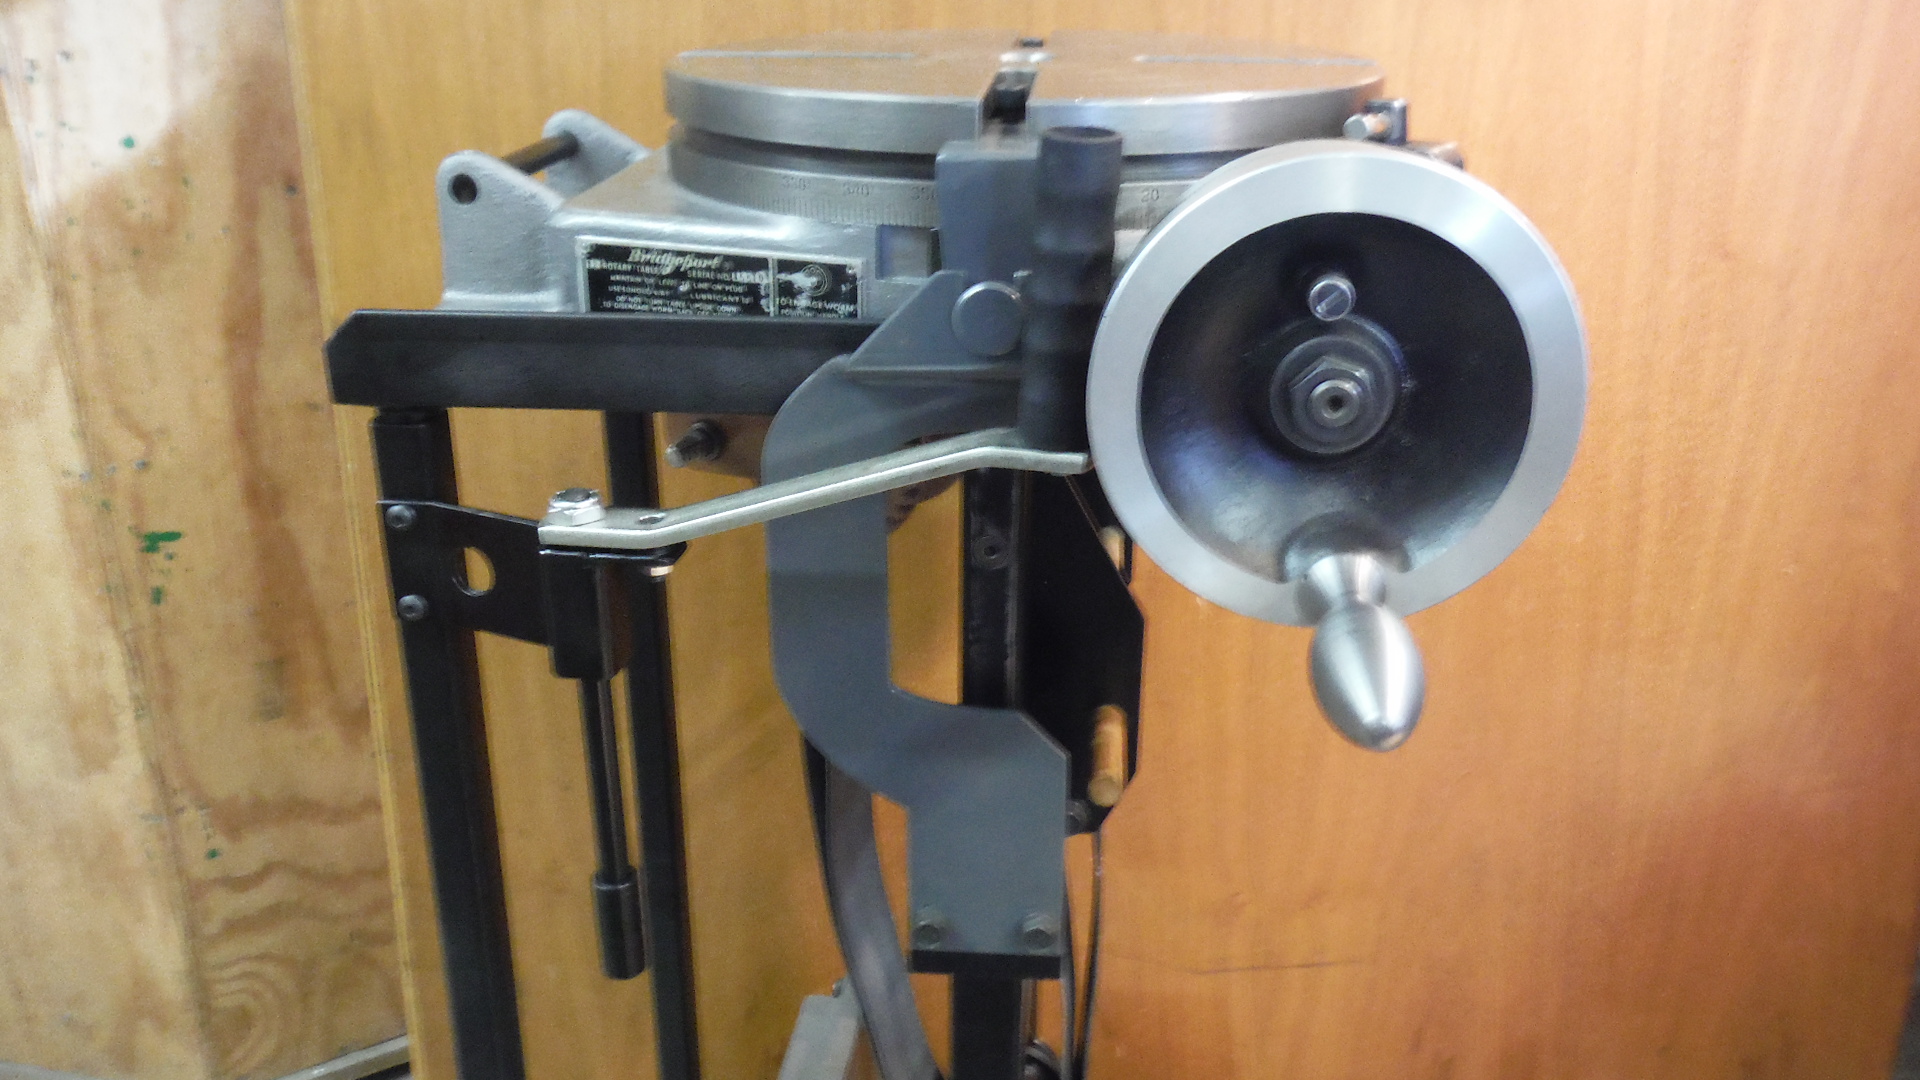
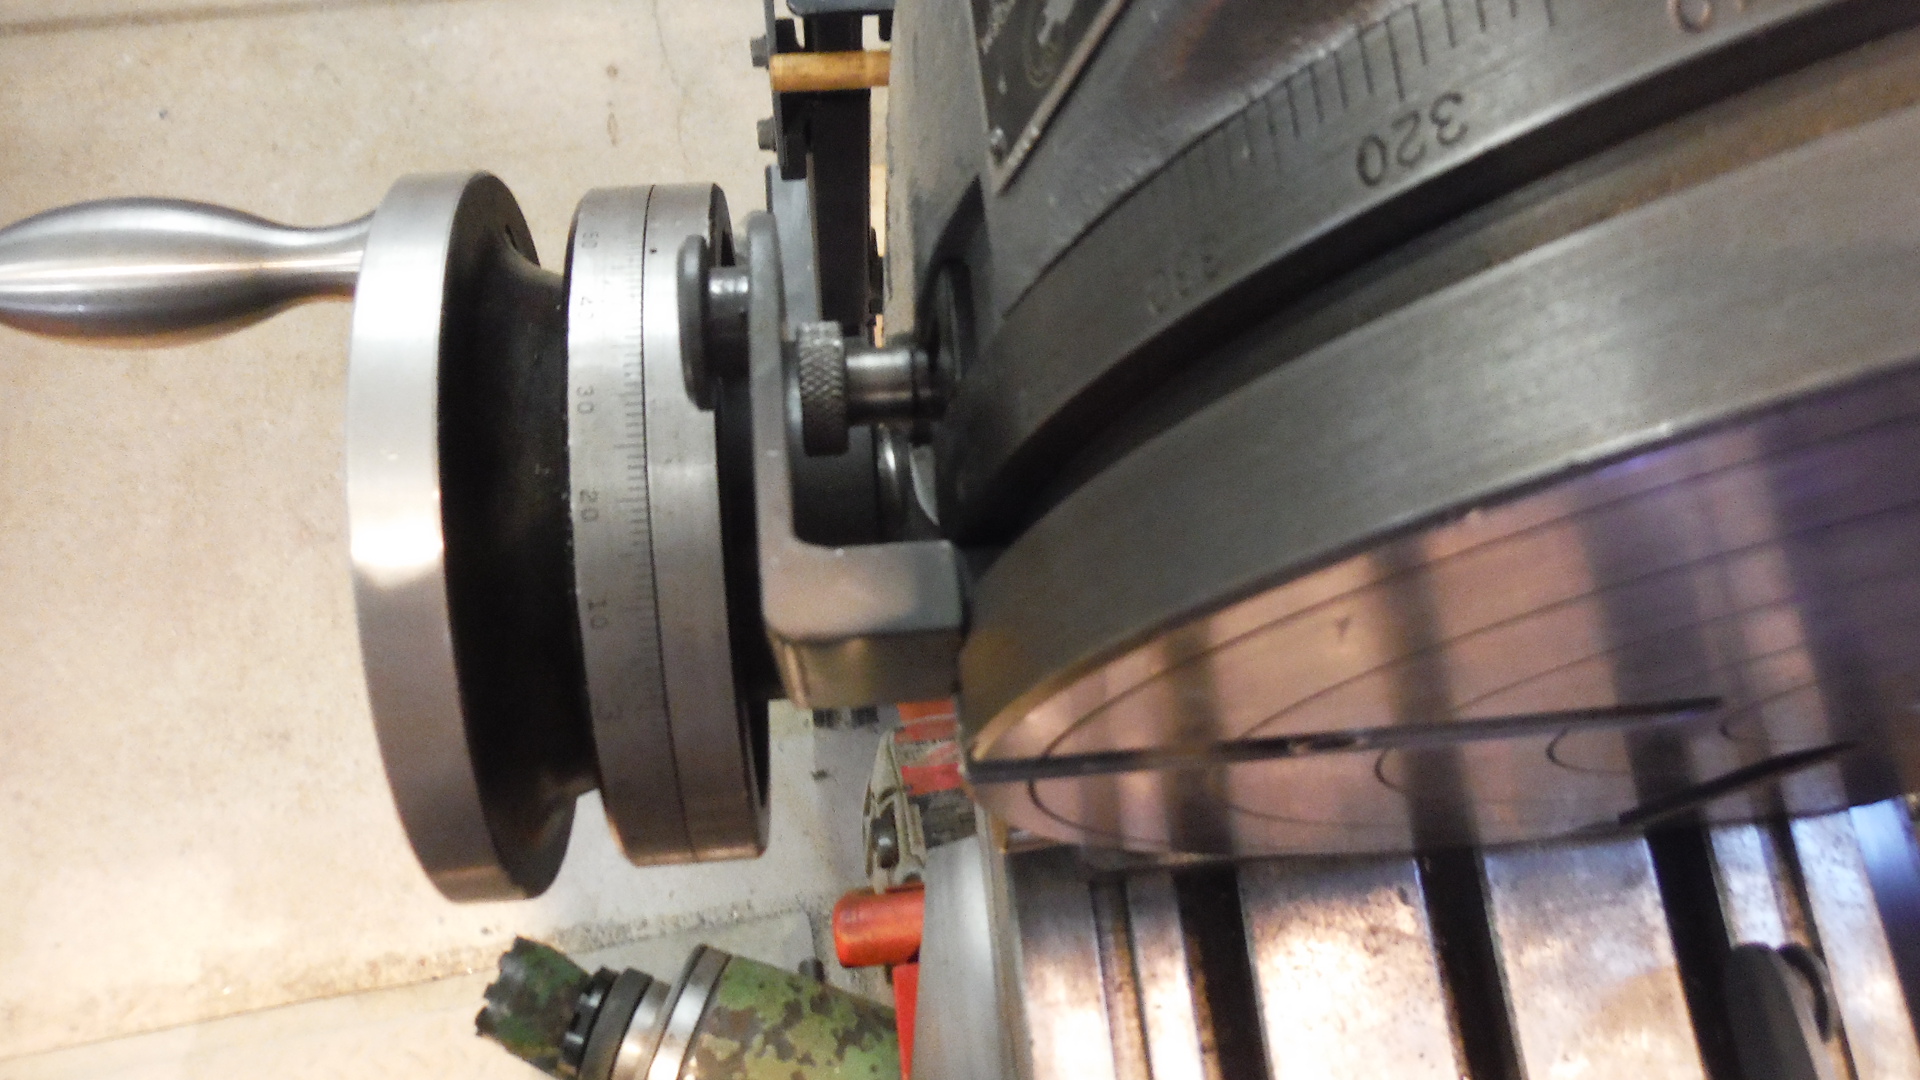
Here the offset pin bracket for the RT handwheel side is shown. I wanted to make sure the degree pointer didn't have to be removed.
The other pin bracket is similar but did not have an offset.
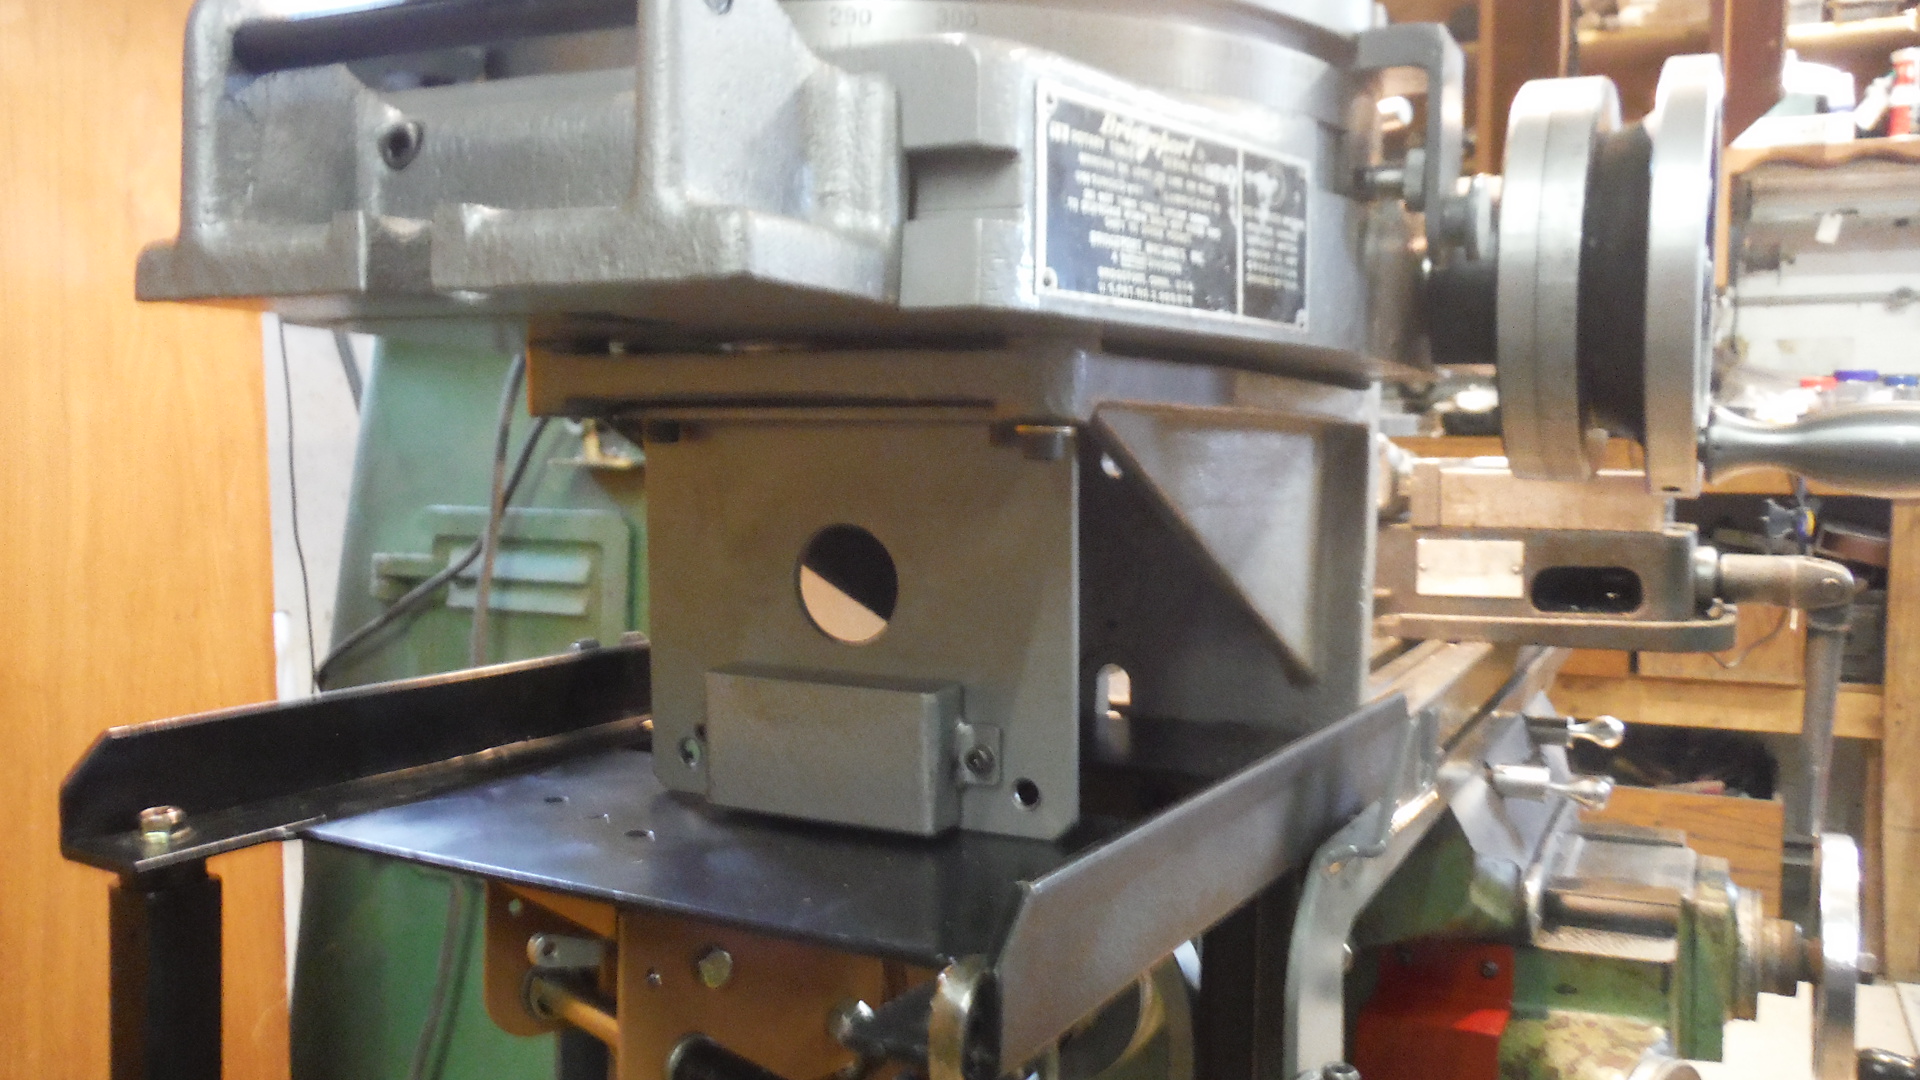
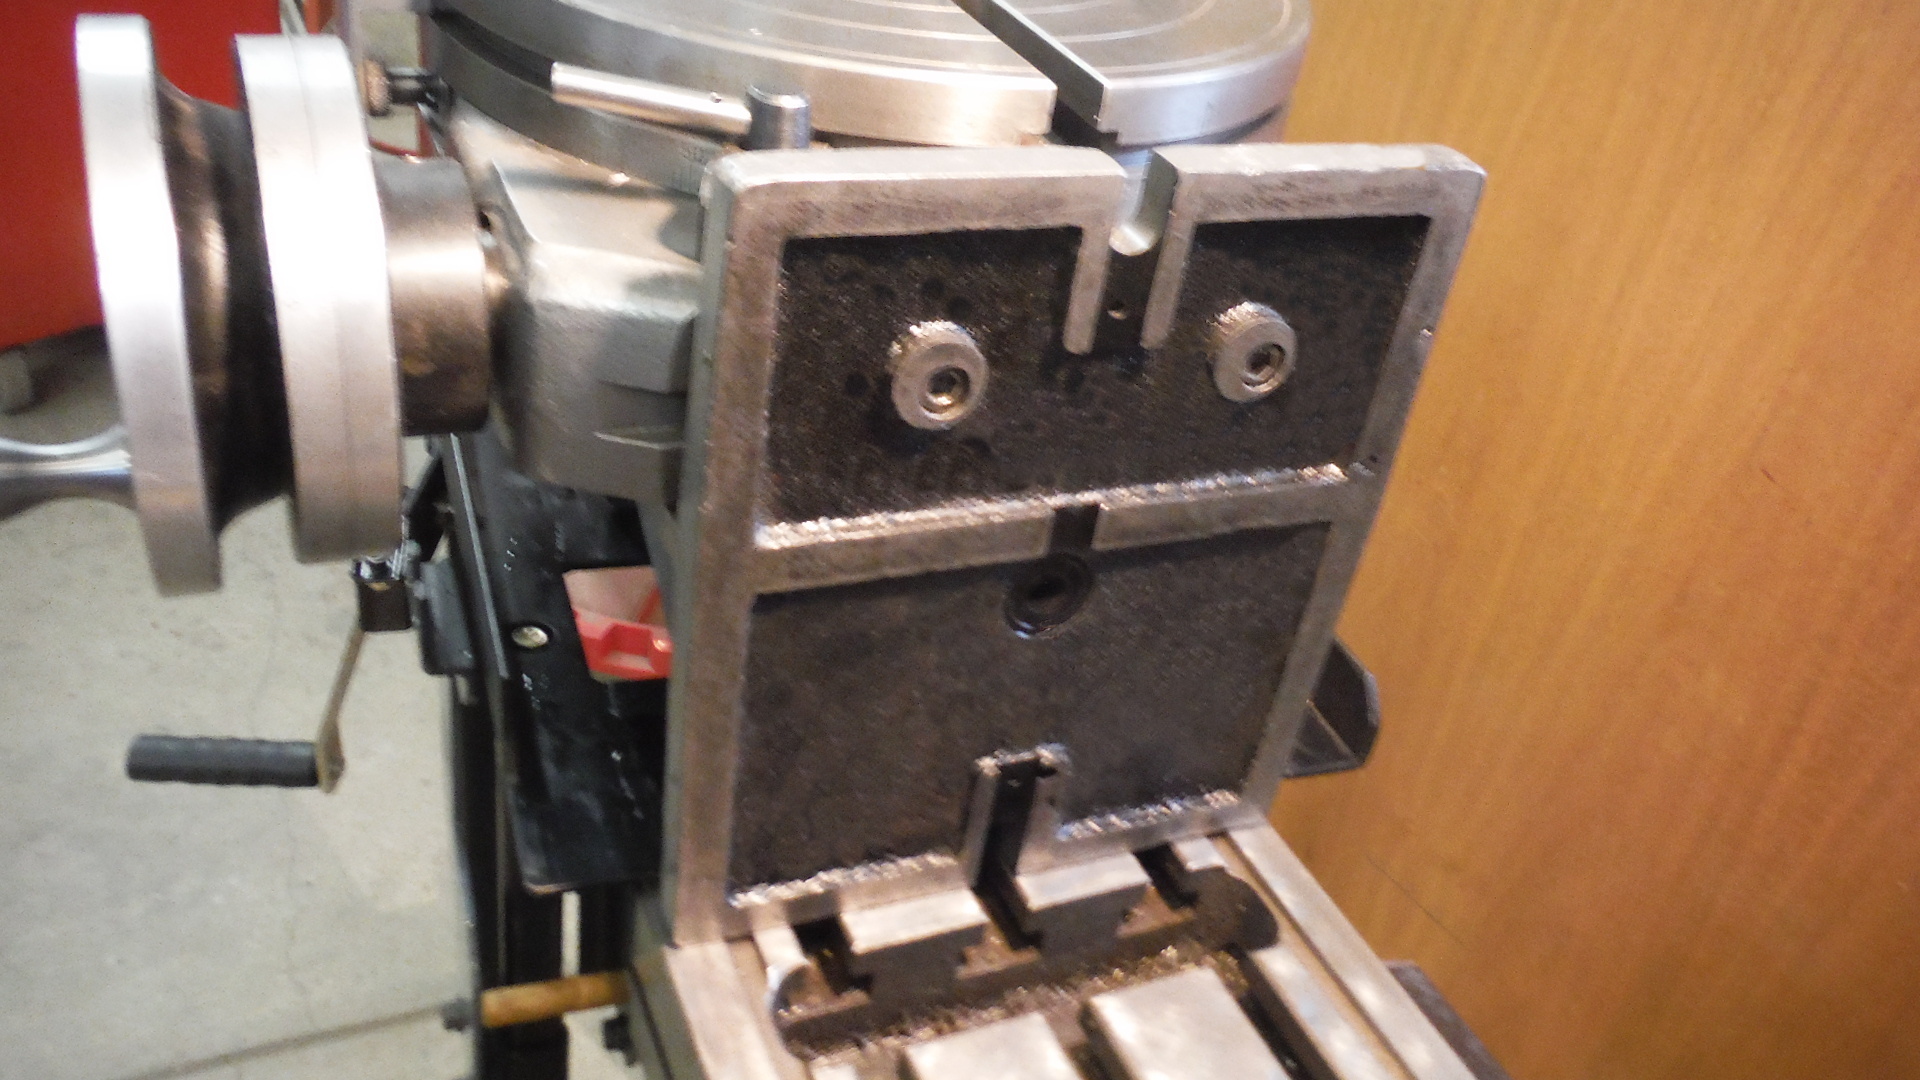
Right-angle bracket is loosely bolted to the RT in 4) places using 5/16-18 SHCS
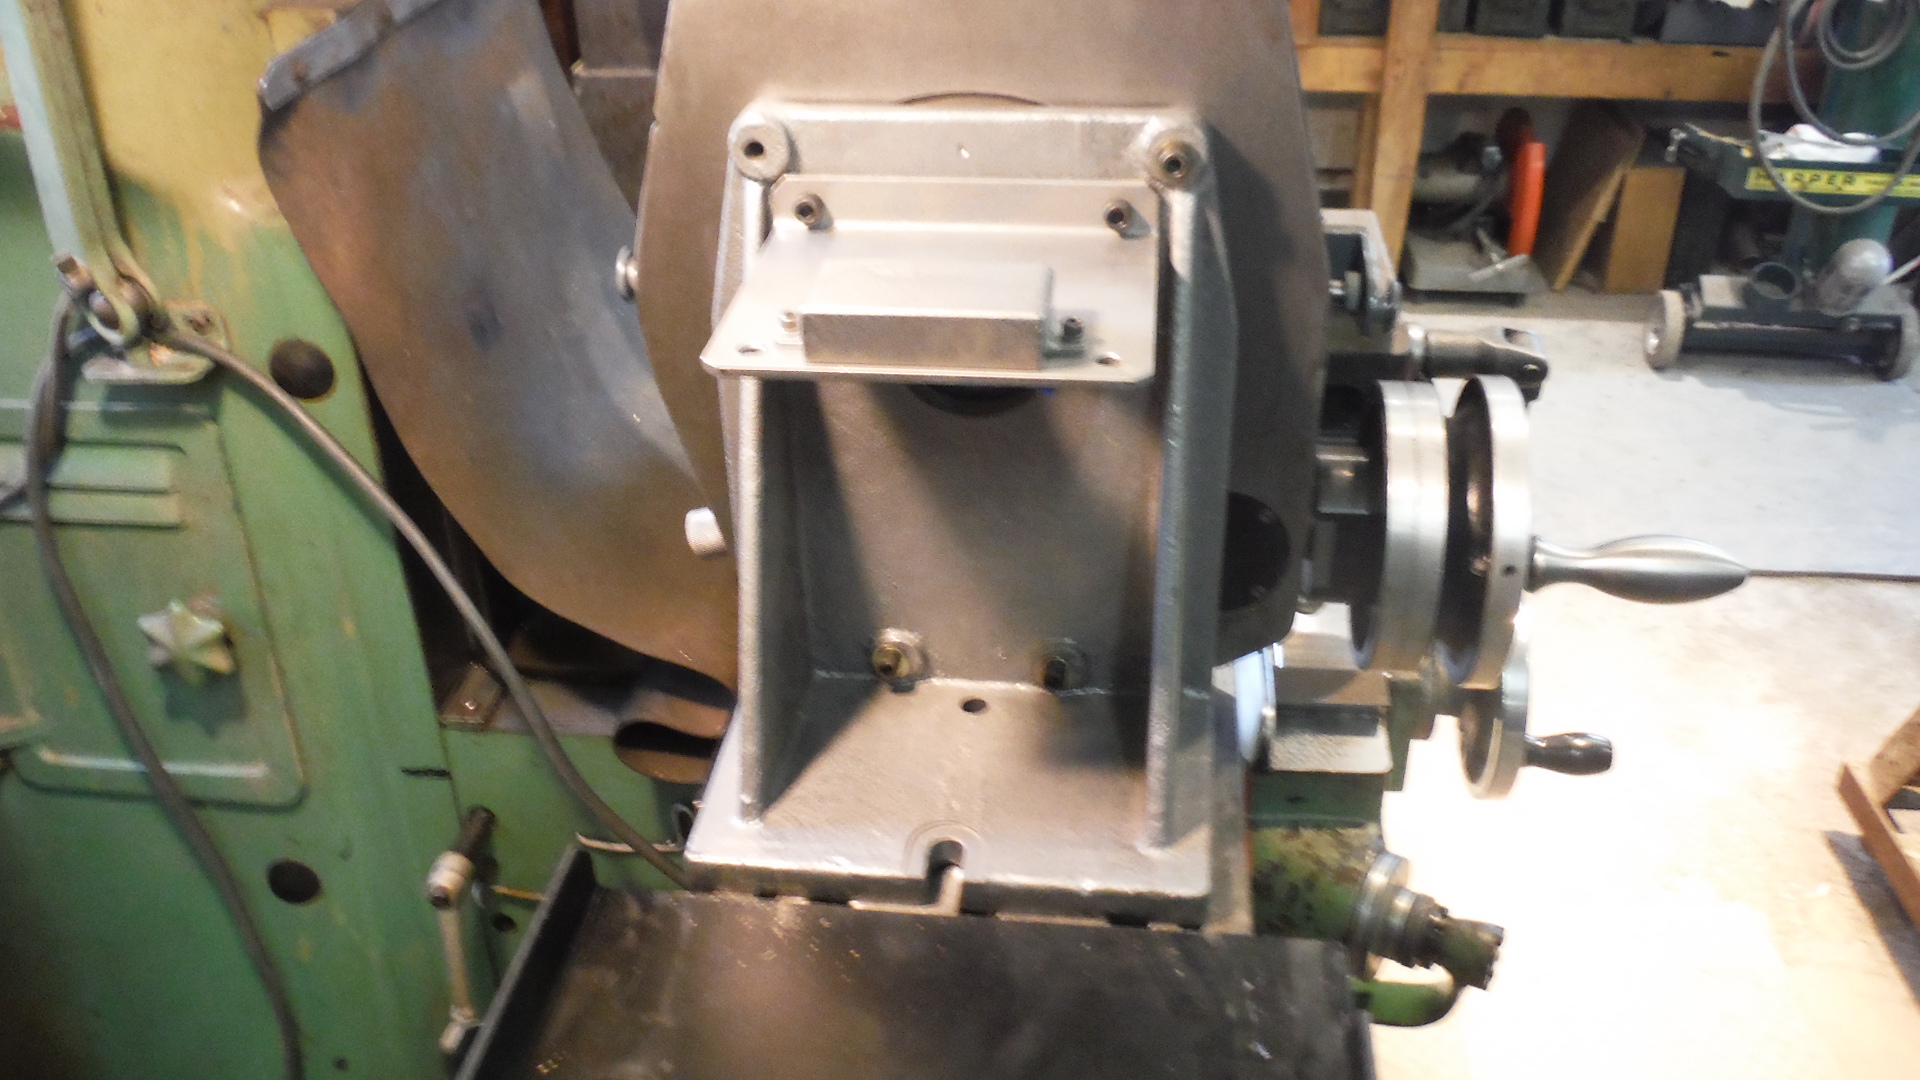
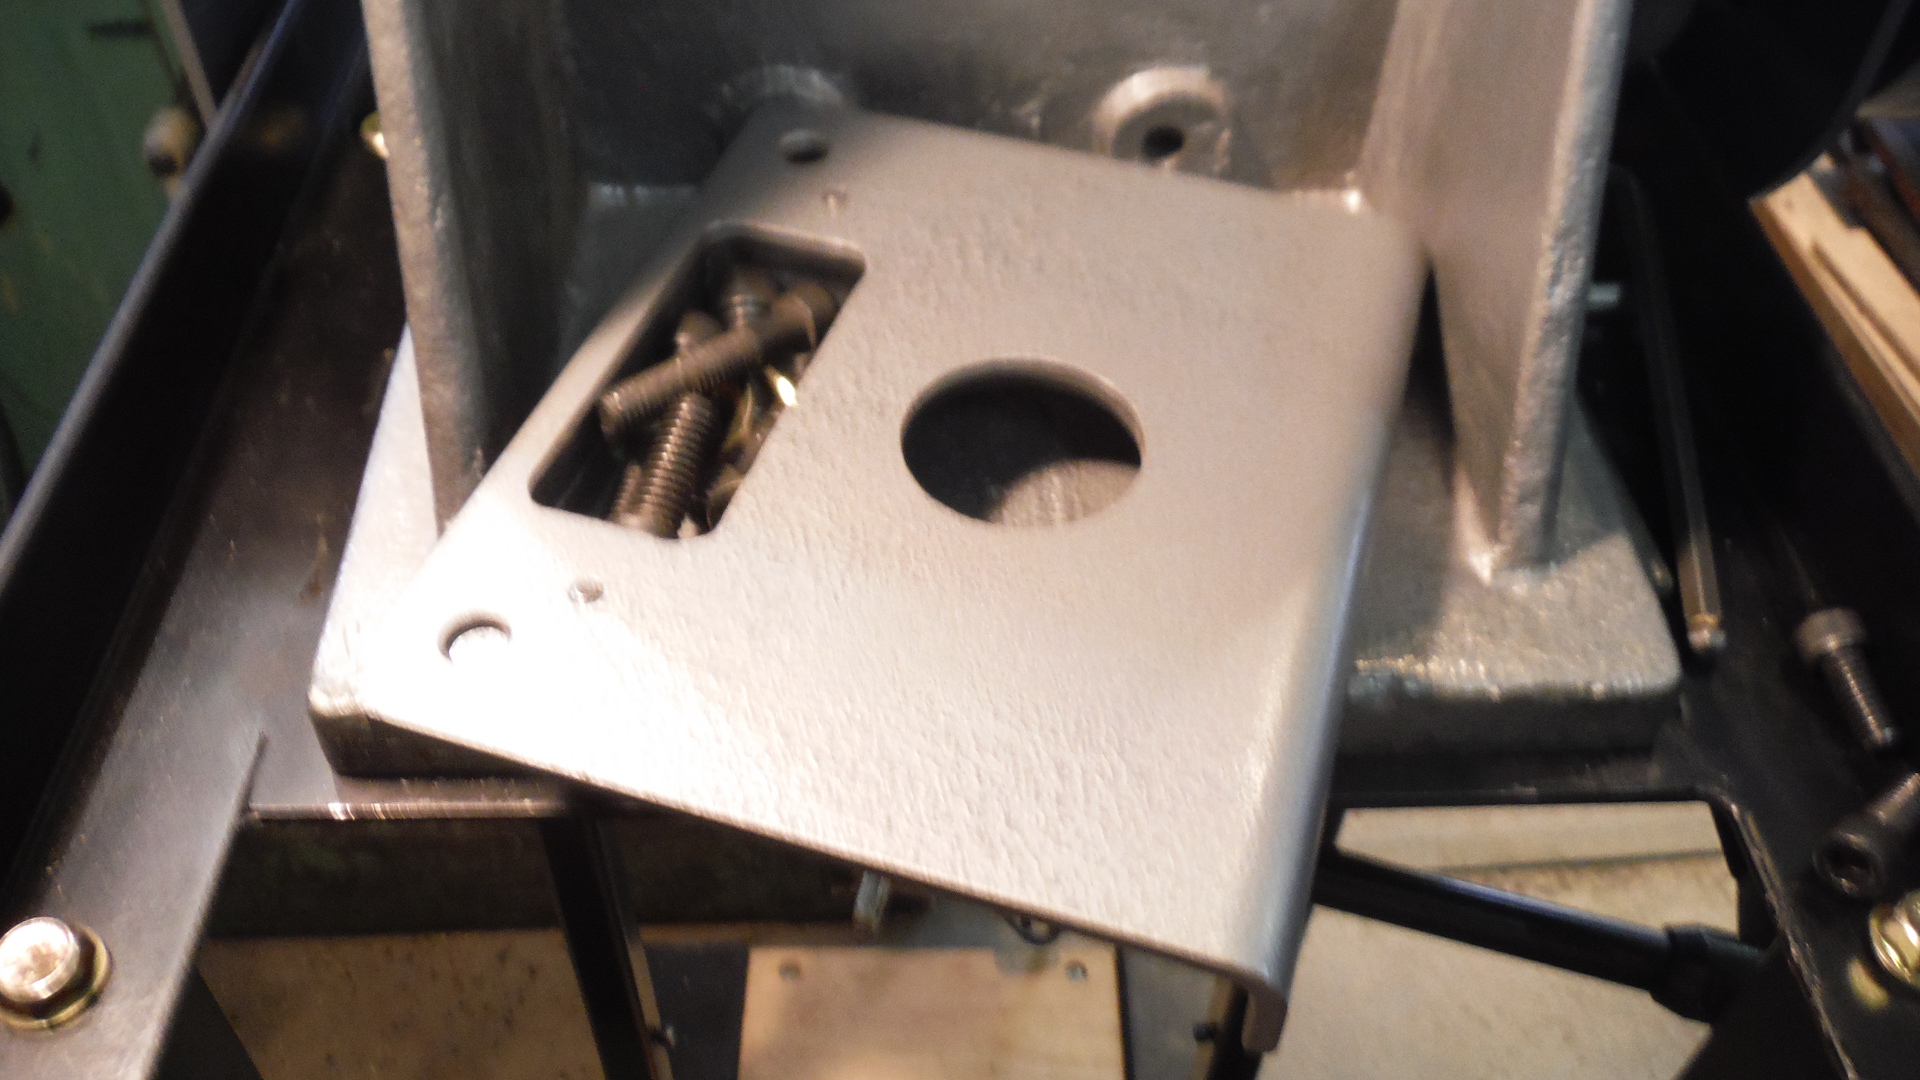
On the open side of the right-angle mounting bracket I bolted on another bracket that serves two purposes.
1) It is used to keep the whole assembly level when accessing the two 3/8-16 SHCS at the bottom....
Clear access to the 3/8-16 SHCS
2) It has a small box to store the fastening cap screws.
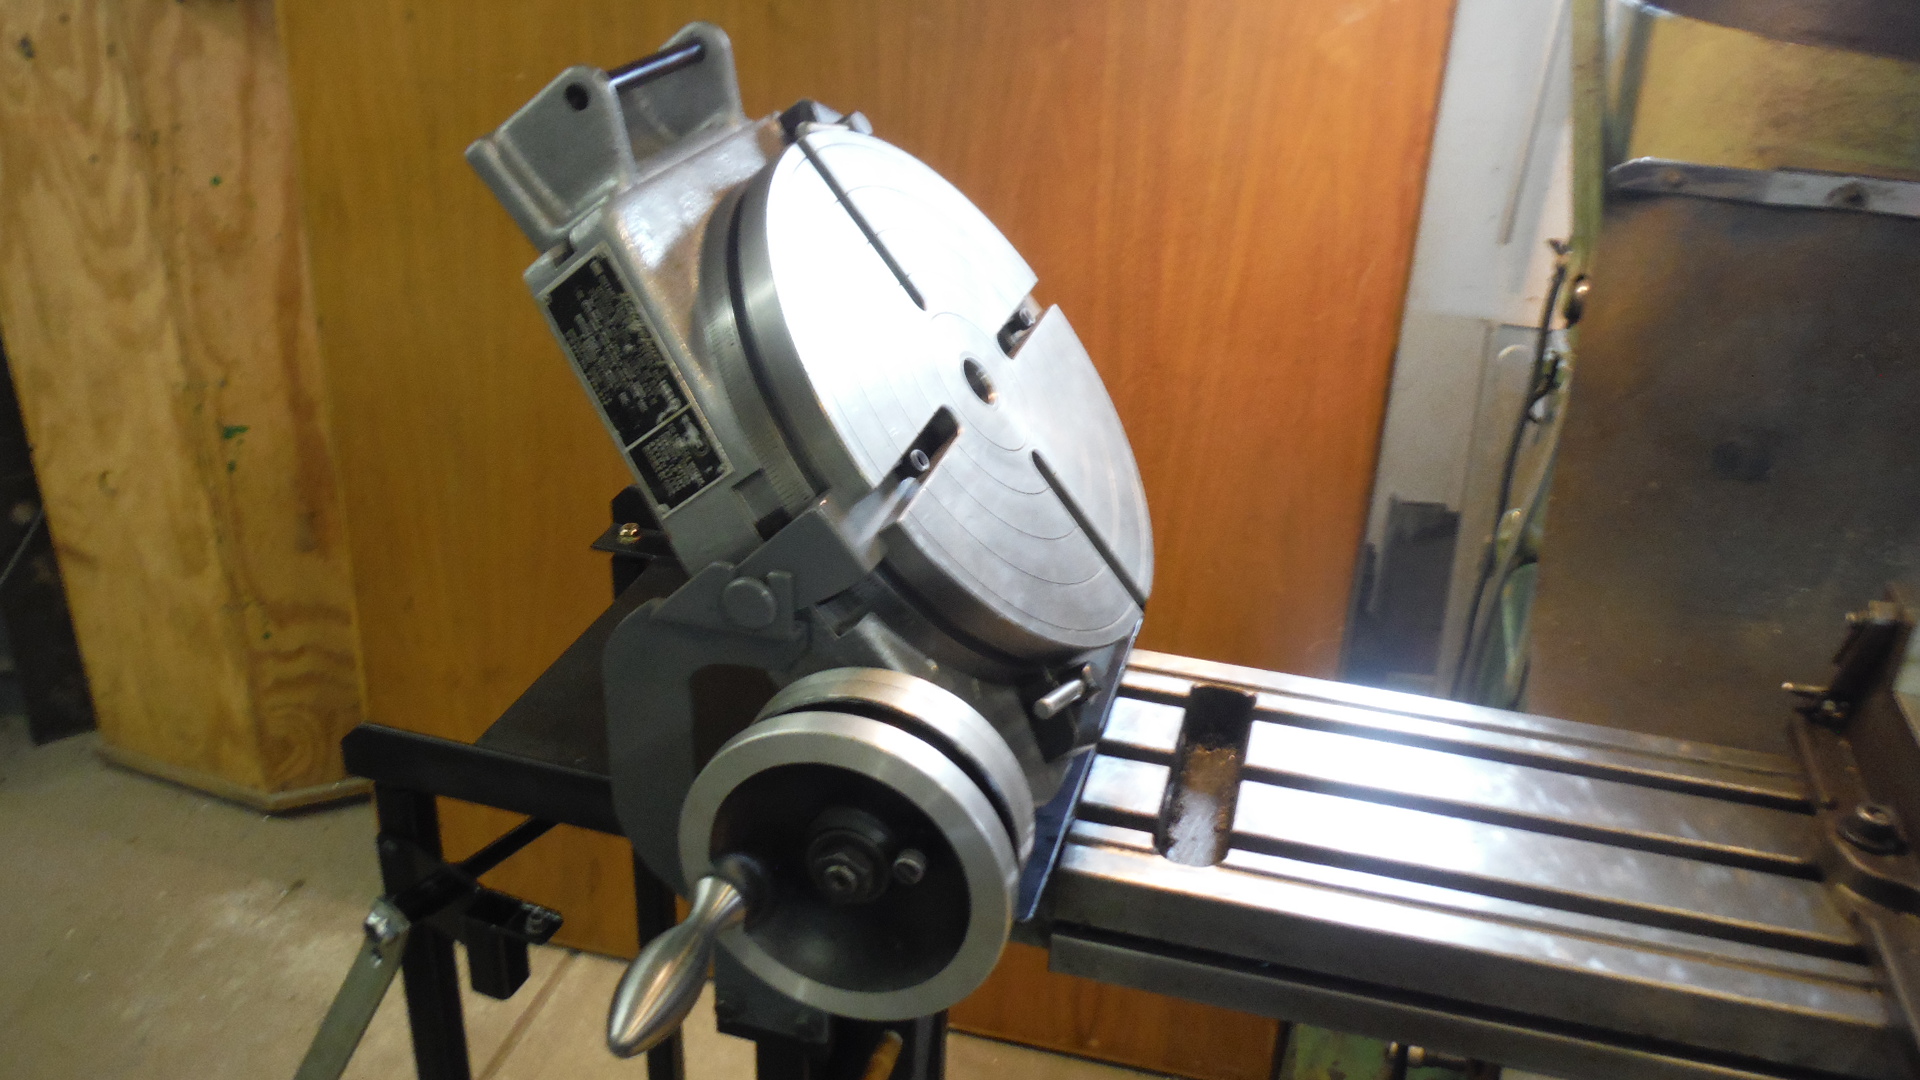
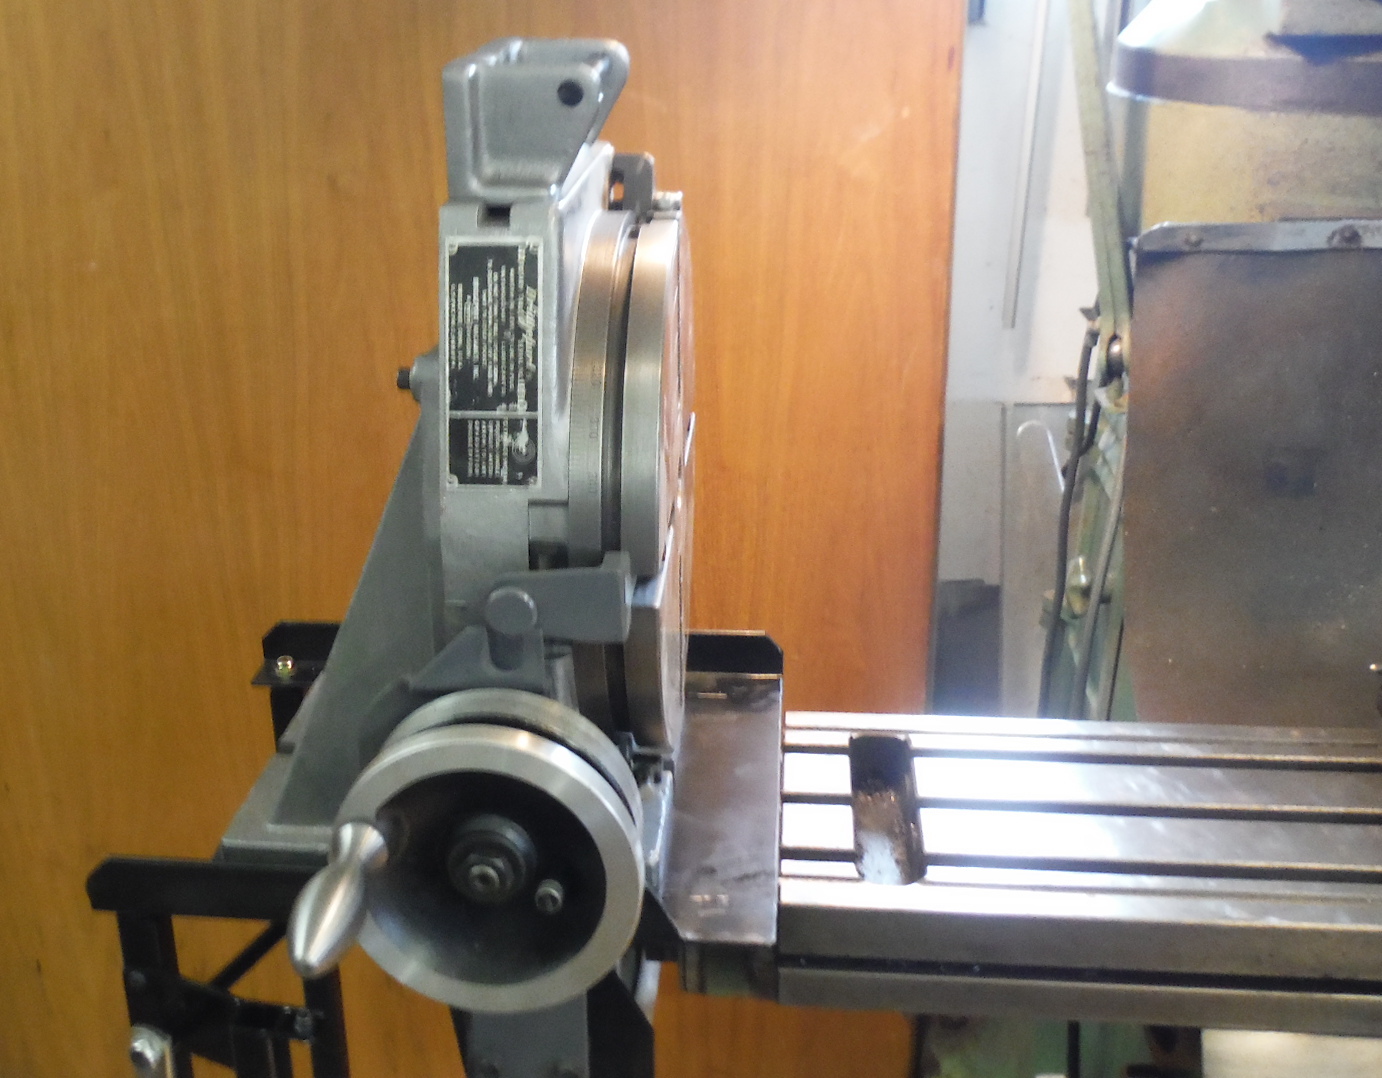
RT in vertical position ready to slide onto mill table
Right-angle mounting bracket is stored on the bottom shelf of the stand when not in use.


 Reply With Quote


Bookmarks