
 LinkBack URL
 About LinkBacks


I hope that I did not raise a sore point about the spelling but I am afraid those things jumps out of the page at me and I assumed that you had realised it by then. It is so easy to do and so annoying when you do.Originally Posted by albertq

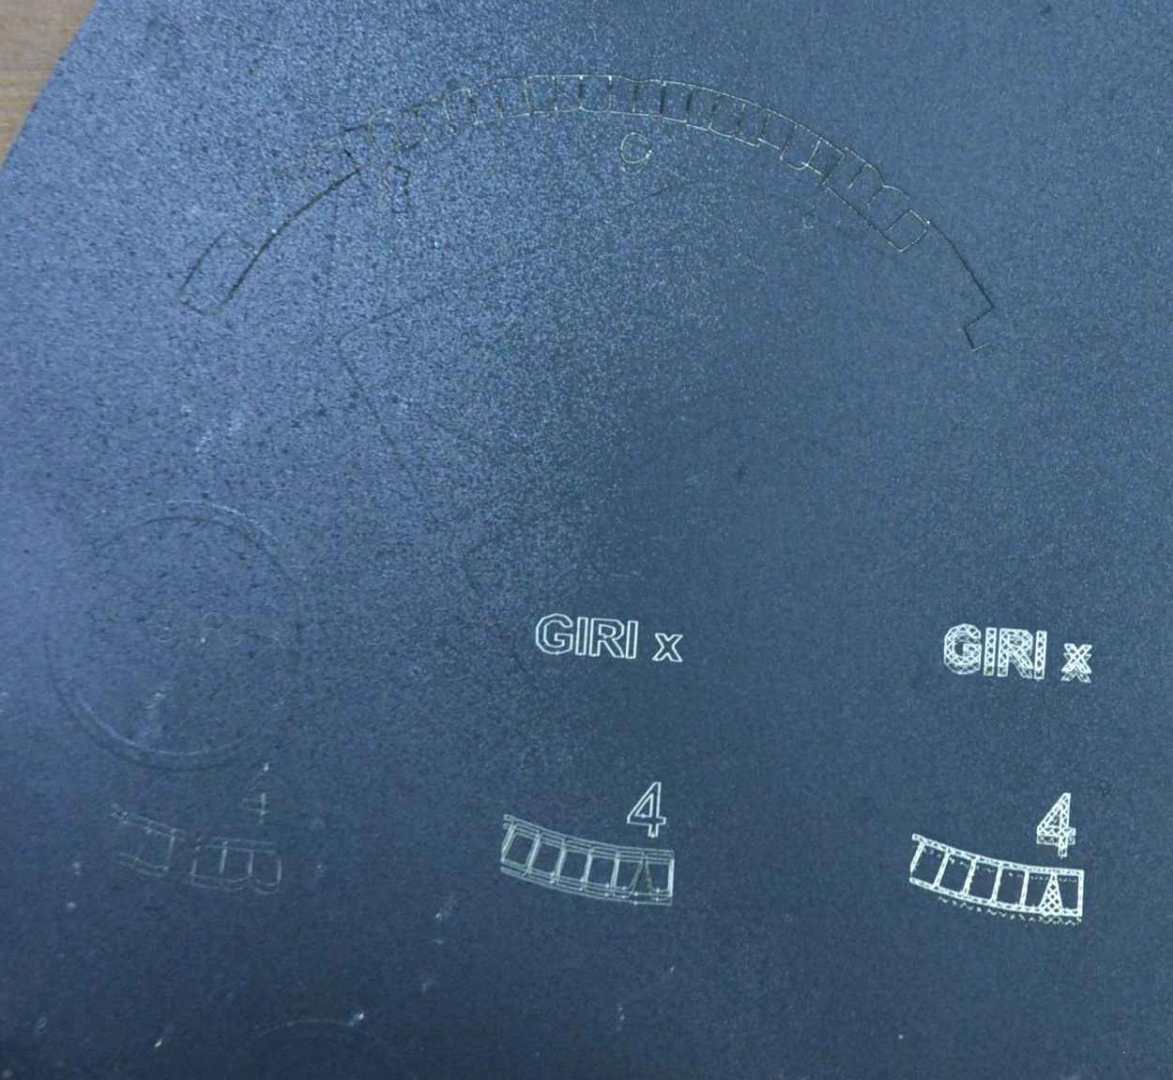
About the laser engraver. My son had a surplus to requirements 3D printer and I saw that replacing the printing head with a laser would be an easy job. So I fitted a low power laser (read CHEAP) to check out whether it would be a useful tool before spending more on a more powerful unit. I'll make a post on that soon. I do not have many photos of the lettering tasks but here is a first attempt at getting some software settings adjusted, near the top you can just see some witness marks where the power was too low or the feed too high.
Click for full size.
Once I understood the settings the results improved. As you can see the white below is not noticeably affected.
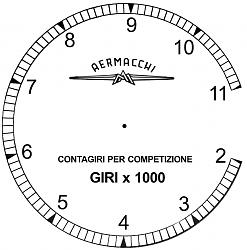
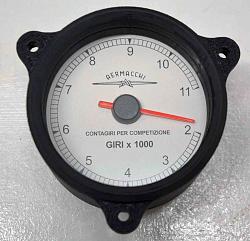
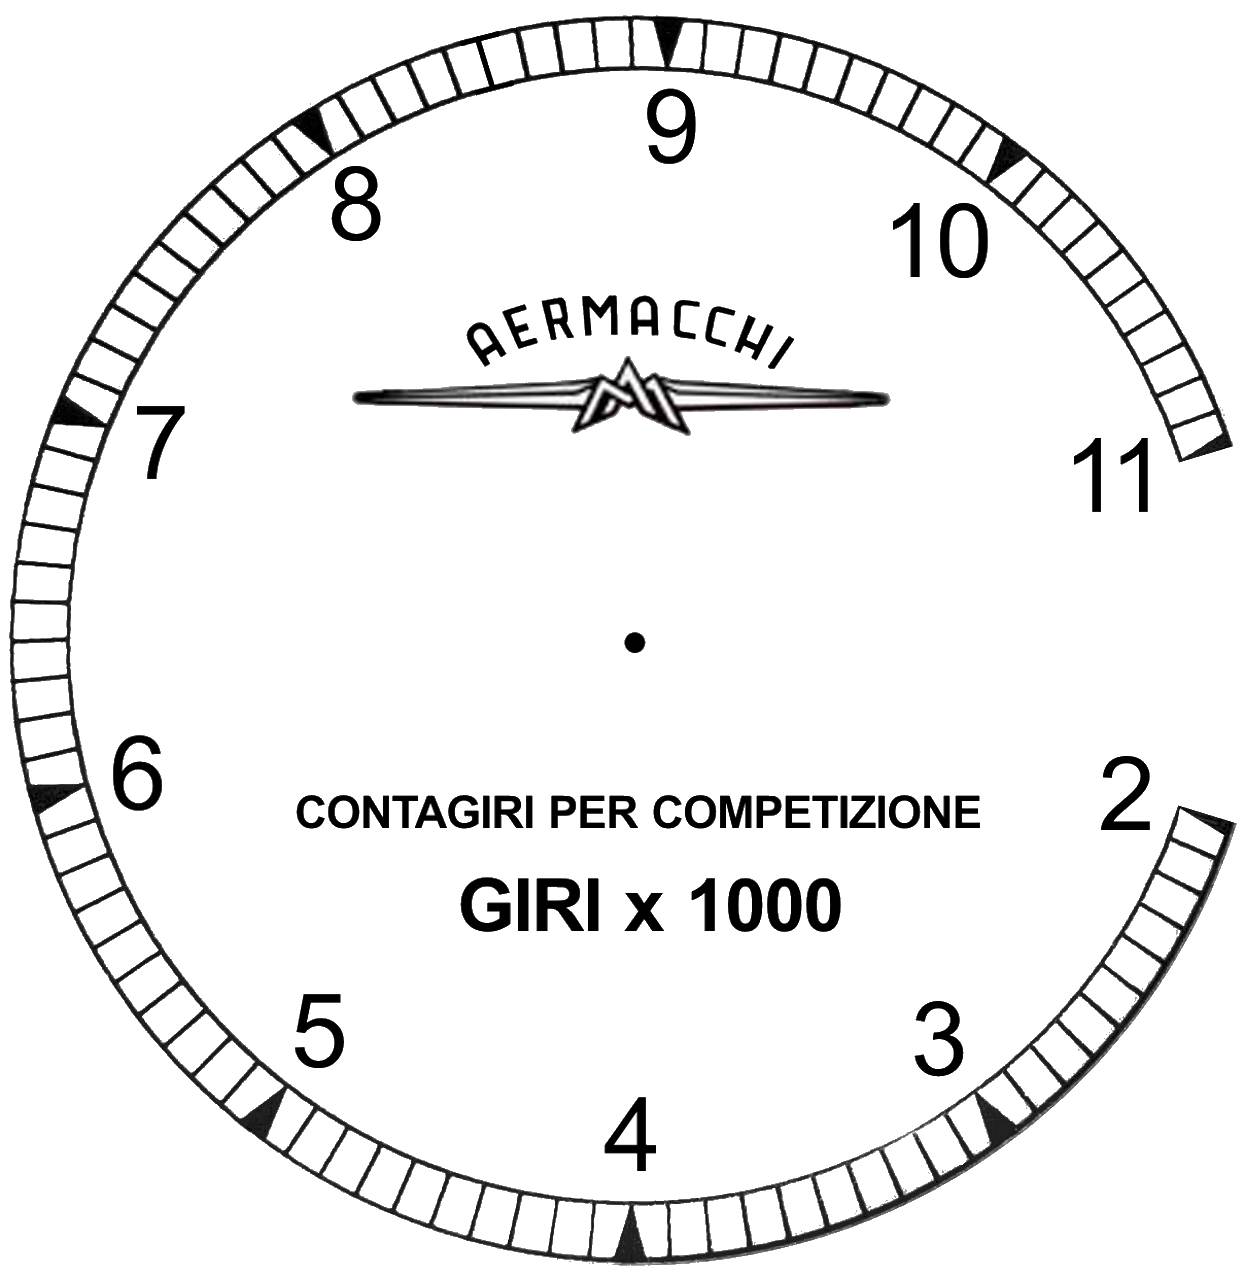
This was just a test because I actually needed a black on white dial to roughly replicate a vintage tacho dial. I just printed this on adhesive backed paper and coated it with 2 coats of clear lacquer.


 Reply With Quote

Bookmarks