
 LinkBack URL
 About LinkBacks

Some time ago, I added X-Axis power feed to my mini mill. (I'll post about this at a future time.)
Shortly after, I decided that I should have power feed for the Y-Axis, as well as power feed for most operations on my mini lathe. I recently added a crank handle to the Z-Axis fine feed knob of my mini mill (posted here recently). I decided that this, too, should have power feed capability.
The benefits of power feed include:
* consistent speed, producing better finish
* reduces operator fatigue during repetitive operations
Requirements:
* use without modifying machines
* wide range of operating speed
* low voltage (for safety)
* easy reverse
* easy "100% speed" for rapid traverse or tool withdrawal
I decided to use 12V DC for this system. I purchased a PWM motor speed control with display, and a common 12V power supply as used for computers and similar electronic. Both sourced from Amazon.
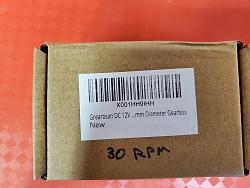
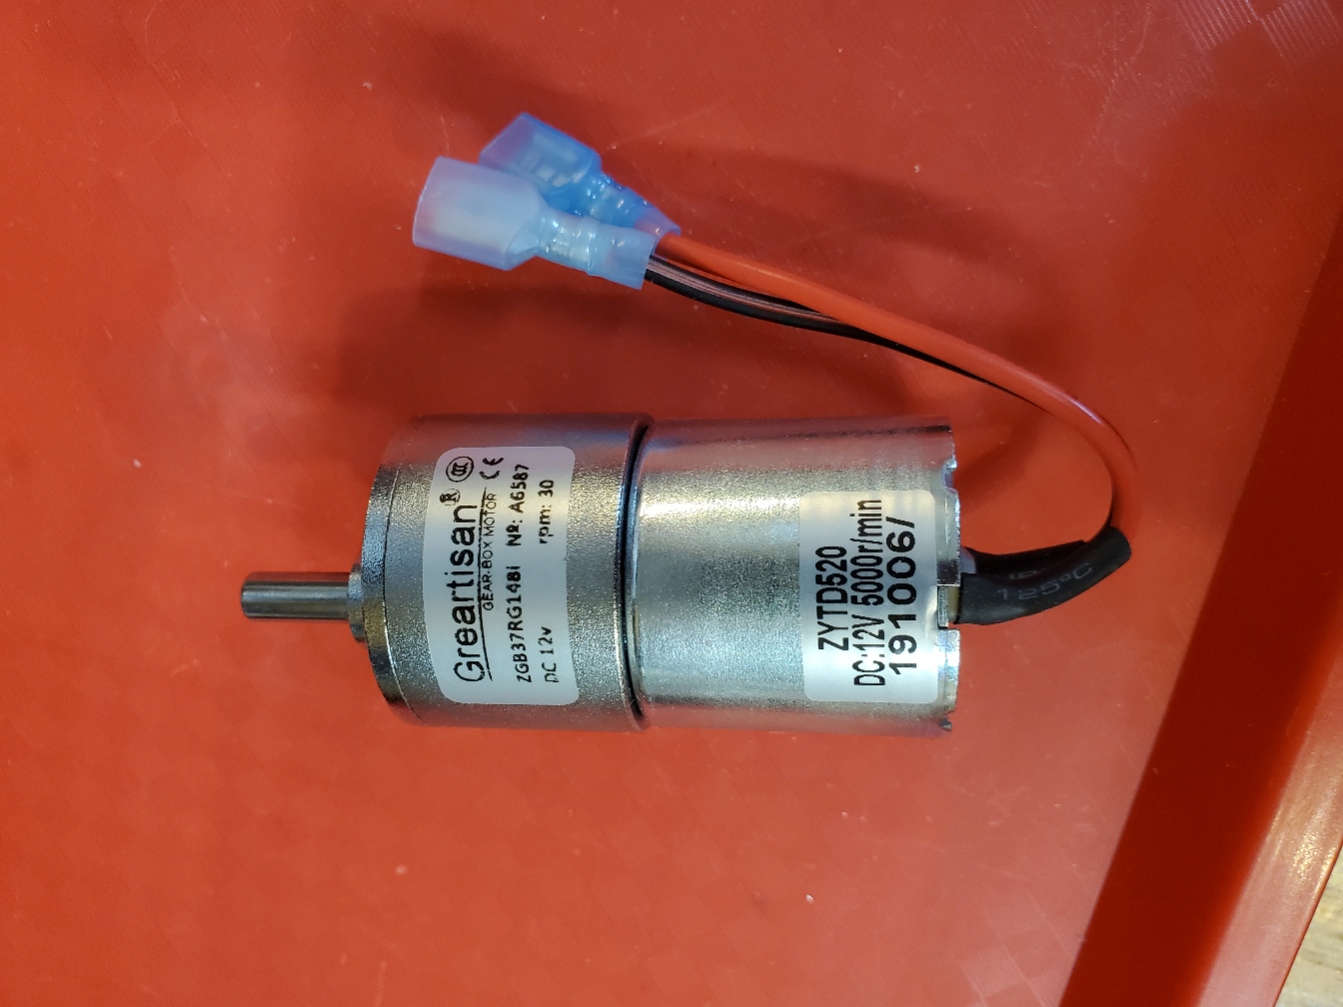
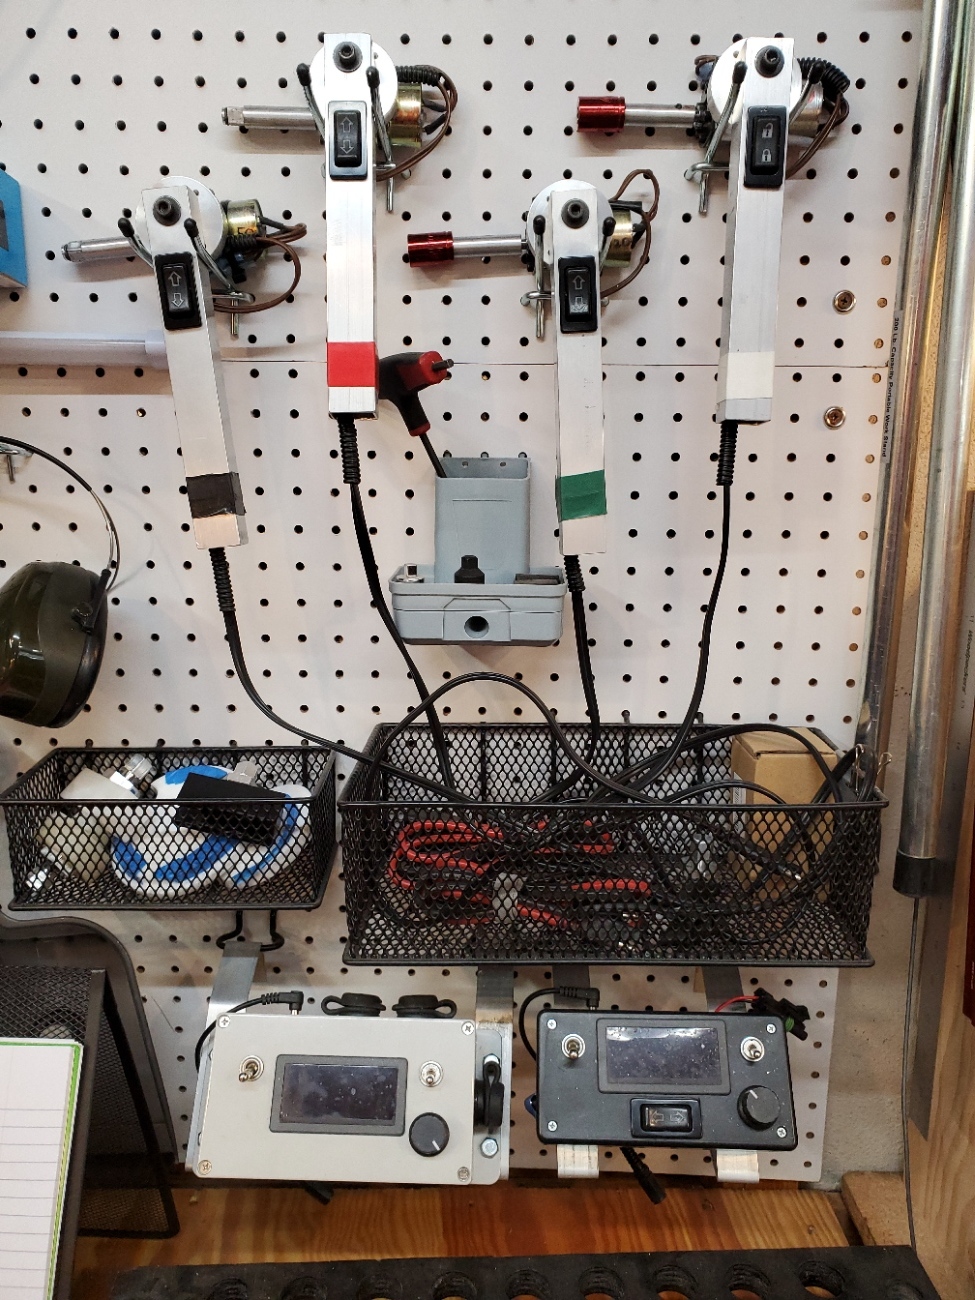
Since DC motors lose a lot of torque at reduced speed, I built 4 easily interchanged power drive units with different gearing. That way I could get a wide range of speeds without trying to operate the motors at low speed. All the motors turn at about 5k max RPM and have attached gear reduction for the rated RPM. After experimentation, I settled on 220, 120, 50, and 20 RPM. These motors, along with the mounting brackets, were sourced from Amazon.
I used residential solar-panel type connectors and plugs (Amazon).
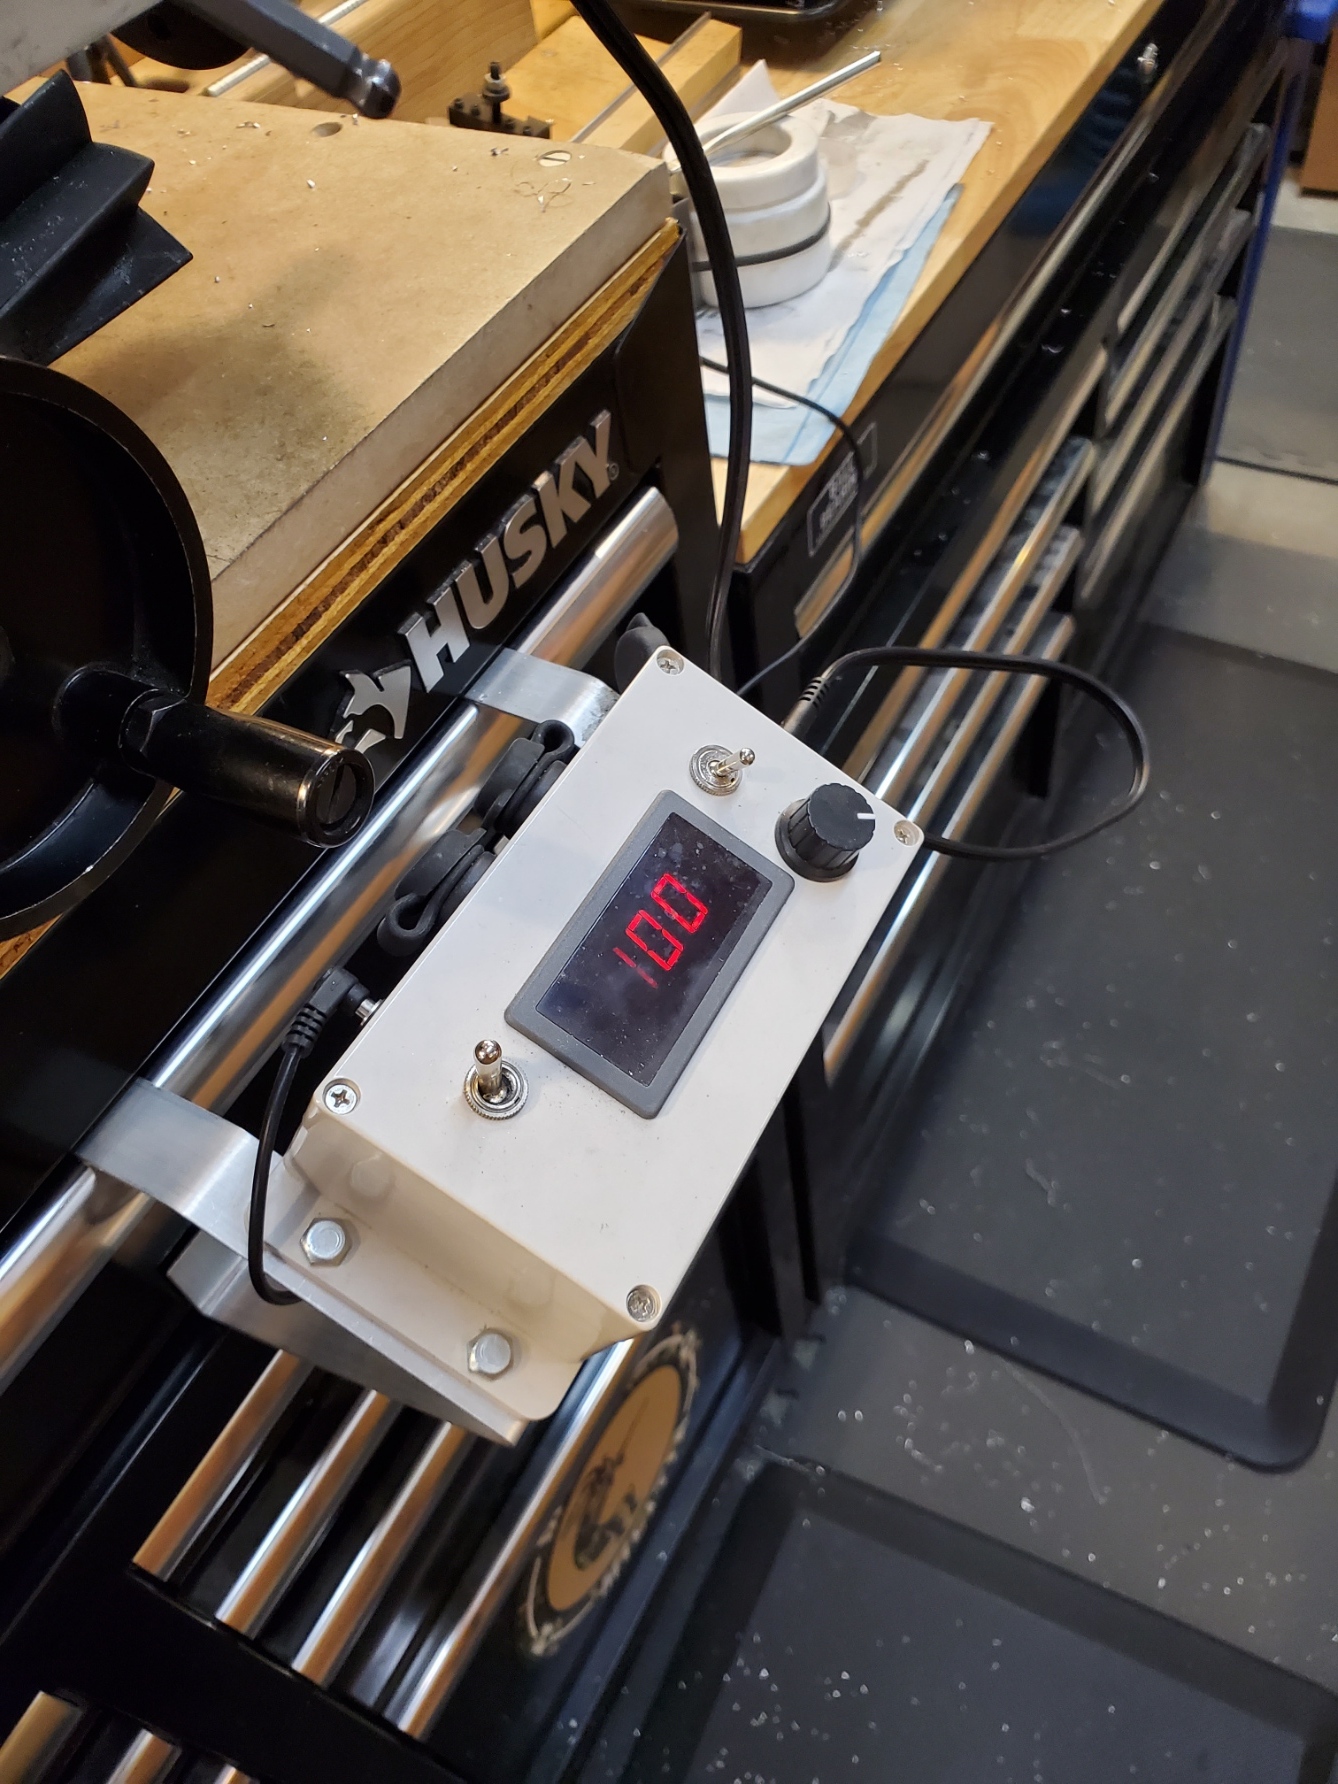
The control box has an on-off switch, a speed display (%, not RPM), a speed control knob, and a "max speed" override switch. It also has the power connector, and 3 power drive unit plug-ins. I wanted to be able to use one power drive unit for slow cutting and another for fast withdrawal. Having multiple plug-ins allowed quick switching of the power drive units.
The control box hangs on the front of the top drawer of either of the tool chests that have my machines on top. That way it doesn't clutter the workspace and can be removed and stored when not in use.
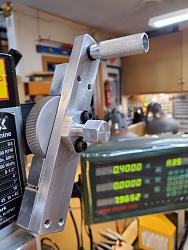
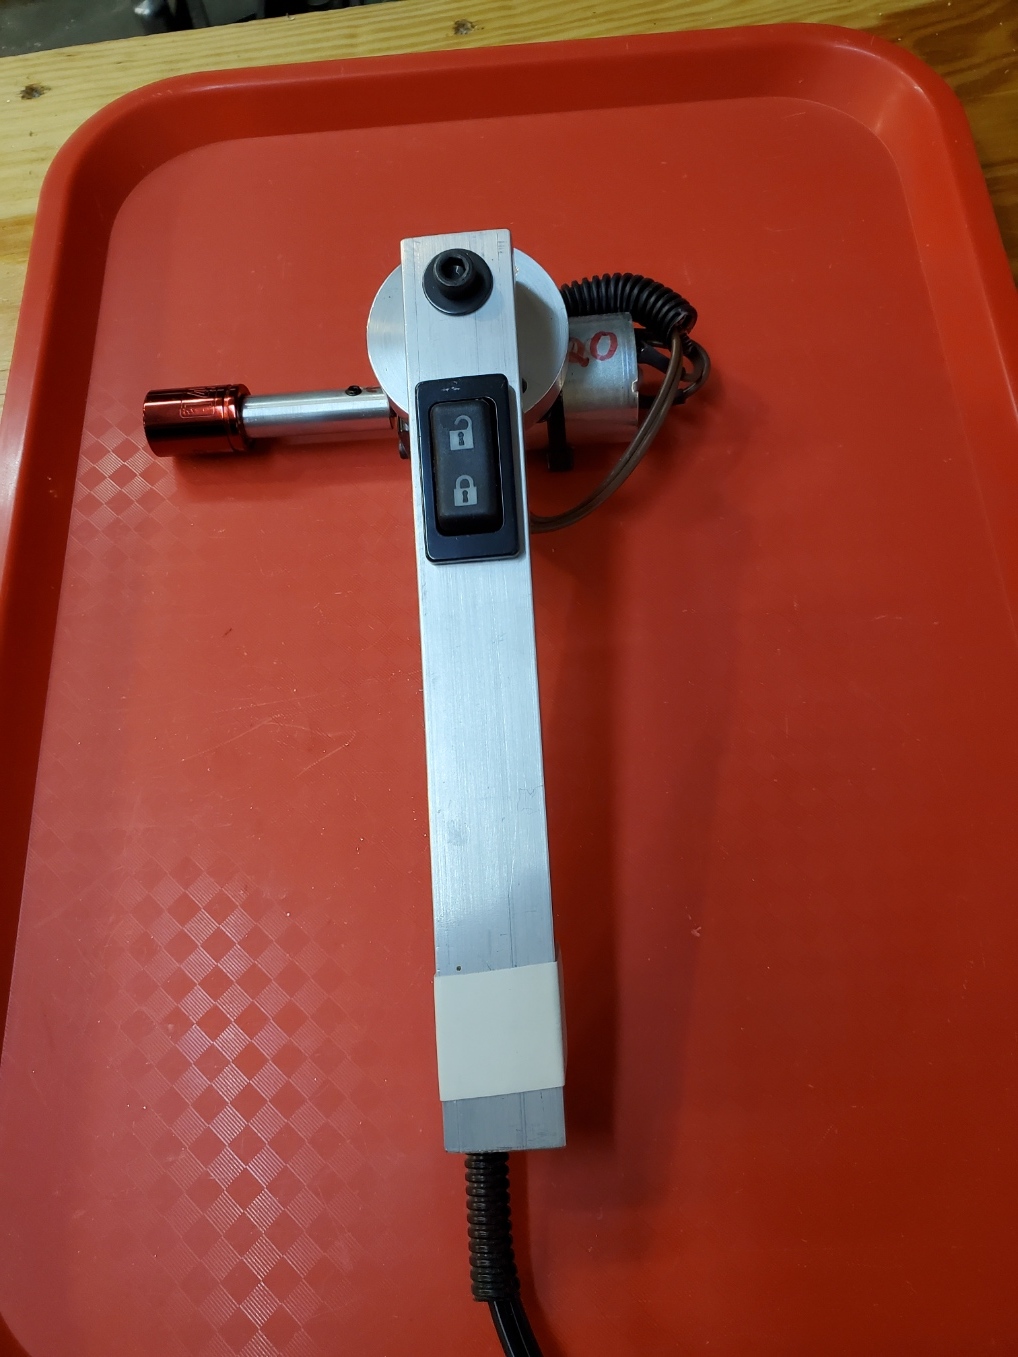
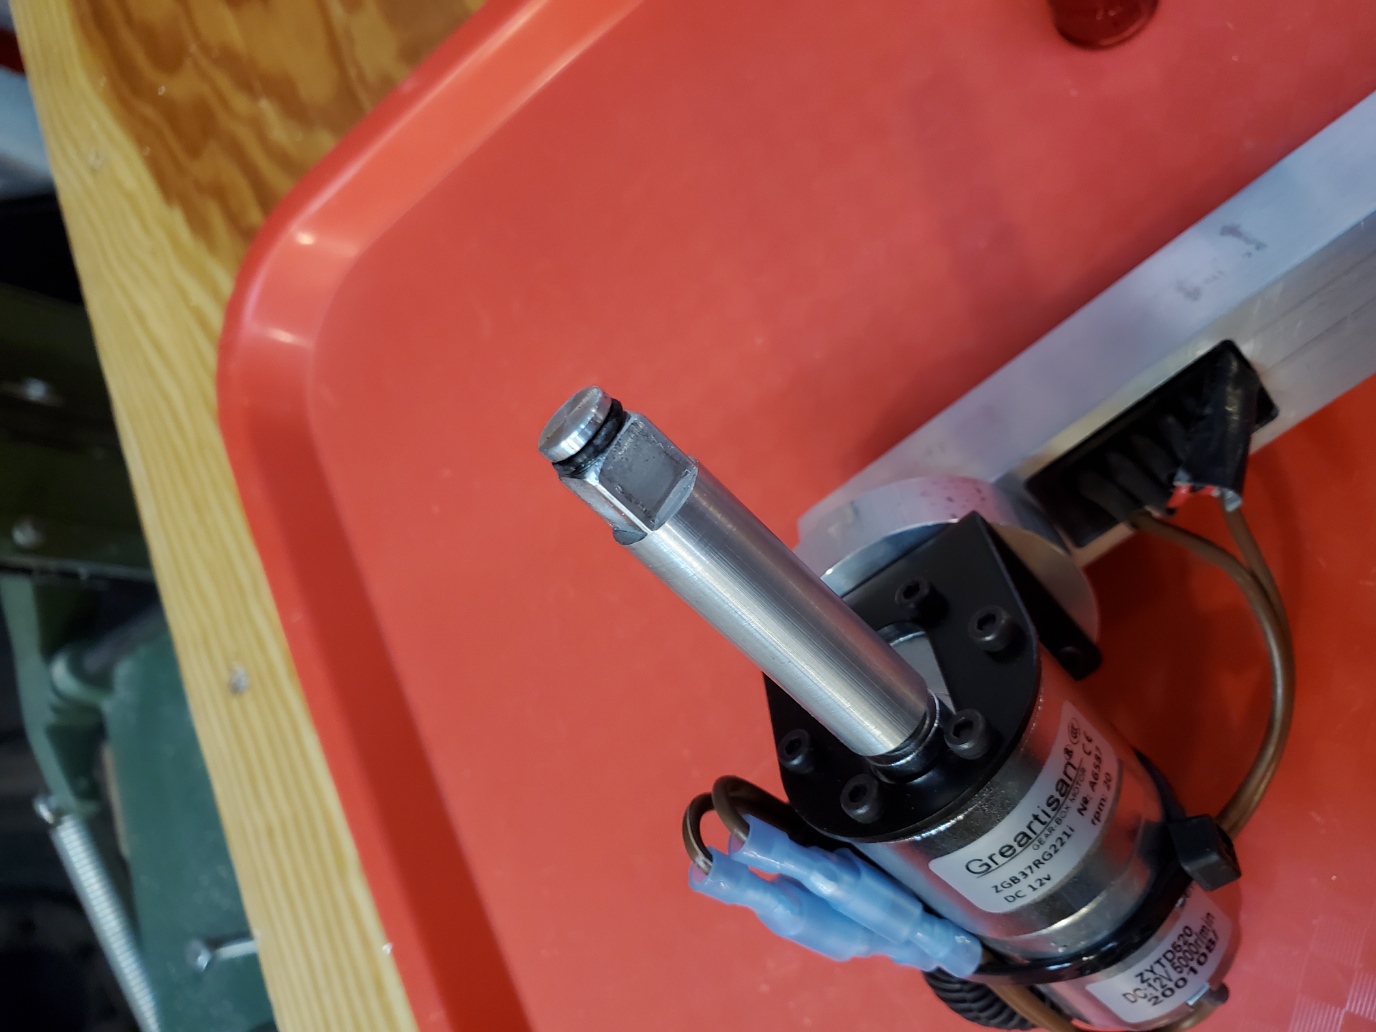
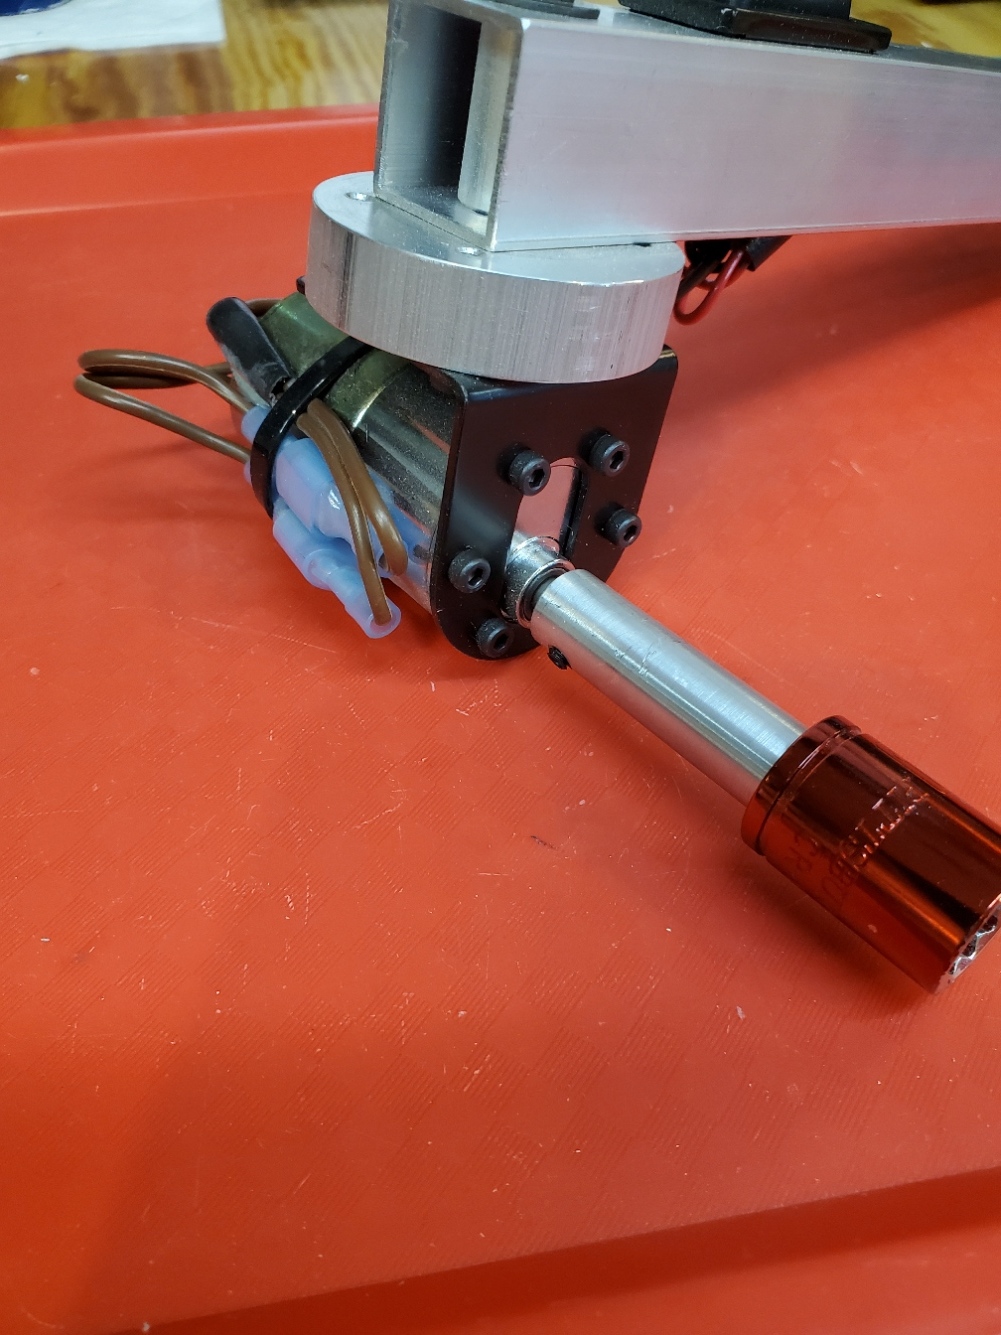
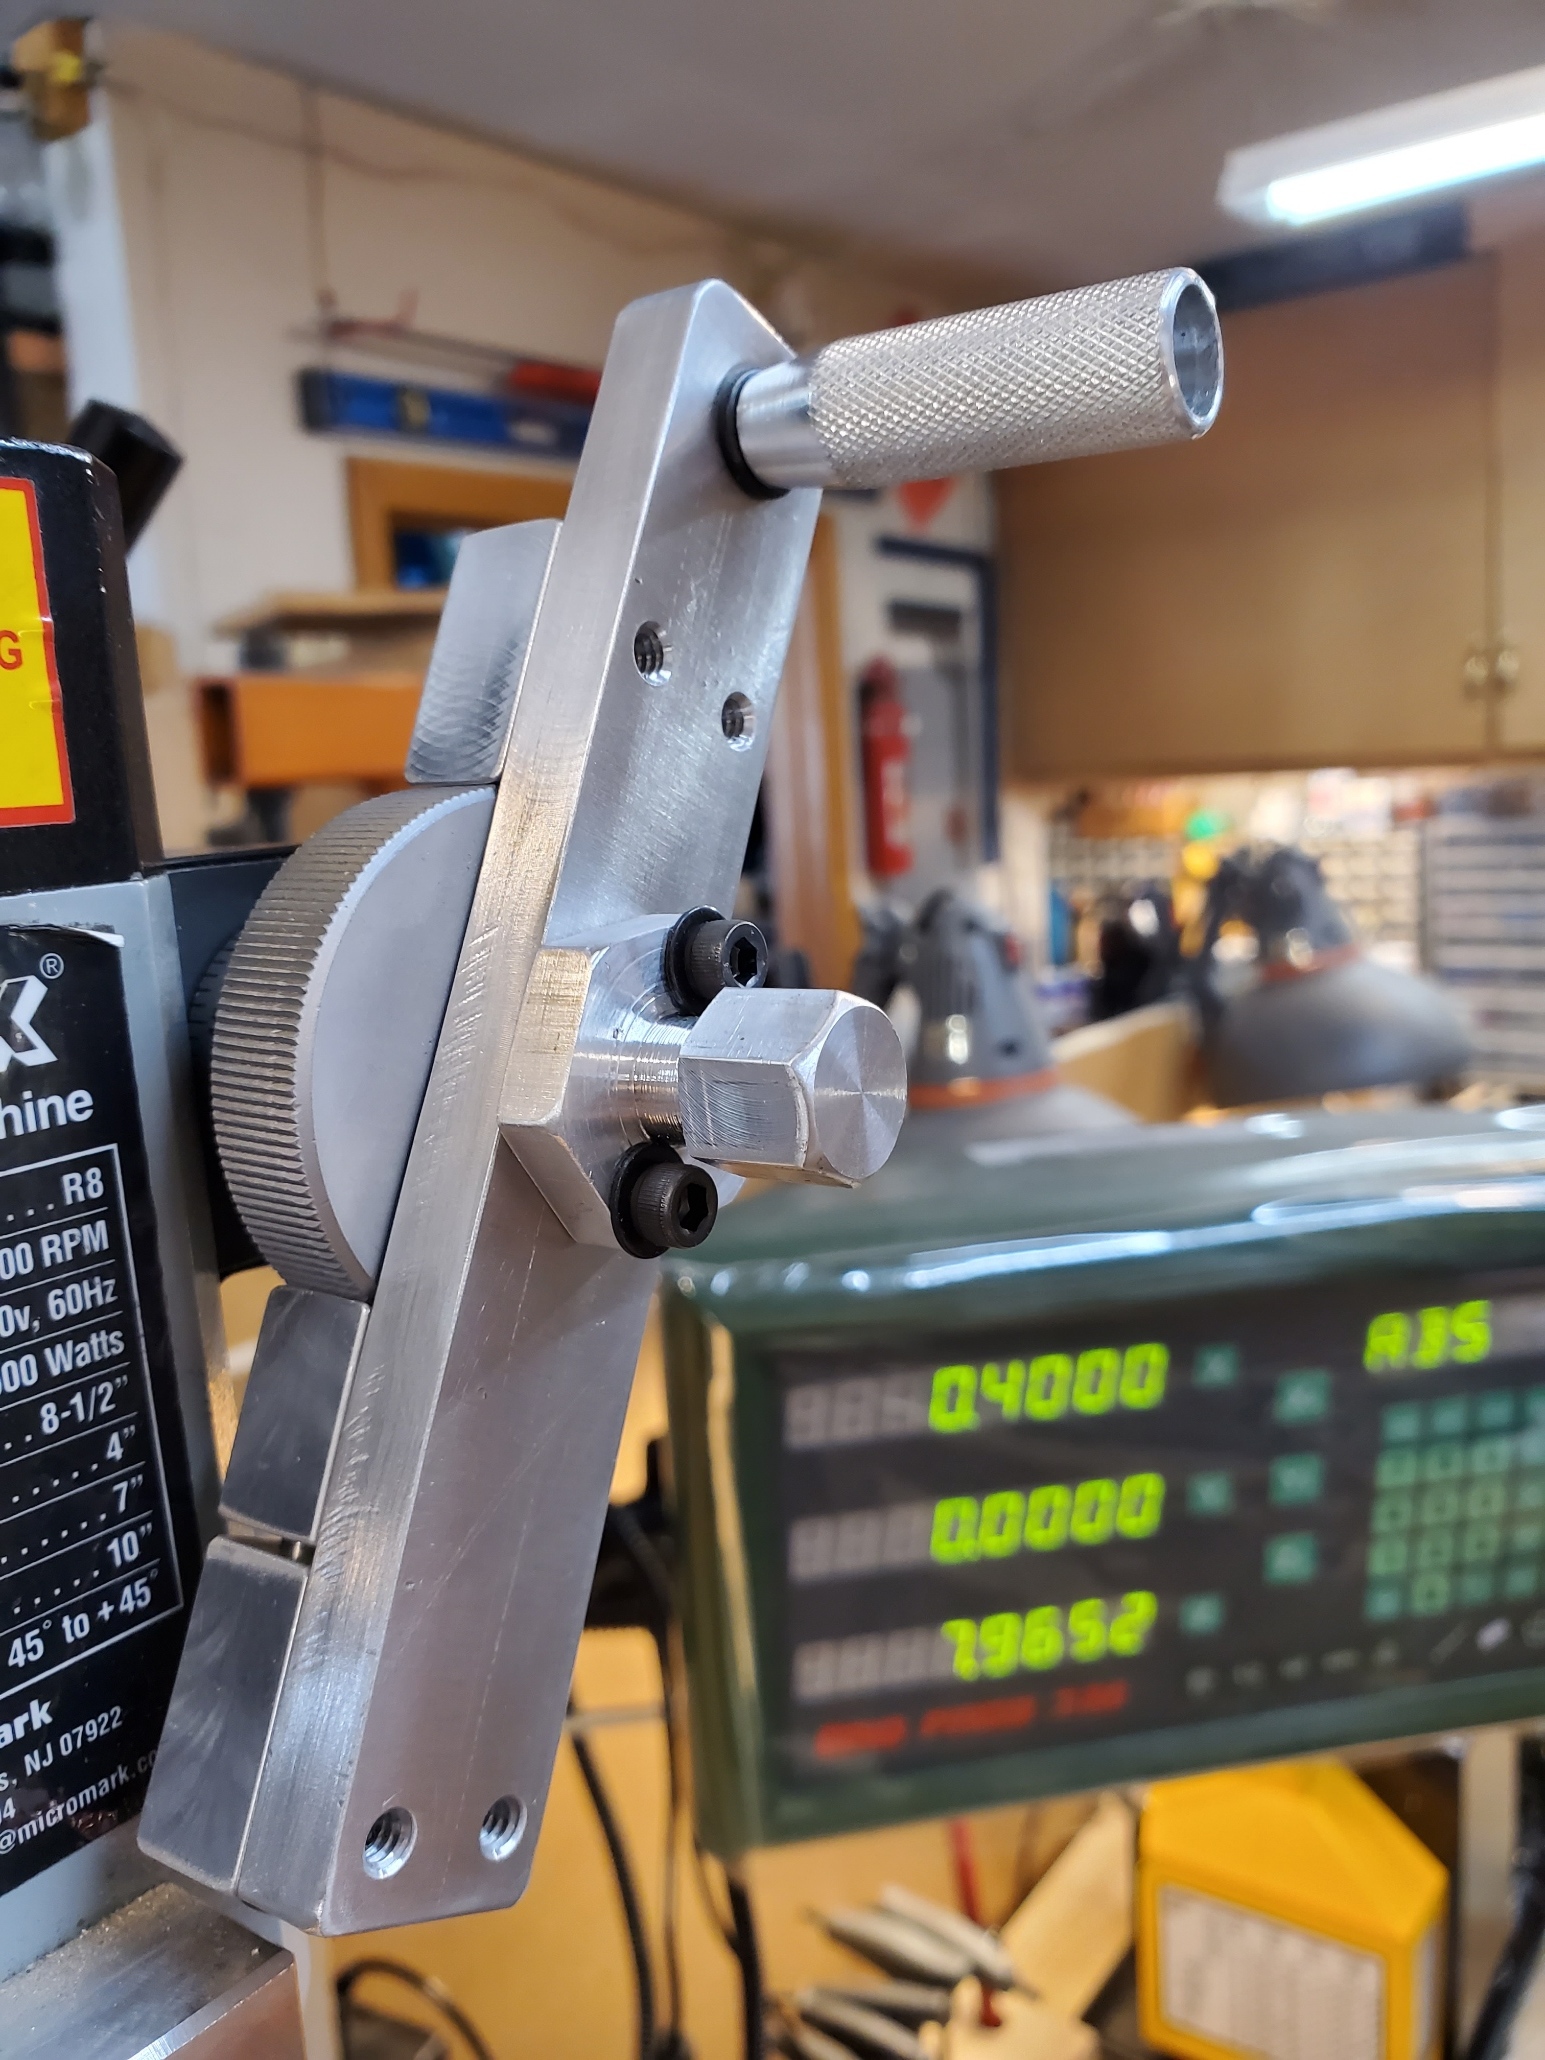
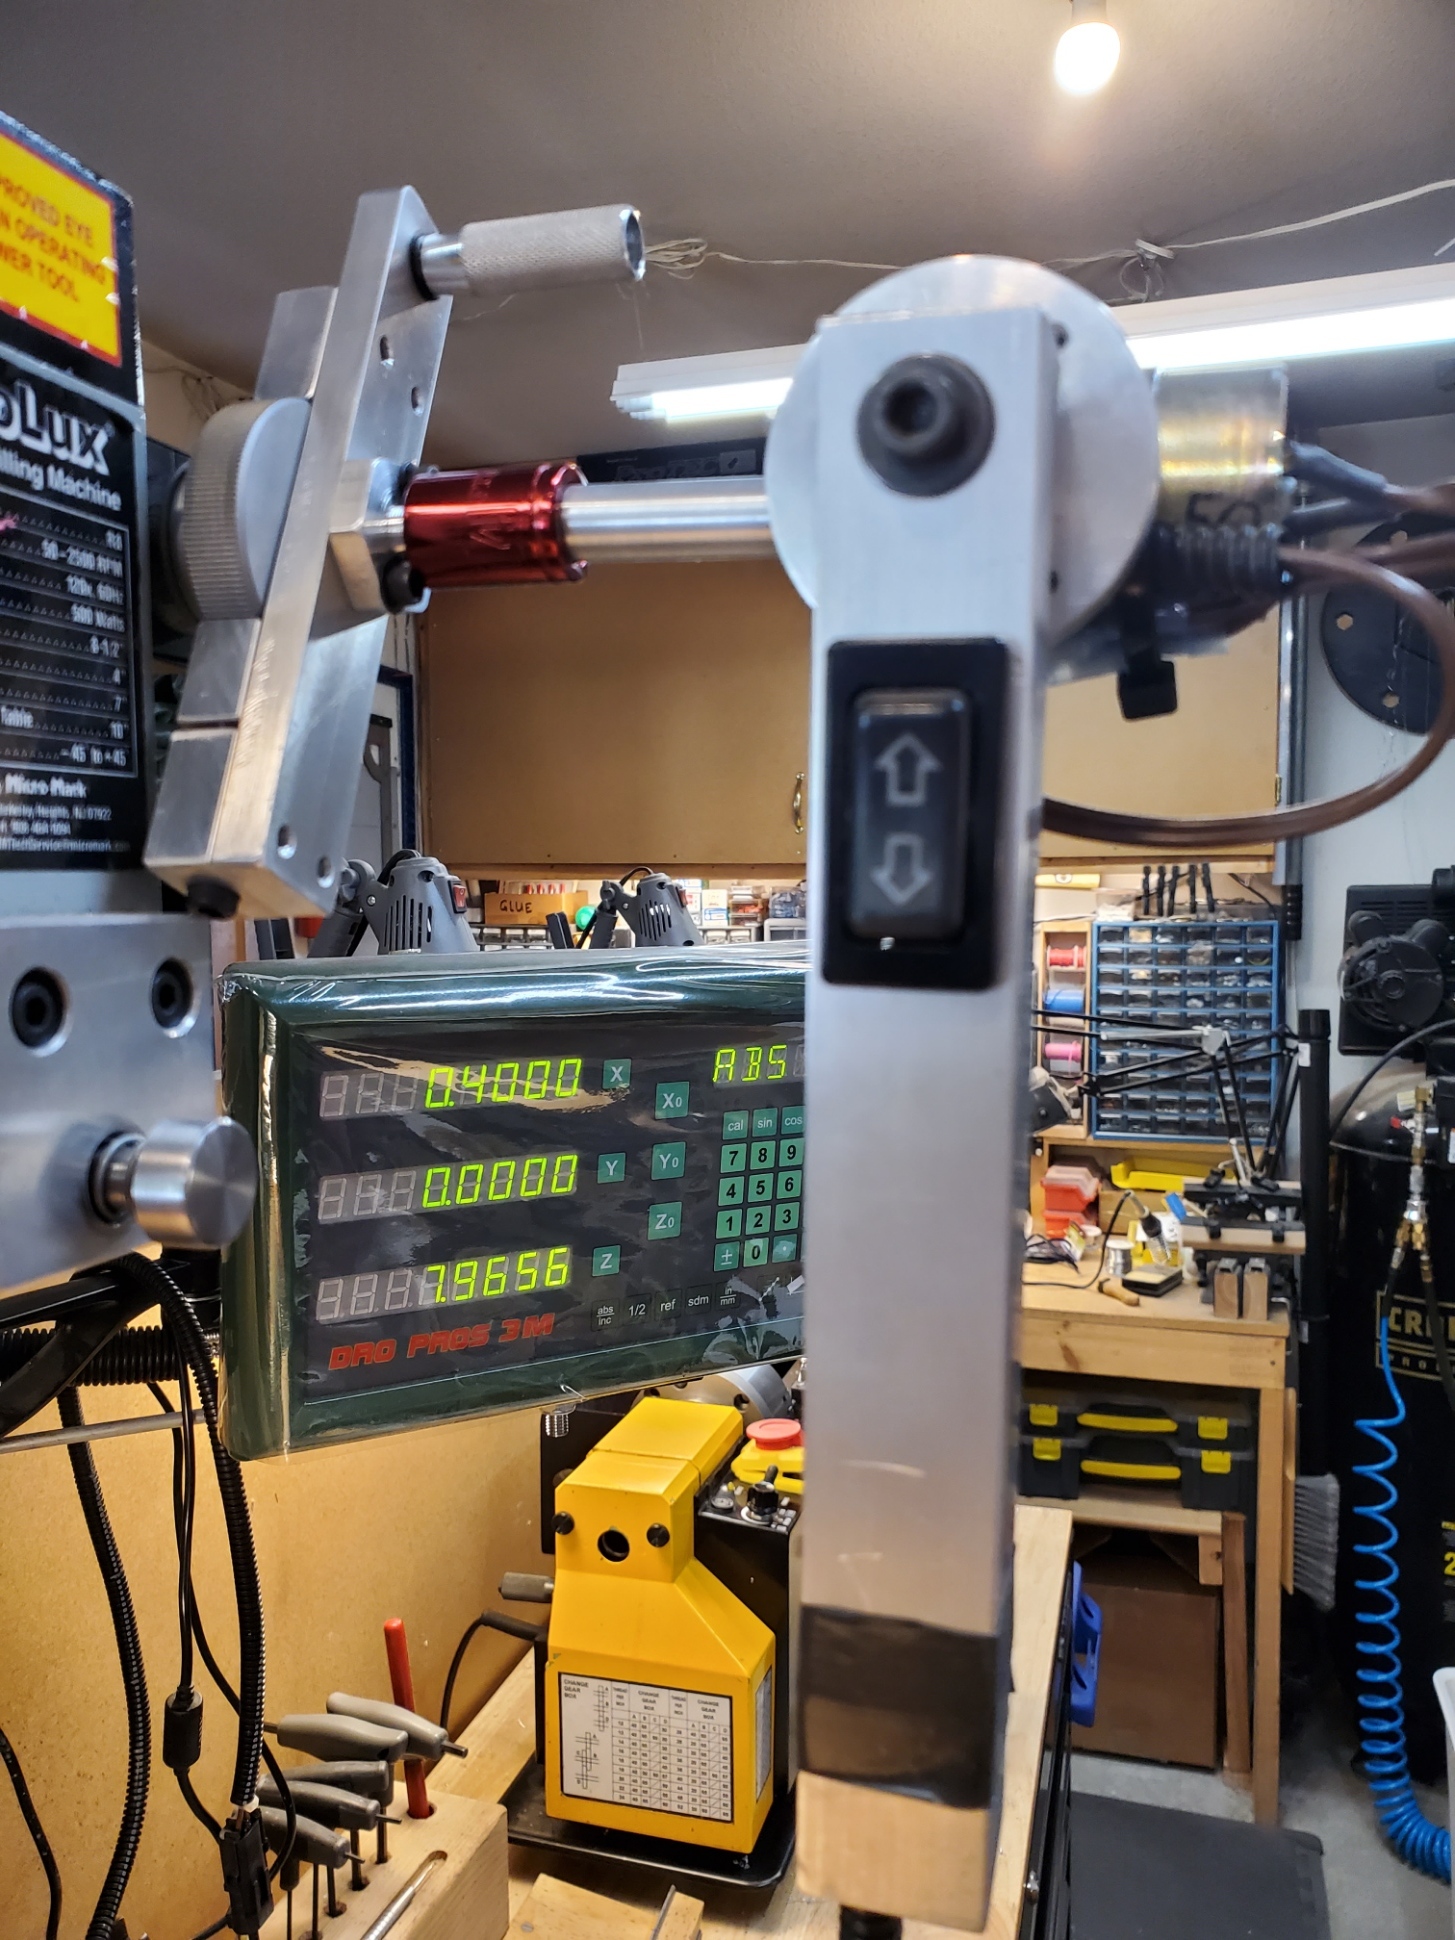
Each power drive unit consists of a motor, a handle, and a control switch (forward, off, reverse). The motor shaft has a 2-1/4" extension with a 3/8" square drive that fits commonly available sockets. I installed a rubber O-ring at the end of the square to help retain the socket. The shaft extension allows the drive to be used without the various machine crank handles hitting the operator's fingers. The switches are common automotive power window switches. Press one side for forward and the other for reverse. Release the switch to stop.
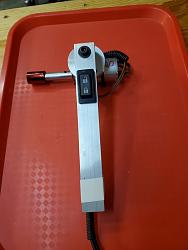
The power drive unit handle is 1" square aluminum tube. At the end is a round disk with the motor / gearbox mounted to it. It was designed so that I could pivot the handle to different positions, like "right hand" and "left hand". In practice I never use this feature so I would not go to that effort if I were going to build it again.
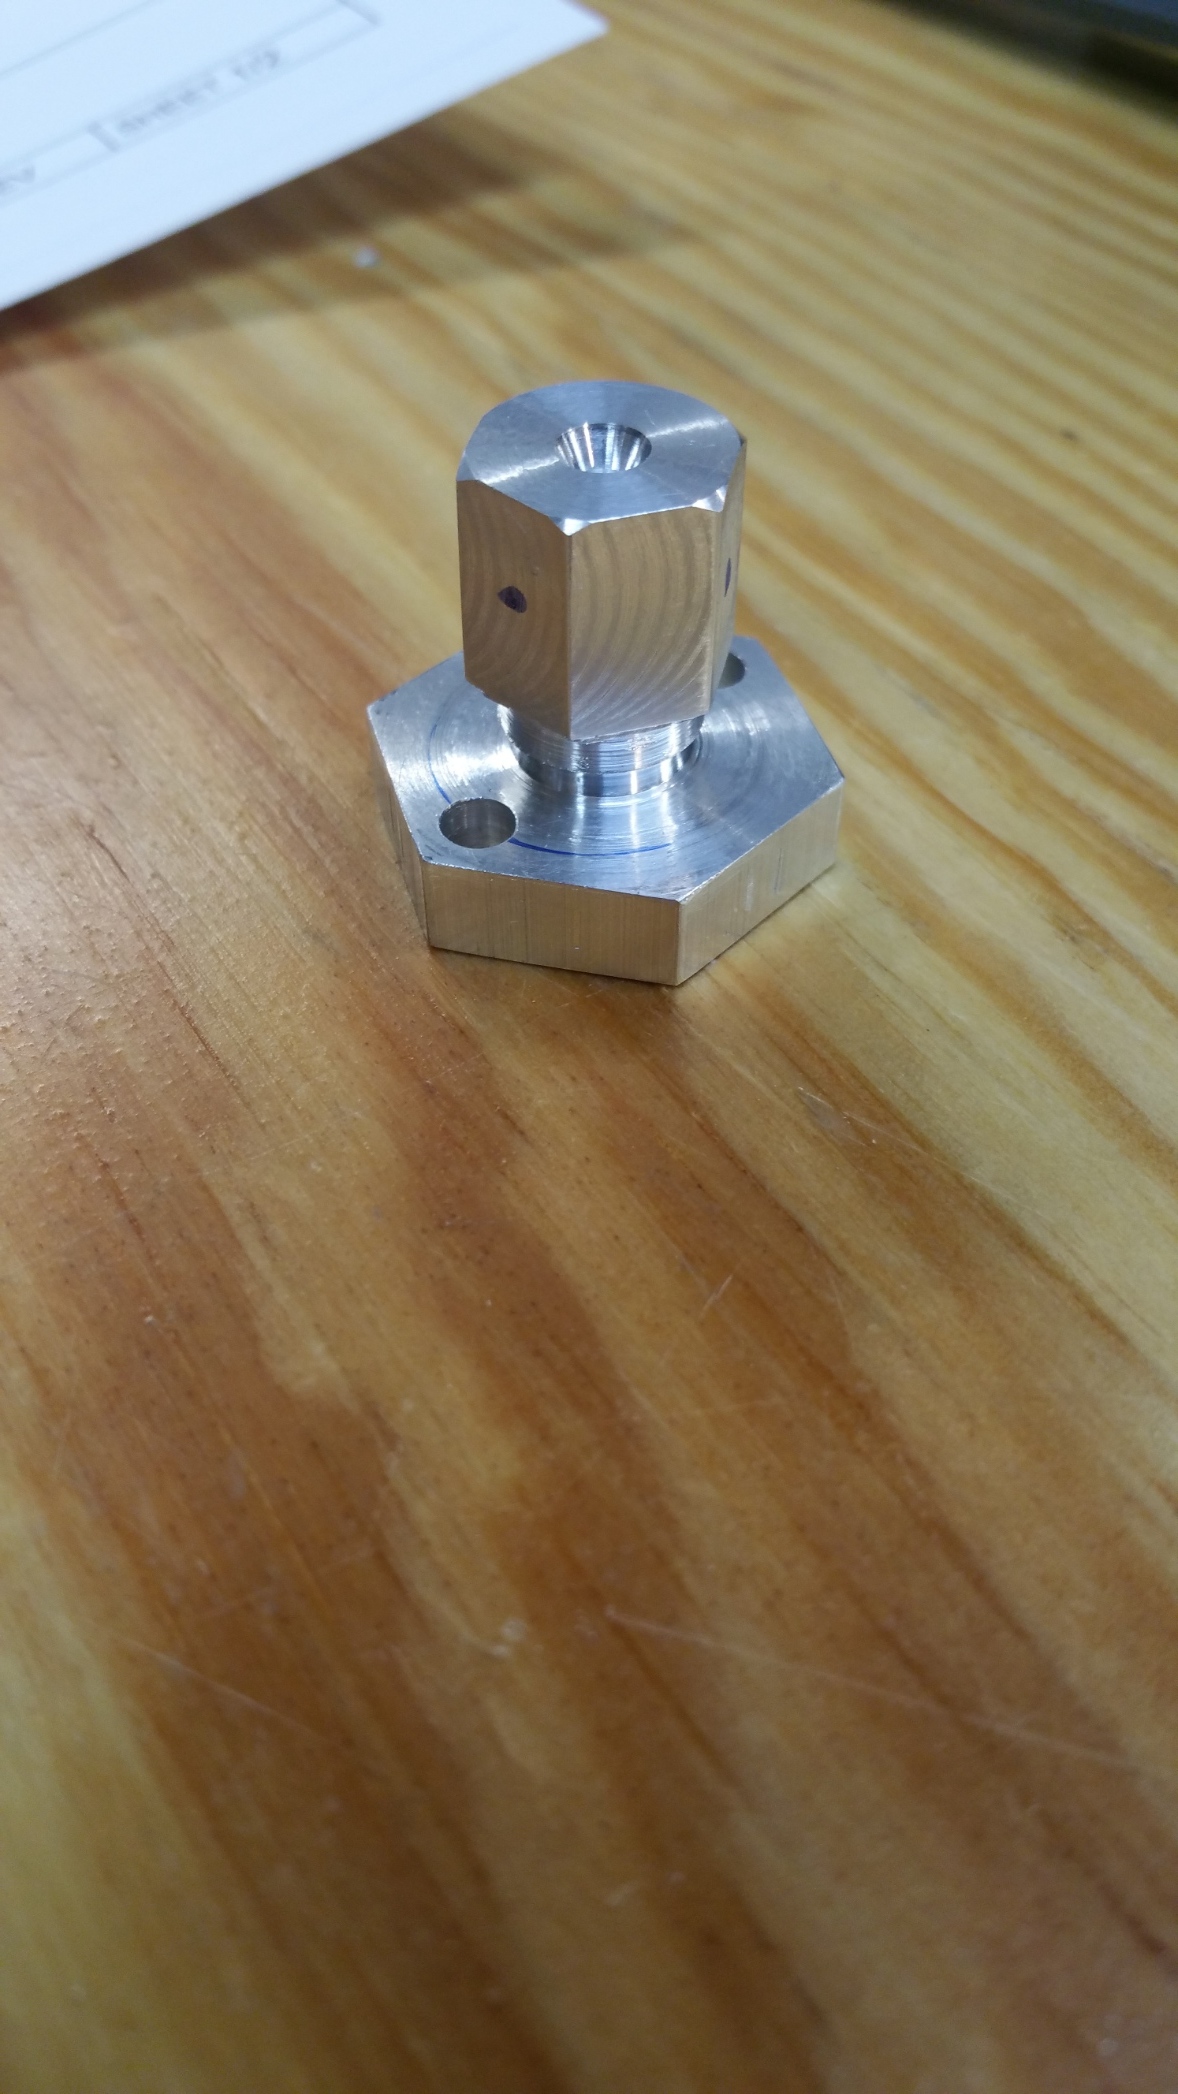
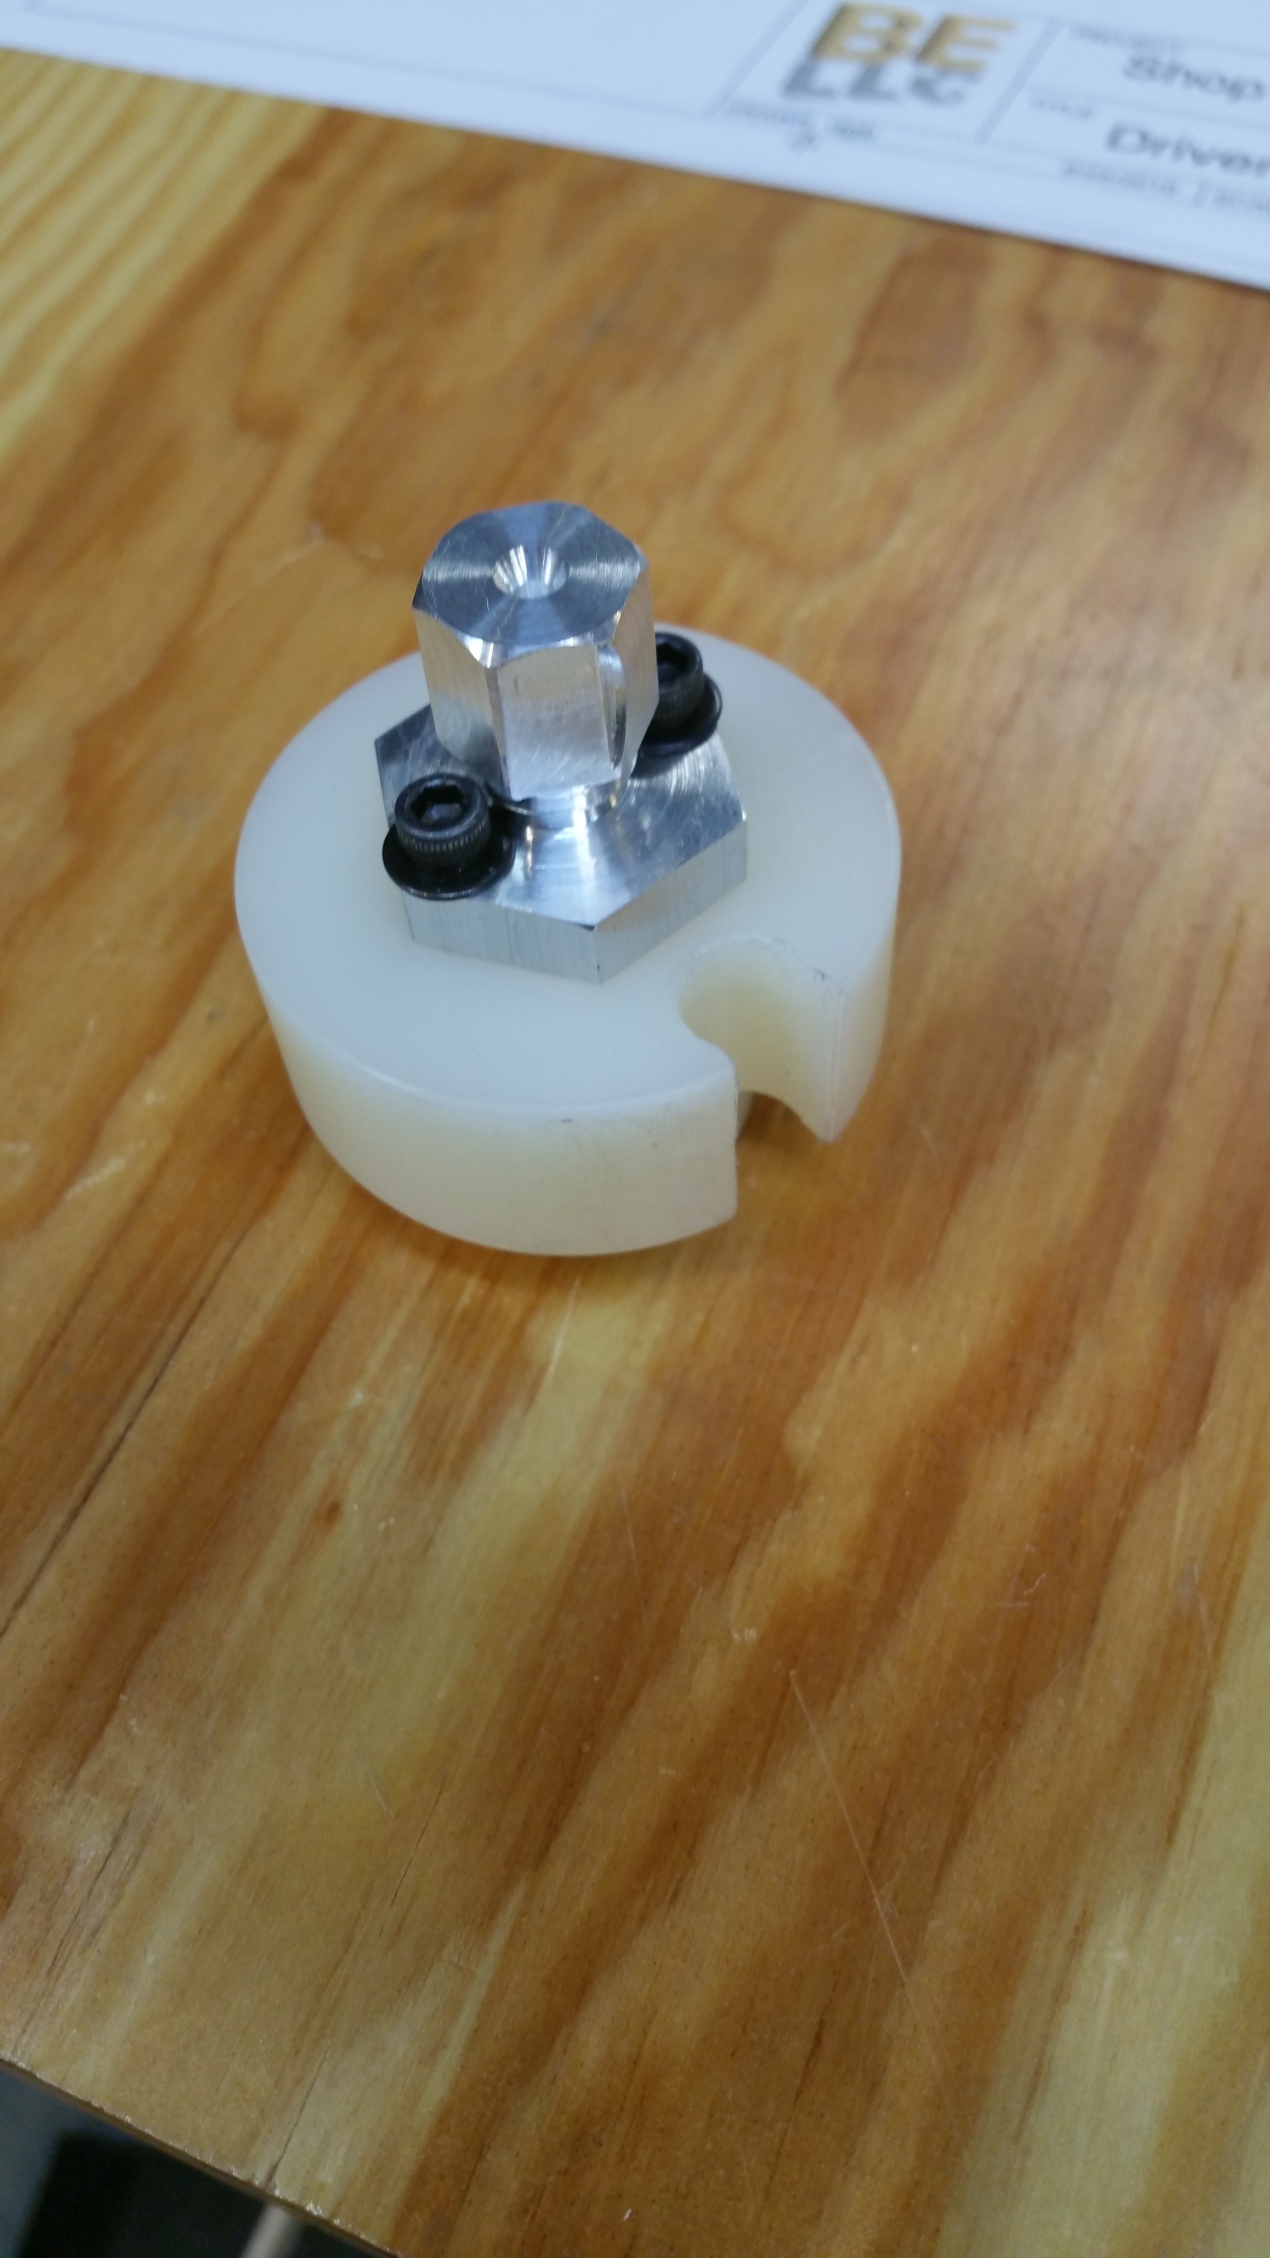
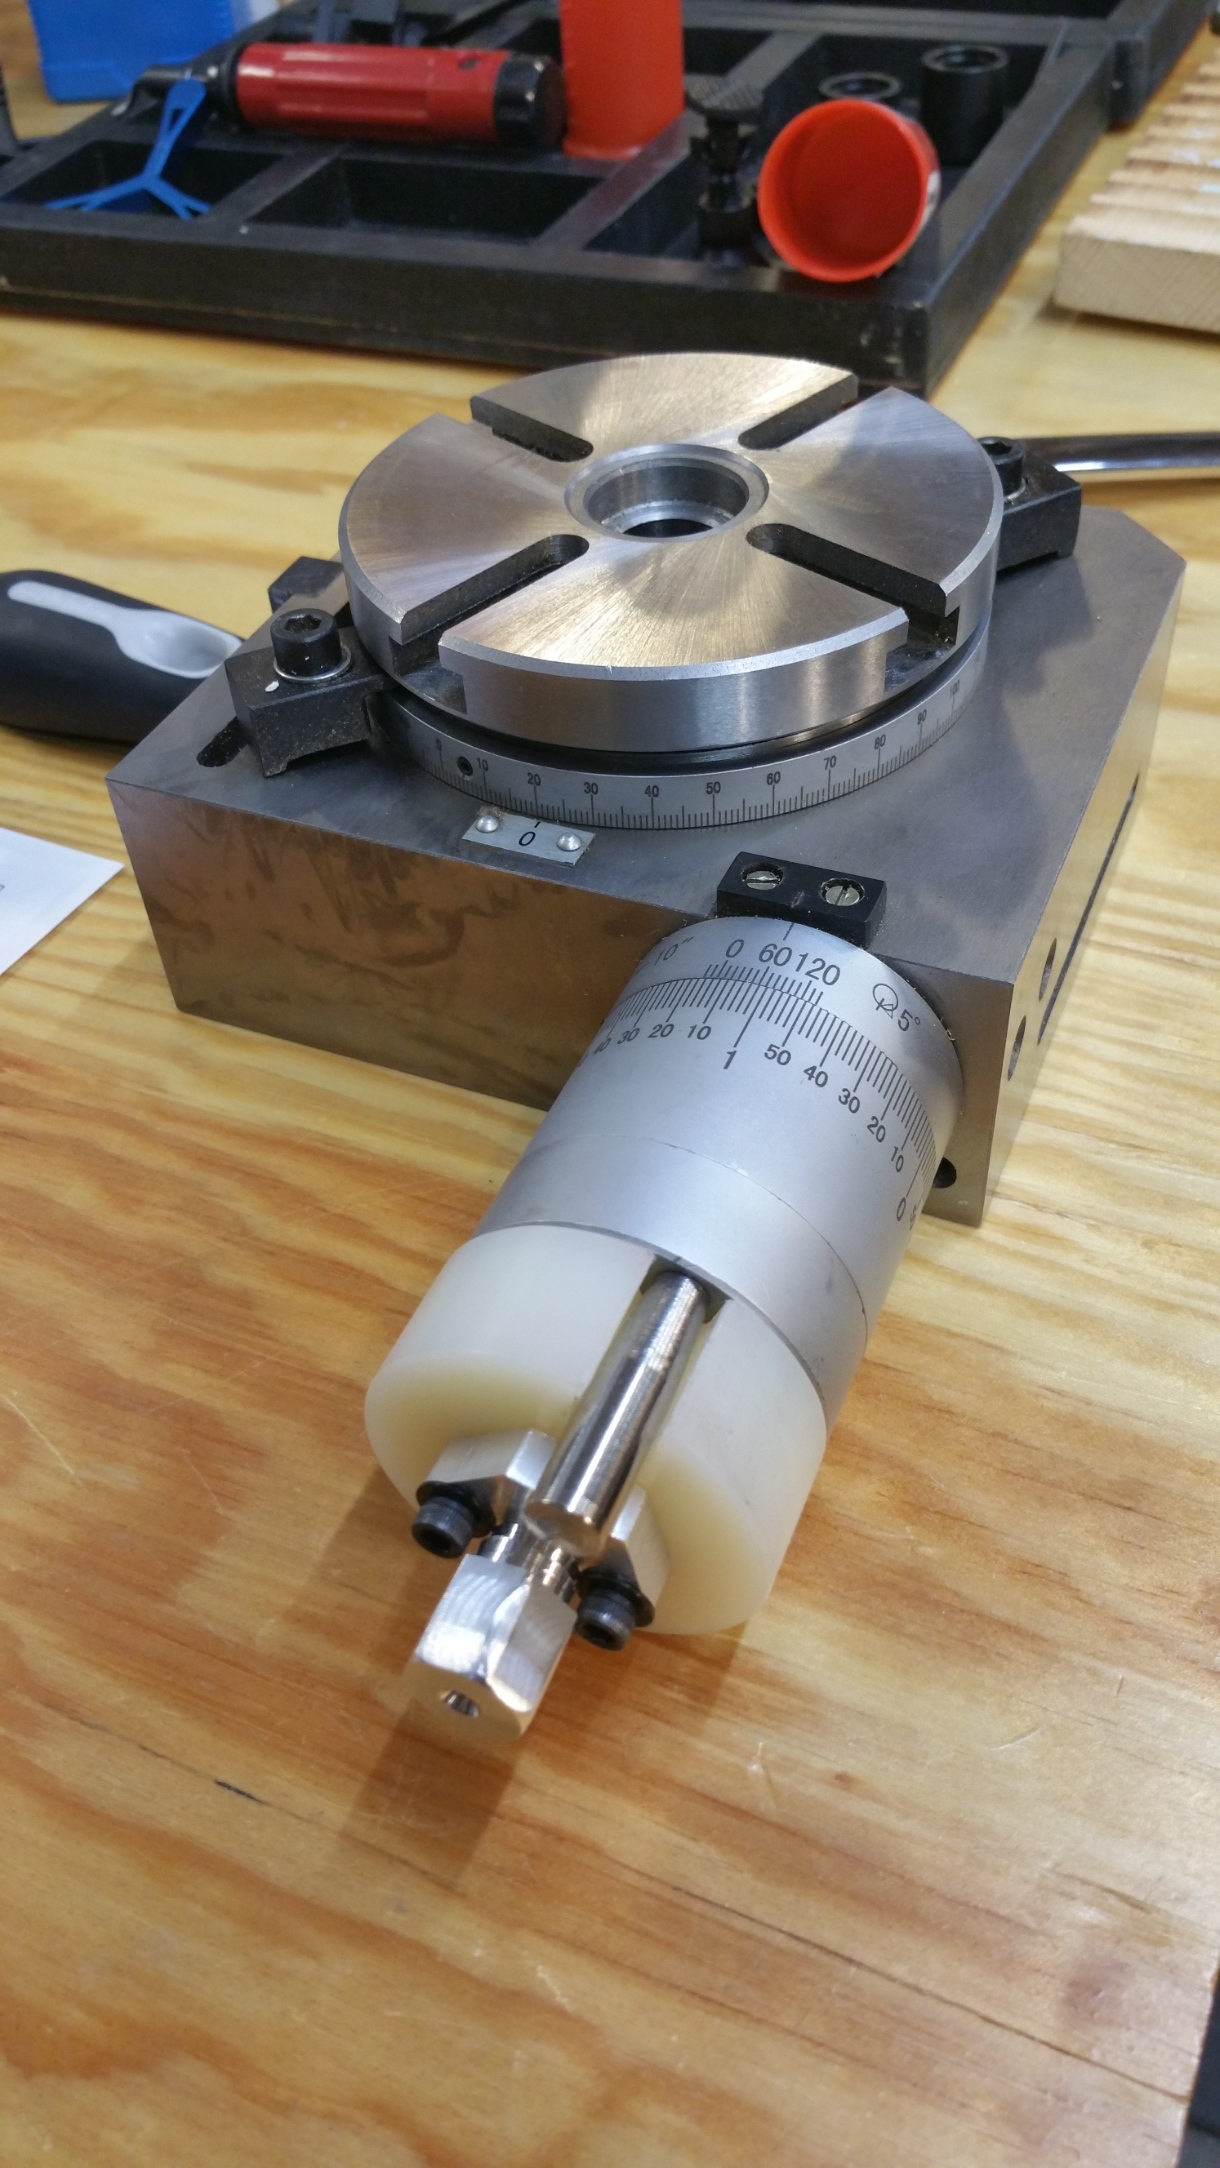
I designed a "driver stem" with a hex that fits the socket on the drive unit (14mm in this case, though the size is not critical). It also has a flange that can easily be mounted to whatever type of drive adapter I might need to operate the various machine controls. This was made from 1" aluminum hex stock.
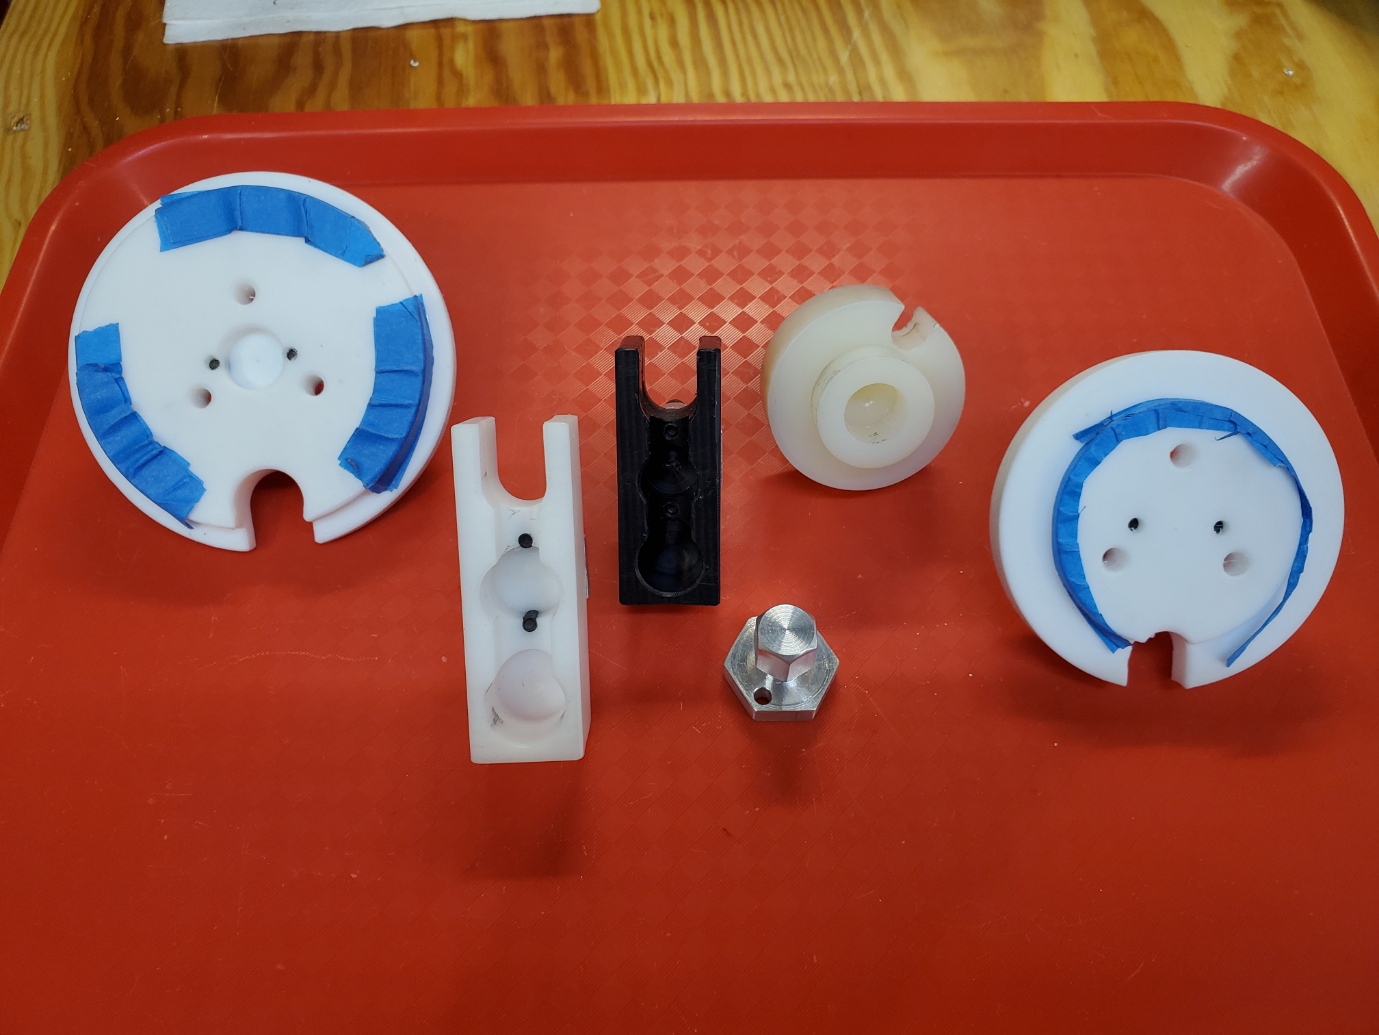
I made the following adapters:
* Mini-mill Y-Axis (also fits X-axis, FWIW)
* Mini mill fine downfeed crank (crank project posted recently)
* Rotary table
* Mini-lathe cross-slide
* Mini-lathe compound
* Mini-lathe tailstock quill
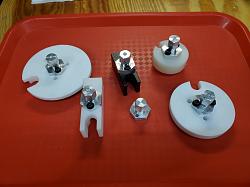
The adapters are designed to fit the crank / handle of the specific machine function. Most of the adapters will snap in place or are held in place by friction (supplemented with painter's tape, as needed). This makes it easy to remove the power drive unit between operations and/or swap power drive units.


What I might do differently:
* As mentioned, changing the angle of the motor on the handle just isn't necessary with my setup.
* I was not able to figure out how to get the display to show 100% when I used the max-speed override switch. If I were doing it again, I would probably add an indicator lamp to show when this switch is activated.


 Reply With Quote

Bookmarks