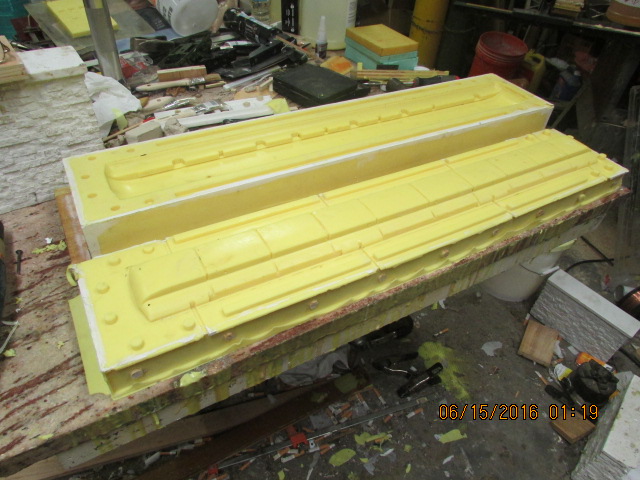
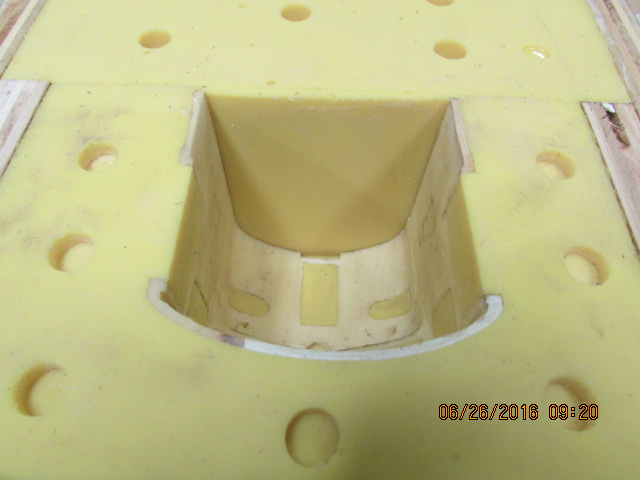
Couldn't be a better day, the top roof mold came out perfect. Made two sides for the truck and they also came out good, ready to make some more parts for the truck. Bob.Attachment 11521Attachment 11522Attachment 11523
Printable View
Couldn't be a better day, the top roof mold came out perfect. Made two sides for the truck and they also came out good, ready to make some more parts for the truck. Bob.Attachment 11521Attachment 11522Attachment 11523
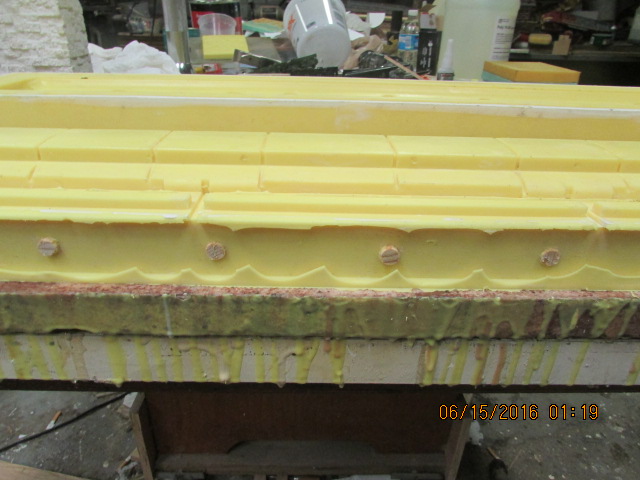
More solidity for the ends. Bob.Attachment 11526
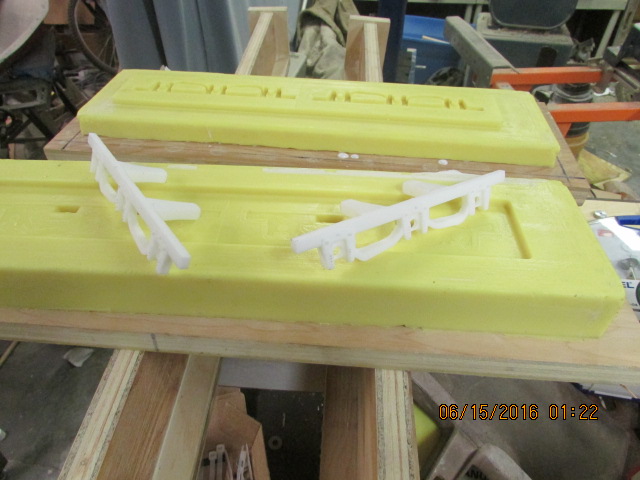
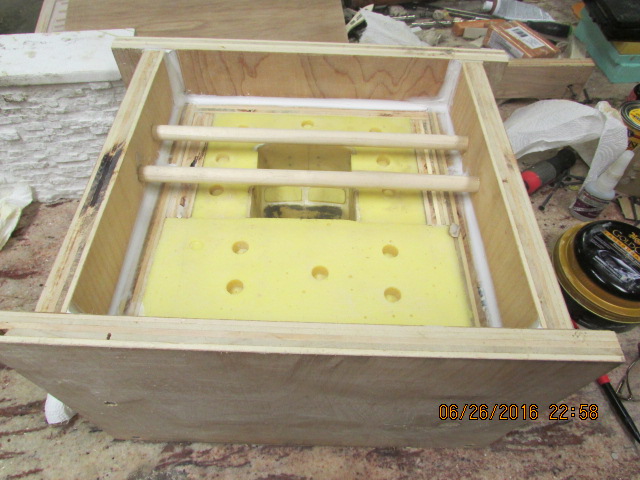
Continuing to mock up, almost there, waiting for some more urethane. Bob.Attachment 11607
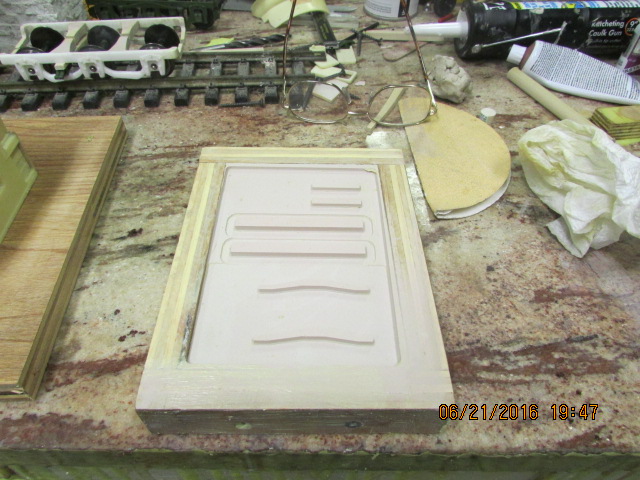
Attachment 11866Attachment 11867Here is another pattern done on my mill in Bondo for some more parts for the truck and another project. Bob. Thanks Paul.
Bob,
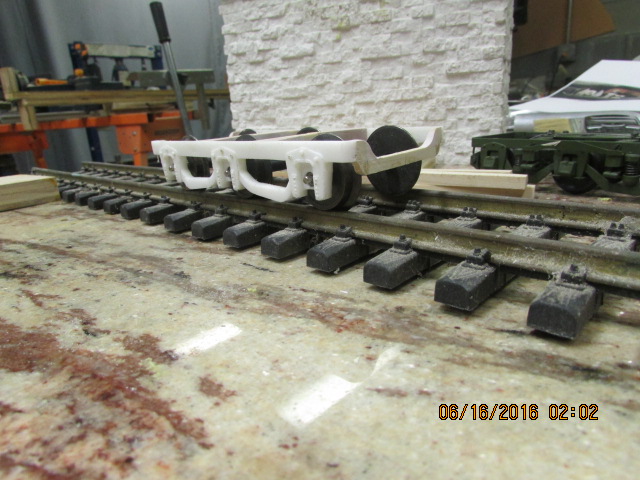
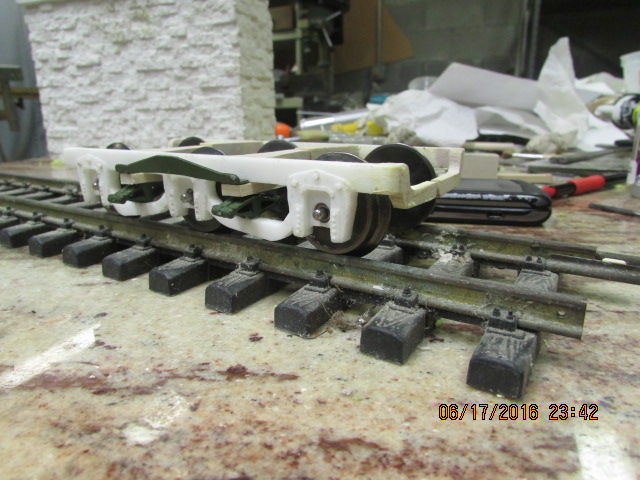
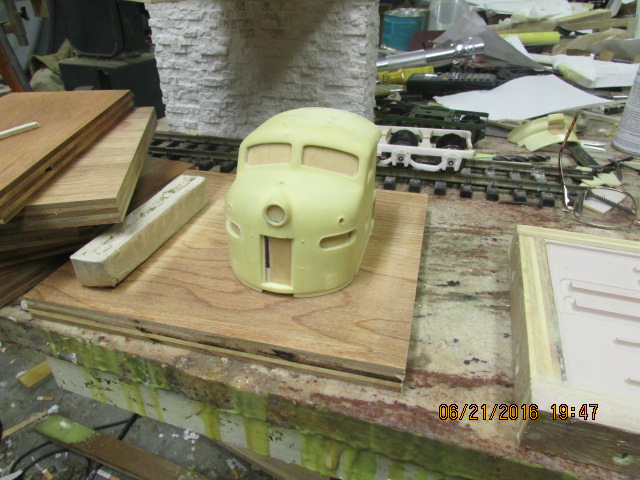
Nice work on the trucks to ensure precision alignment (and smooth operation without derailments). I like the beginning work on the diesel cab unit. Is that for an F7 EMD locomotive A unit? That will be a fun project. I can just see an A-B-A consist pulling a string of your heavyweight passenger cars.
Thanks for the updates.
Paul
Yes Paul, this cab was used on F and E-7, E-8 and E-9 units. Bob.
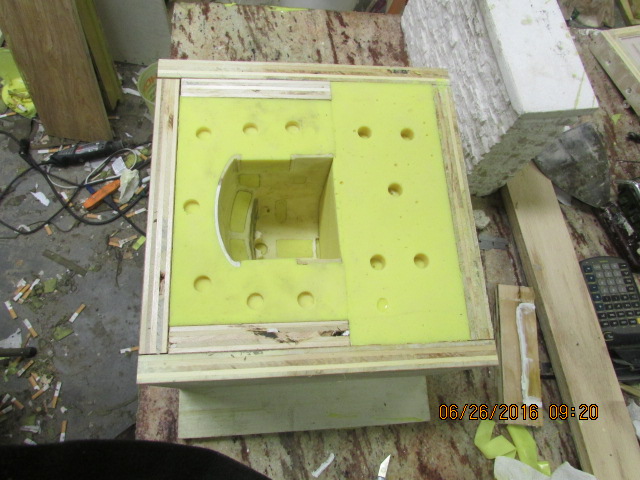
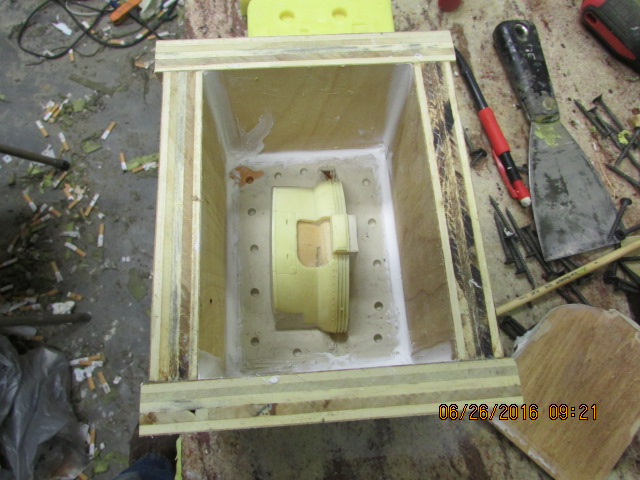
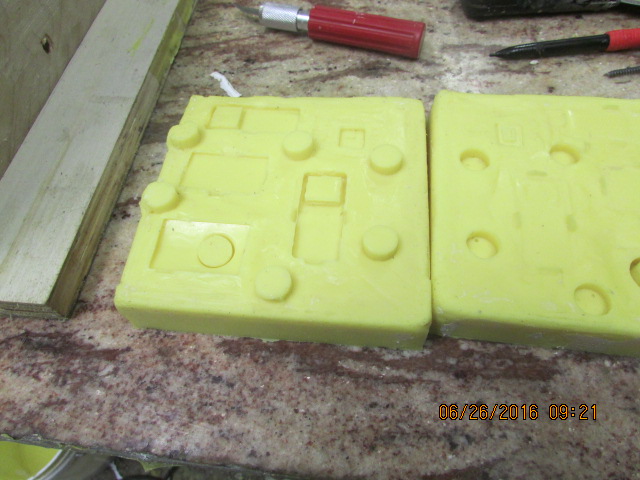
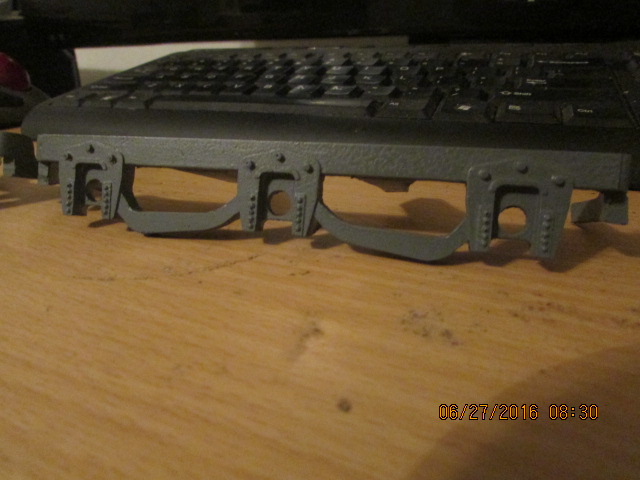
Here are some more molds of the f-7/e-8 cab and parts. Tomorrow, I will pour the third part to the mold for the cab and the front skirt. Bob.Attachment 11947Attachment 11948Attachment 11949Attachment 11950
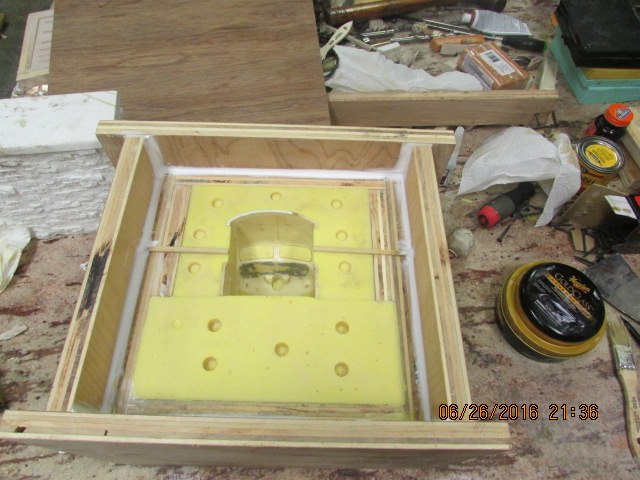
The mold is ready to pour the third and final part of the mold set. *You experienced mold makers probably already knew this, but I had to find out the hard way. *A means of reducing pressure when installing the top of the mold set is needed so that the two mold section can seat, thereby reducing the chance of making too thick of a part and not retaining the desired shape. *Note the two channels glued to the highest part of the mold allowing the excess plastic to escape. *Not all is lost on my previous molds, because I can still cut a channel in the top pieces of the molds to achieve the same thing, which I will do on the side molds where that was a problem, so I just thought that I would pass this along in case any one out there is making molds. *In case someone is wondering if the the thickness of the walls will be retained, and the answer is, yes, note that the cab pattern is in the first part of the mold and by pouring the third part of the mold the walls will be retained. *The only reason I shared this is that someone asked if I was going to pour it solid, he didn't see that the cab pattern was still in the mold. The third part of the mold is to establish the thickness of the walls. *This mold set has three parts to allow removing the part once the pour hardens, it would be difficult to remove if only using a two part mold. Bob.Attachment 11959
Hey guys, you forgot to tell me to put the bridge dowels in the third part of the mold, but that is OK, I remembered. *They might not have been necessary, but any help to prevent say in the mold is good, even a 1/32 of an inch is too much. *It also helps, when the plastic is poured in and the mold is compressed downward, it is solid and prevents compression, here is a picture. Bob.Attachment 11960
Here is the first side rail out of the mold. Still making more parts for it, spring holders, leaf spring etc. Bob.Attachment 11961