Free 186 More Best Homemade Tools eBook:  
New: 300+ fresh build posts/day from 275 forums → BuildThreads.com

User Tag List

Results 1 to 9 of 9

Thread: lathe chuck face stop

Threaded View

  1. #1
    Supporting Member thehomeengineer's Avatar
    Join Date
    Nov 2017
    Location
    Berkshire UK
    Posts
    762
    Thanks
    764
    Thanked 2,388 Times in 483 Posts

    thehomeengineer's Tools

    lathe chuck face stop

    Hi All
    I thought i would post a method I use to get parts true and parallel which are normally to small a diameter or to thin to be pushed against the chuck face. The chuck back stop was used to help manufacture the spacers for my bead roller in the example below. I have also used these on the mill when using an indexing chuck or dividing head to position the work a the desired height.

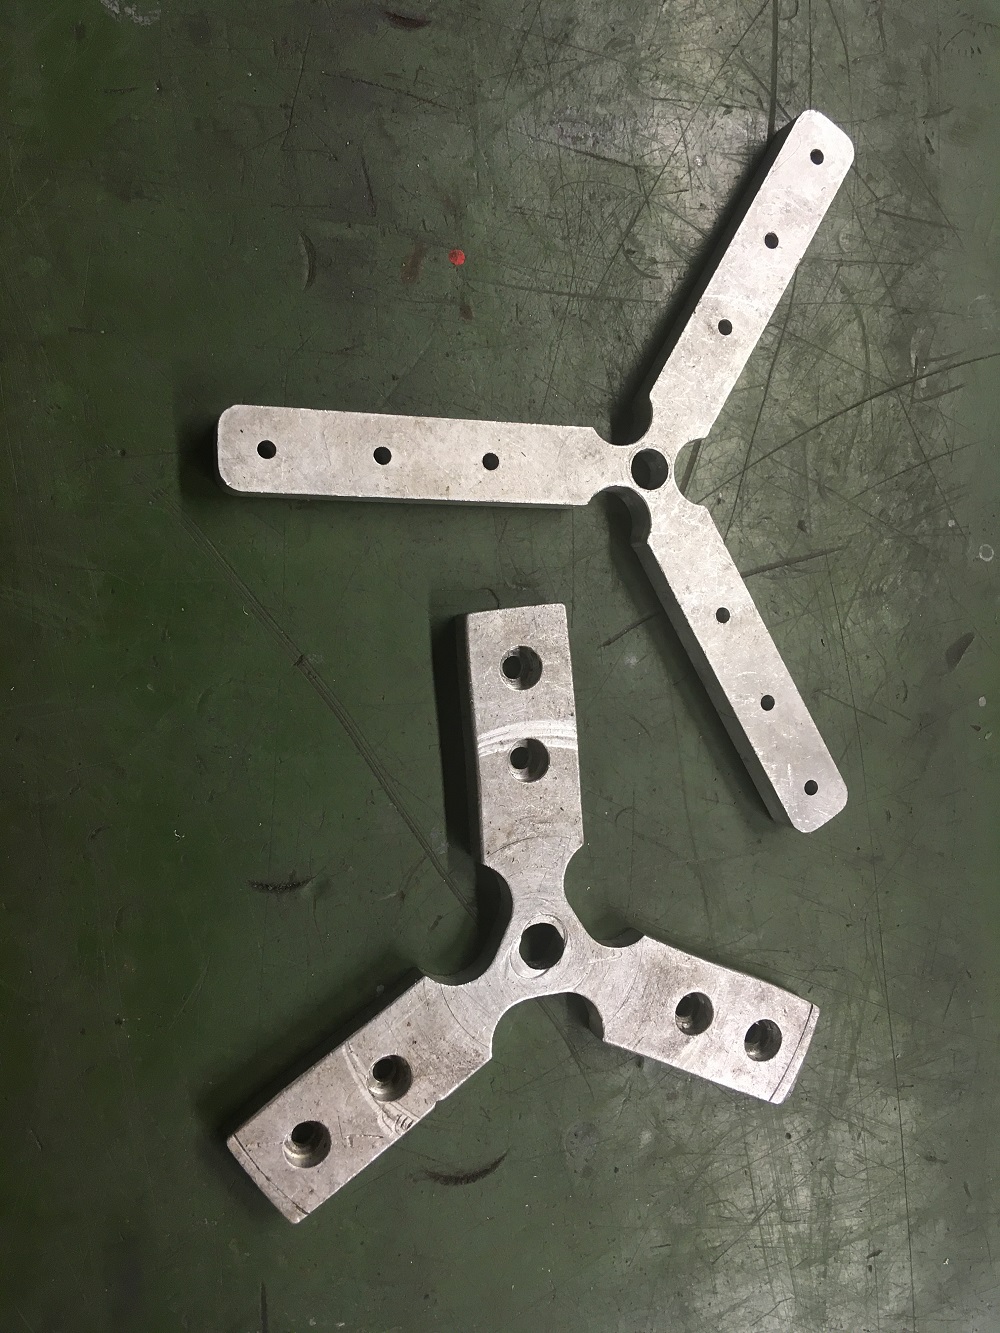
    The chuck back stops can be simply band sawed to shape from plate.

    Click image for larger version. 

Name:	stops.jpg 
Views:	1422 
Size:	452.7 KB 
ID:	31782

    I have two aluminium chuck face stops that I can gang together or add spacers to achieve the desired distance from the chuck face.

    Click image for larger version. 

Name:	stop spacer reverse view.jpg 
Views:	779 
Size:	304.8 KB 
ID:	31783

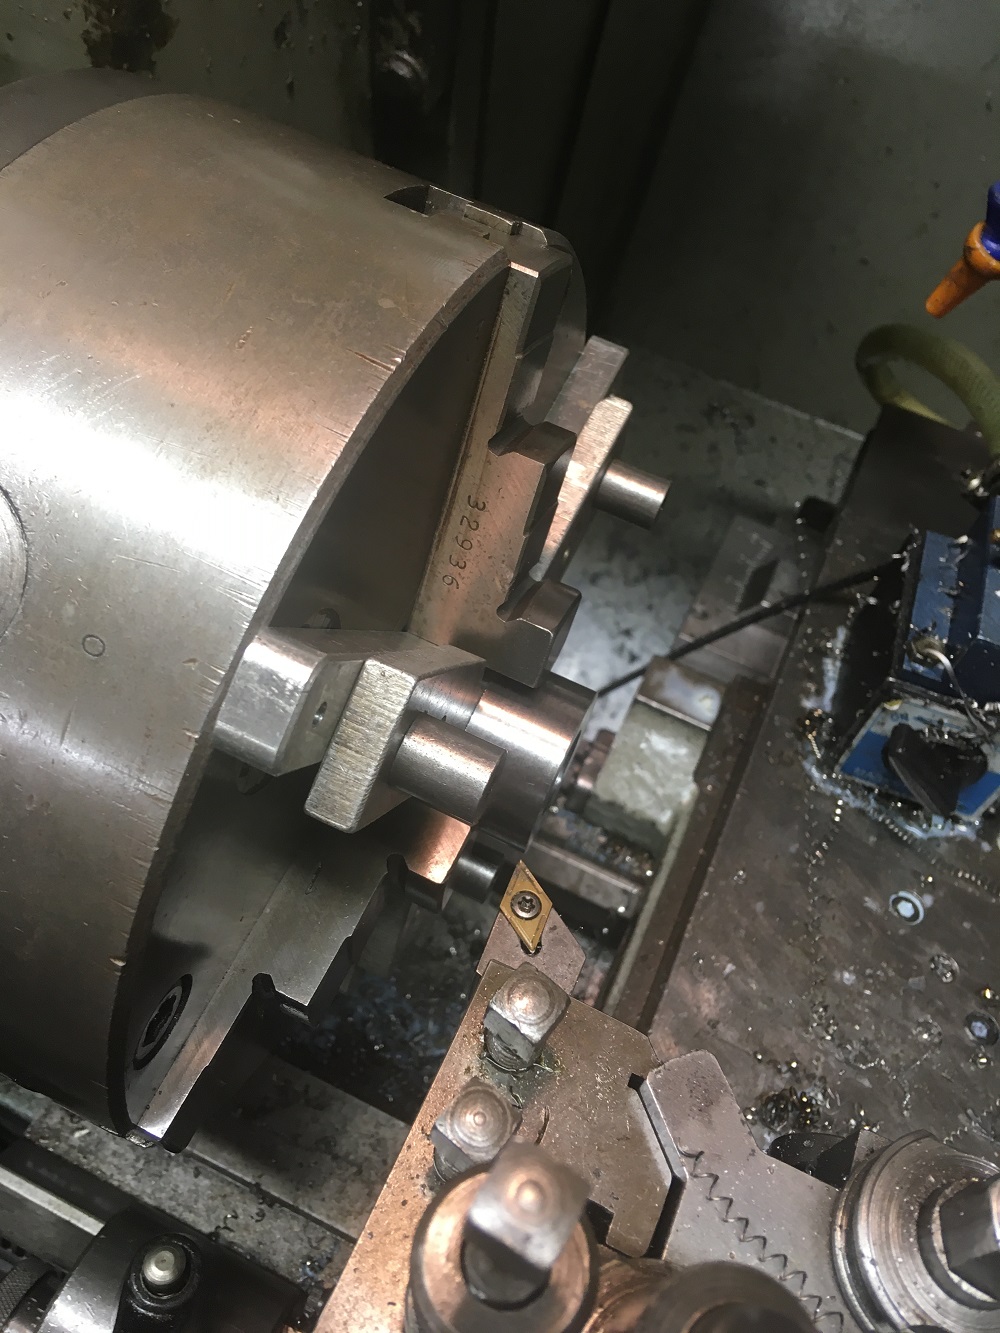
    Spacers fitted to one of the chuck face stops to achieve required distance from chuck face

    Click image for larger version. 

Name:	single stop.jpg 
Views:	839 
Size:	370.0 KB 
ID:	31784

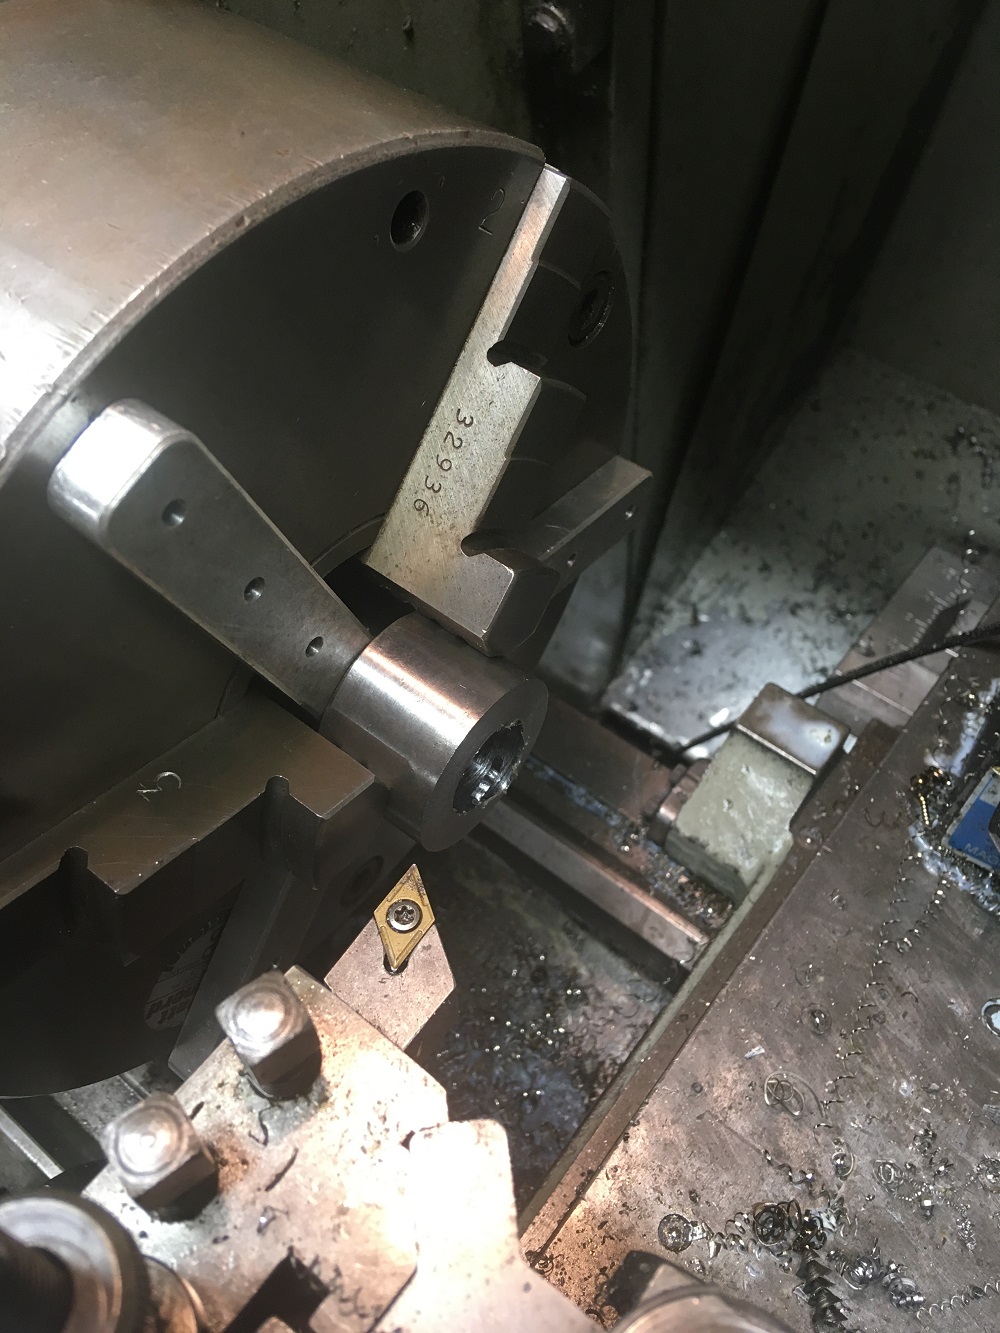
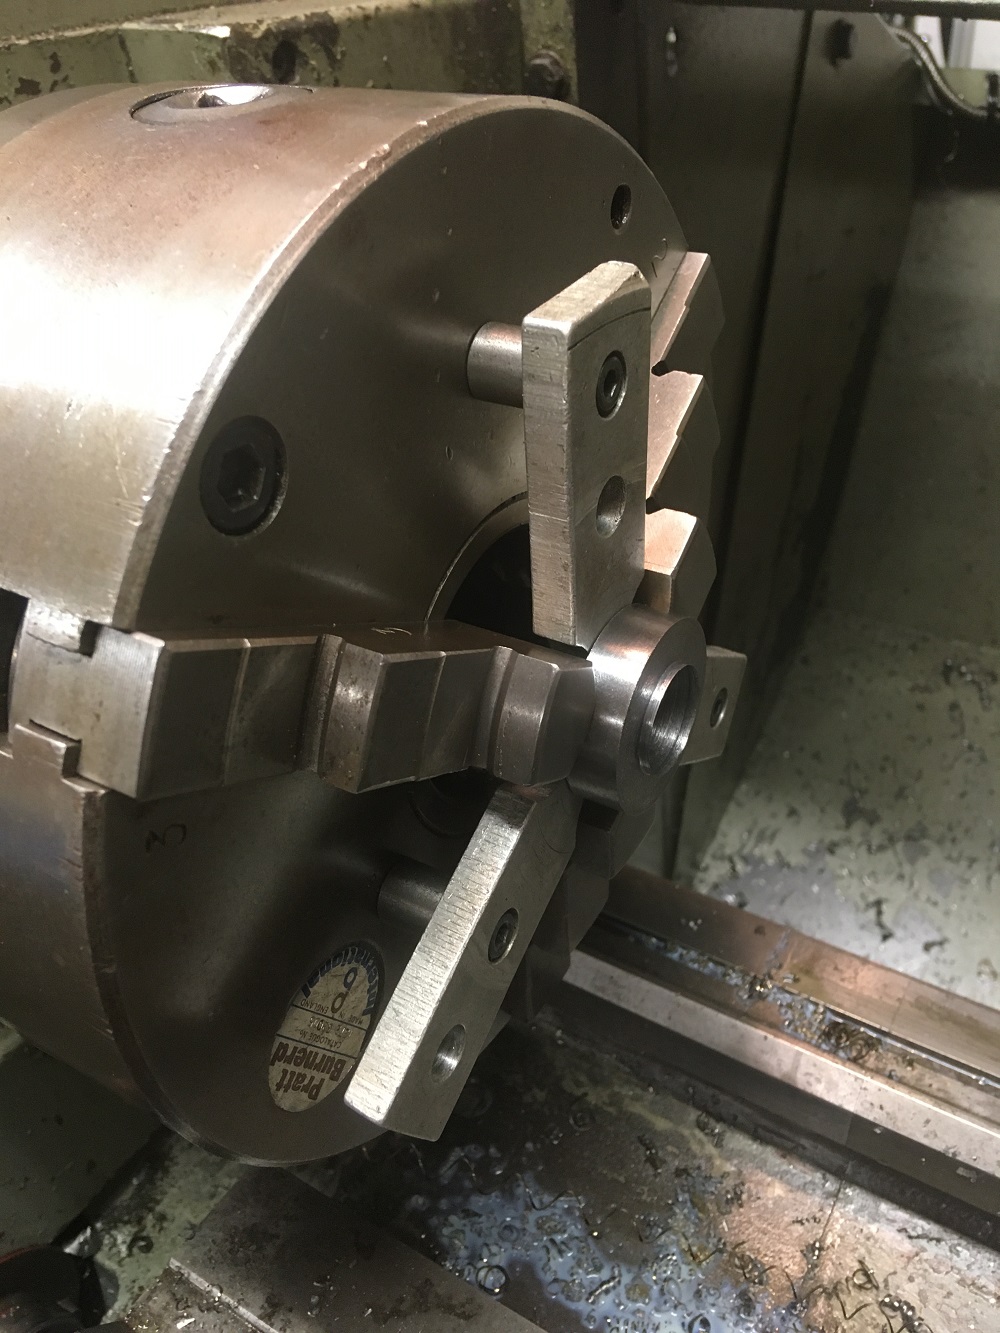
    Single stop with work piece ready to be machined. Note the stop simply fits against the chuck face and the work-piece is tapped back against the stop the chuck back stop is unable to leave the chuck while machining as it is not only trapped by the work but also the chuck jaws.

    Click image for larger version. 

Name:	stop in place.jpg 
Views:	1070 
Size:	361.5 KB 
ID:	31785

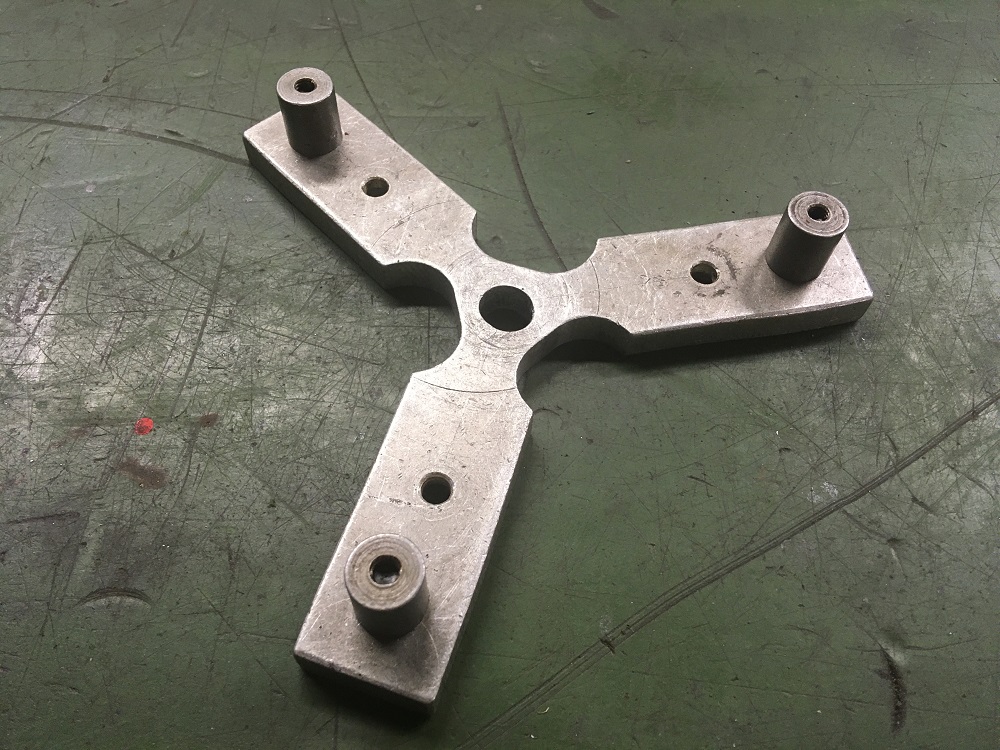
    Thinner work-piece needing the stop to have spacers attached.

    Click image for larger version. 

Name:	stacked.jpg 
Views:	930 
Size:	370.7 KB 
ID:	31786

    Both spacers ganged together. Note the spacers have been left in place but do not interfere with the tool position. In most cases these would be removed to prevent tooling clashing with the over hanging spacers.

    I hope this will be of help to some and thank you for viewing
    The Home Engineer

  2. The Following 25 Users Say Thank You to thehomeengineer For This Useful Post:

    asterix (Dec 16, 2021), baja (Nov 1, 2019), Carnel (Nov 1, 2019), Corm (Oct 31, 2019), Crusty (Oct 31, 2019), Dimsa (Jan 10, 2025), DIYSwede (Oct 31, 2019), drivermark (Nov 3, 2019), Home-PC (Dec 15, 2021), Jon (Oct 30, 2019), kess (Nov 2, 2019), Miloslav (Jan 23, 2023), Paul Jones (Nov 15, 2019), RetiredFAE (Jan 9, 2025), reysl1949 (Jan 14, 2020), Seedtick (Oct 31, 2019), sossol (Nov 1, 2019), Stevohdee (Nov 1, 2019), tenncf (Aug 12, 2023), that_other_guy (Nov 1, 2019), Toolmaker51 (Oct 31, 2019), Tuomas (Nov 1, 2019), Wmrra13 (Oct 31, 2019), wolle (Nov 1, 2019), wombat50 (Dec 19, 2021)

Thread Information

Users Browsing this Thread

There are currently 1 users browsing this thread. (0 members and 1 guests)

Bookmarks

Posting Permissions

  • You may not post new threads
  • You may not post replies
  • You may not post attachments
  • You may not edit your posts
  •