
 LinkBack URL
 About LinkBacks


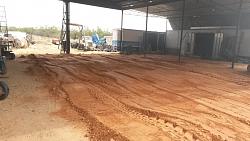
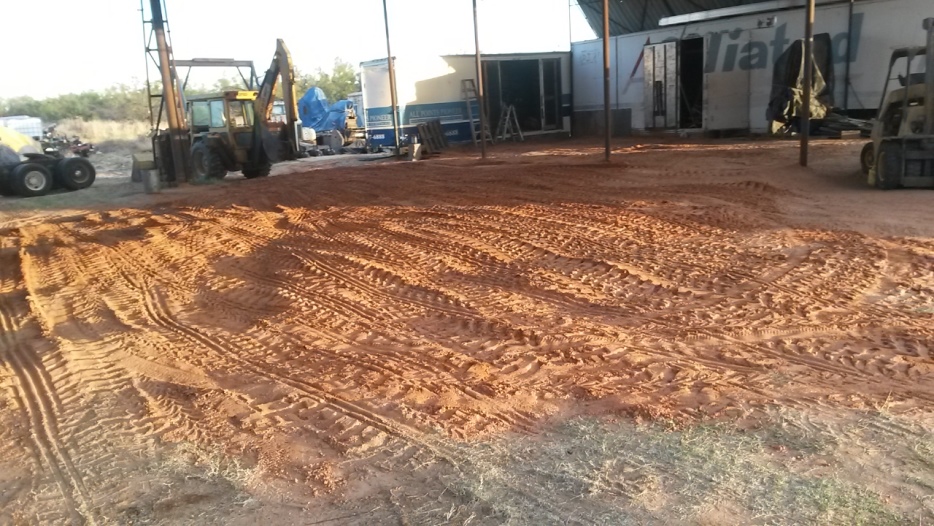
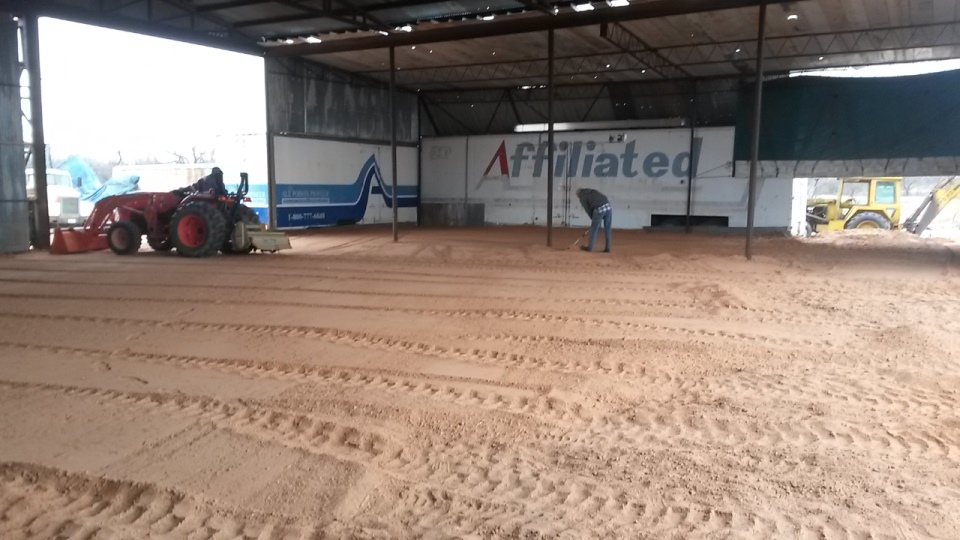
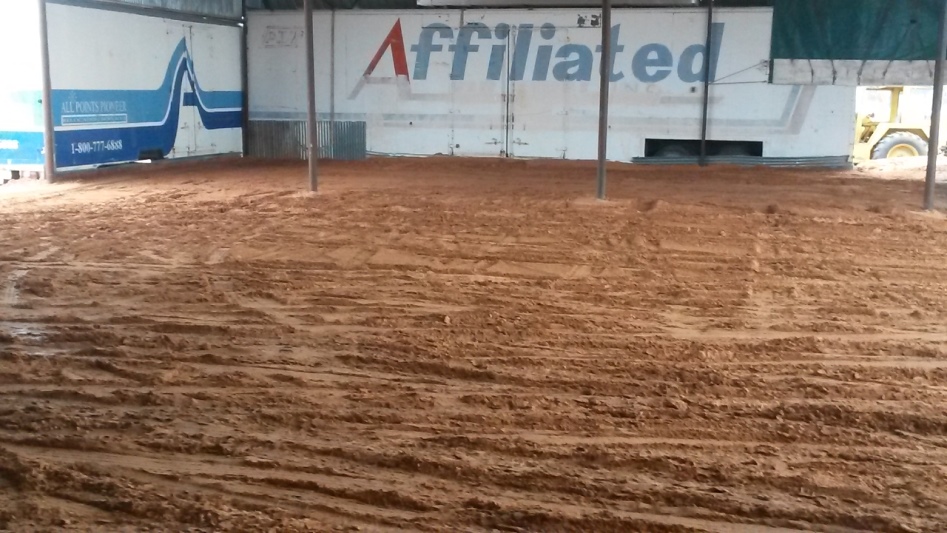
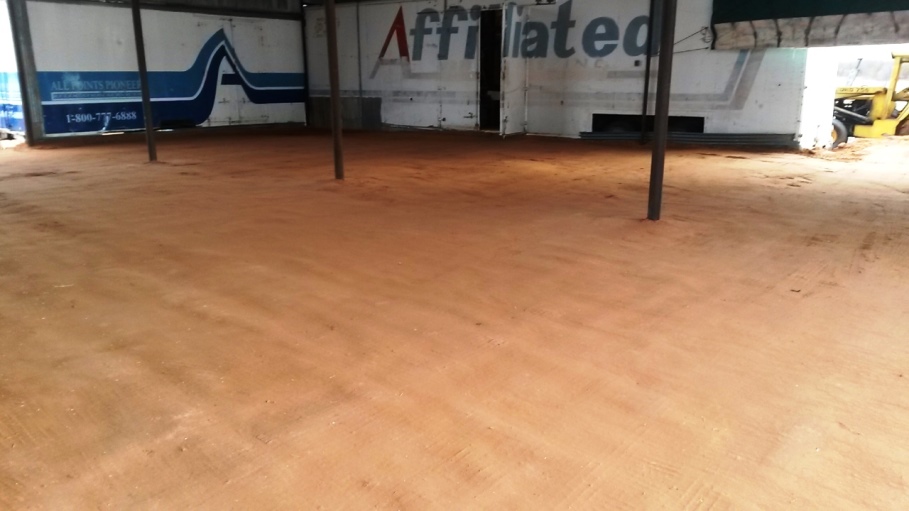
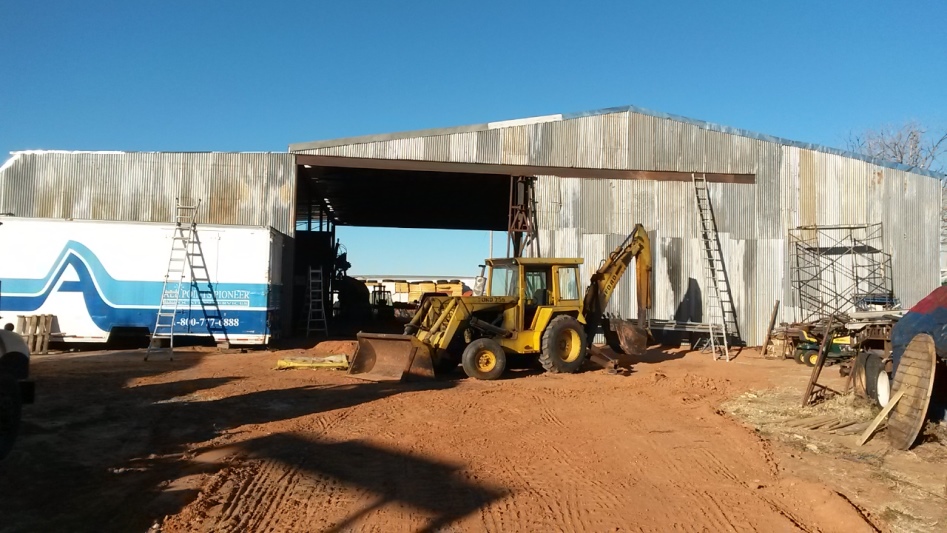
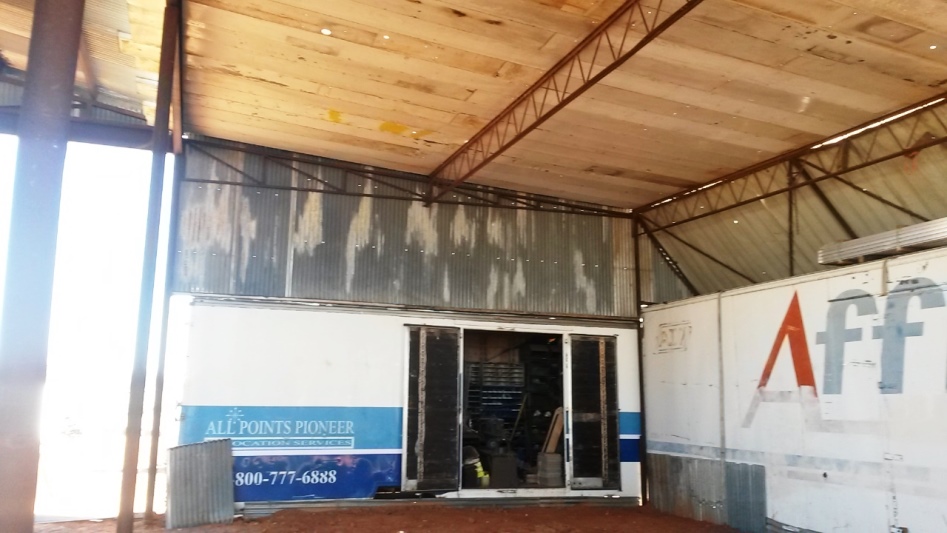
Well I finally got both trailers I had been working on out of the shop so I can get back to laying down some more fill between 6 to 10 inches needs to be laid down in some areas to bring the floor up to 6 to 8 inches below finished floor level
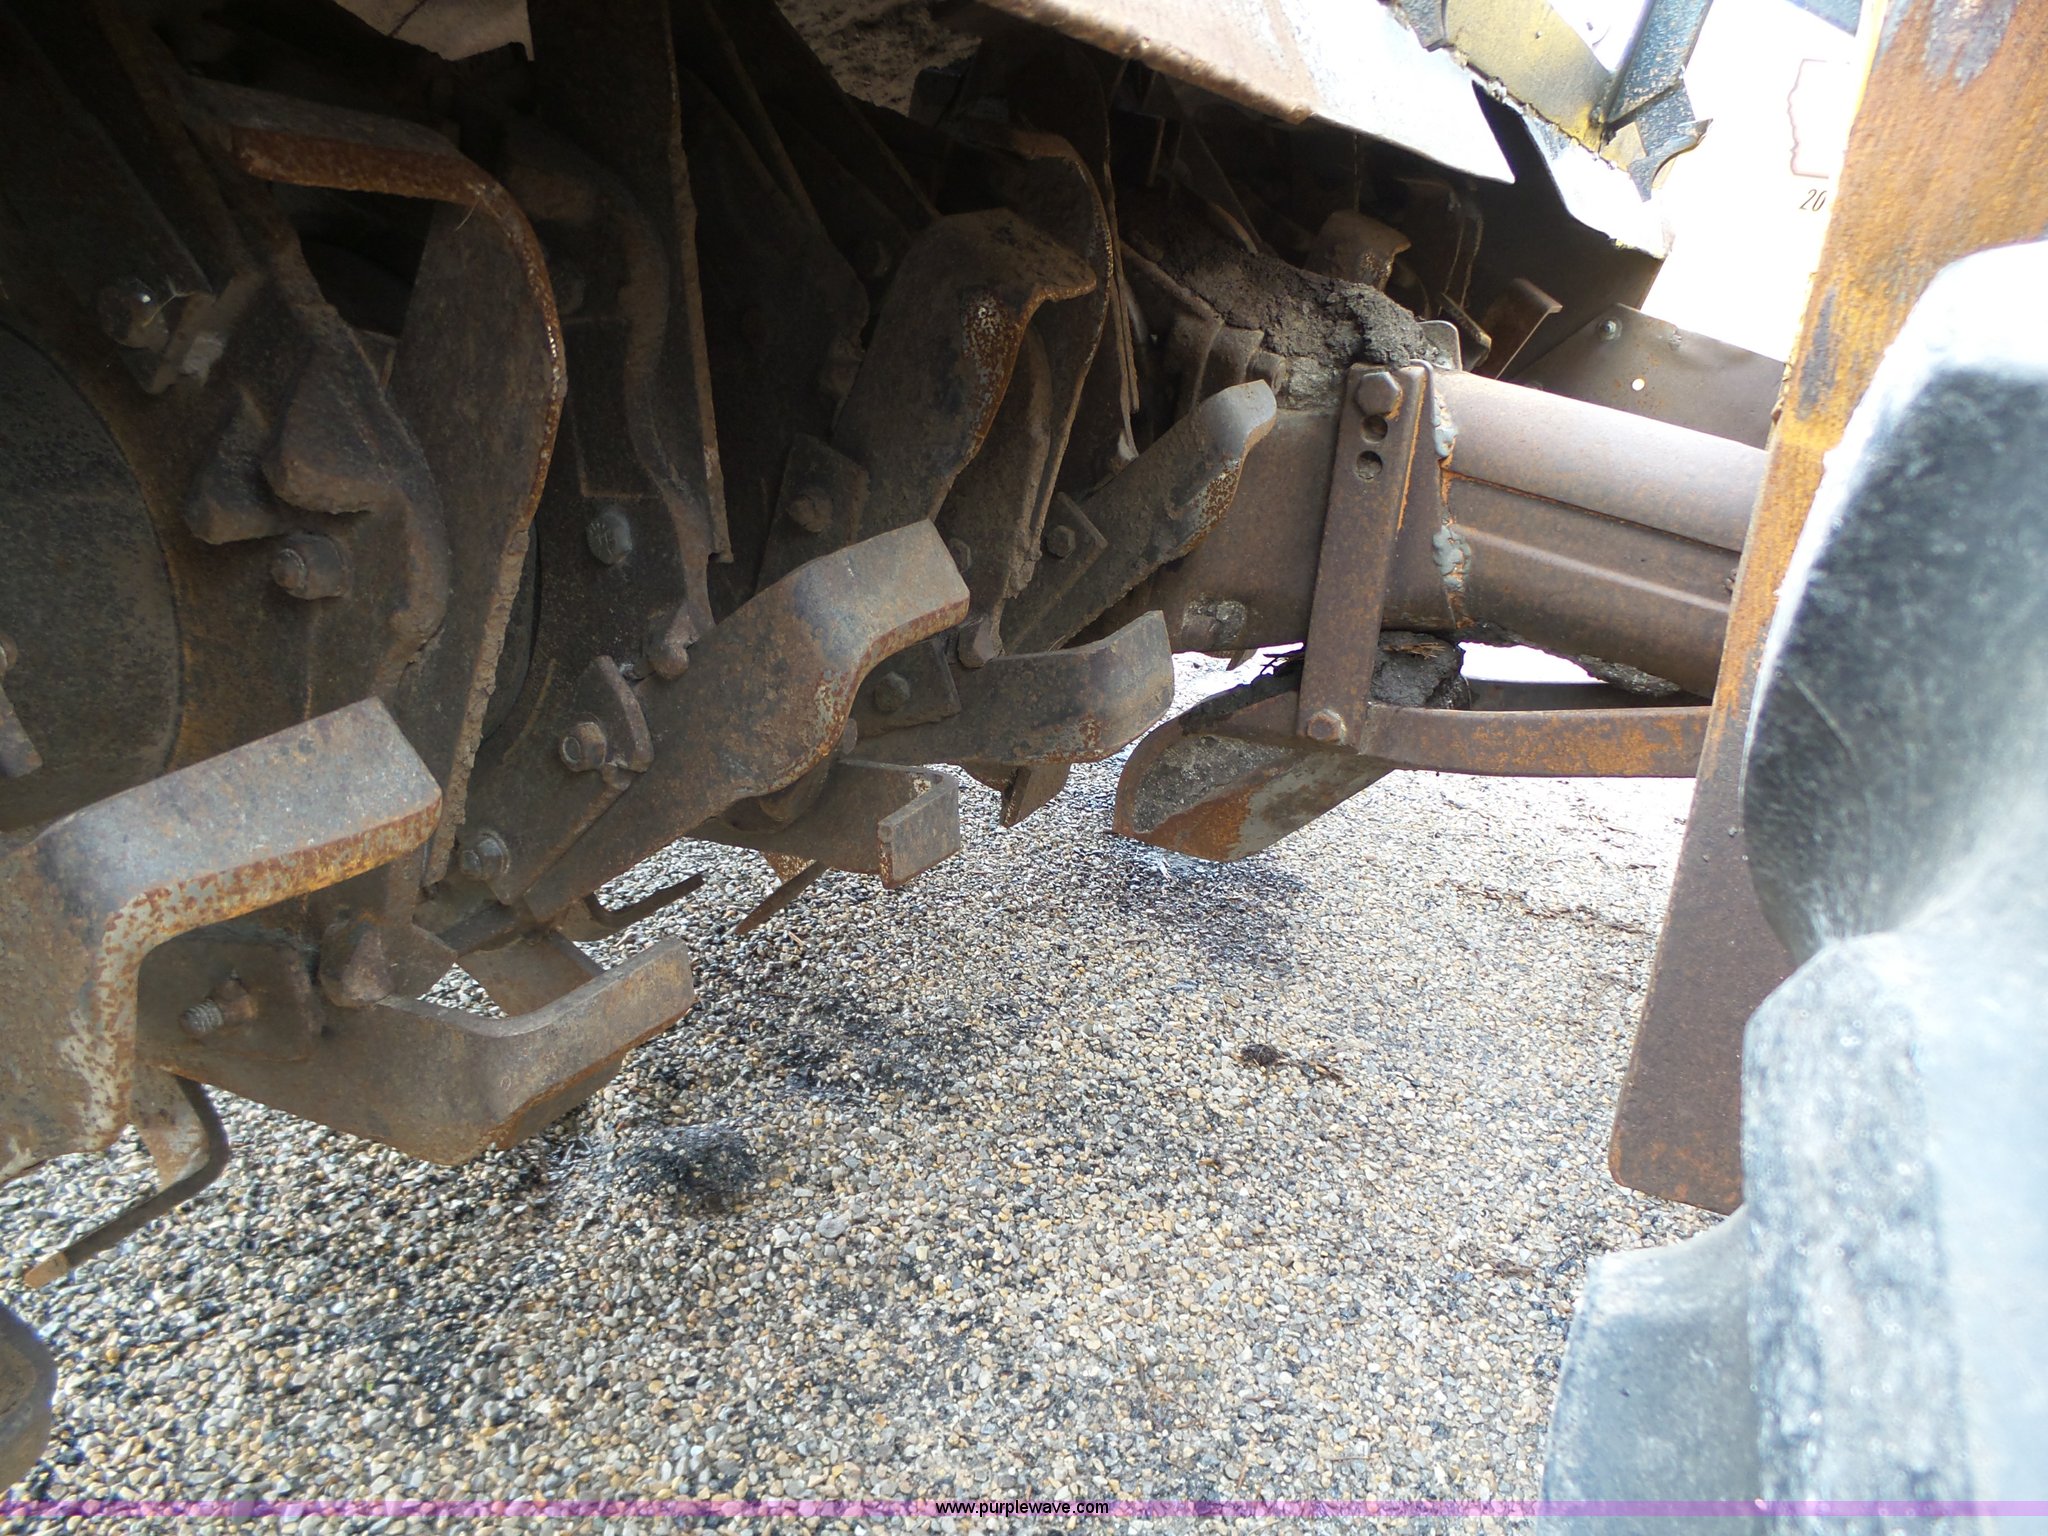
so the way I have been adding fill is to add a few yards at a time then drive back and forth hundreds of times then add more. I plan to build it up above where I want it then build a 2 or 3 blade scraper to drag all over the floor to make it level then I will probably till it to a depth of 6 to 8 inches while mixing in an enzyme and lime stabilizer with water, level it again then convert my scraper to 2000 lb. double roller mount my plate packer on it and slowly roll that over it until the clay sand fill is packed to 125% compaction then try not to use the shop for anything for a month while the enzyme reacts in the soil. what this will do will be make the surface hard and nearly dust free similar to creating 6 to 8inch layer of caliche then later once I can afford to lay in the rebar and pour concrete I'll put down a layer of sand pour the concrete and have a lasting floor


 Reply With Quote
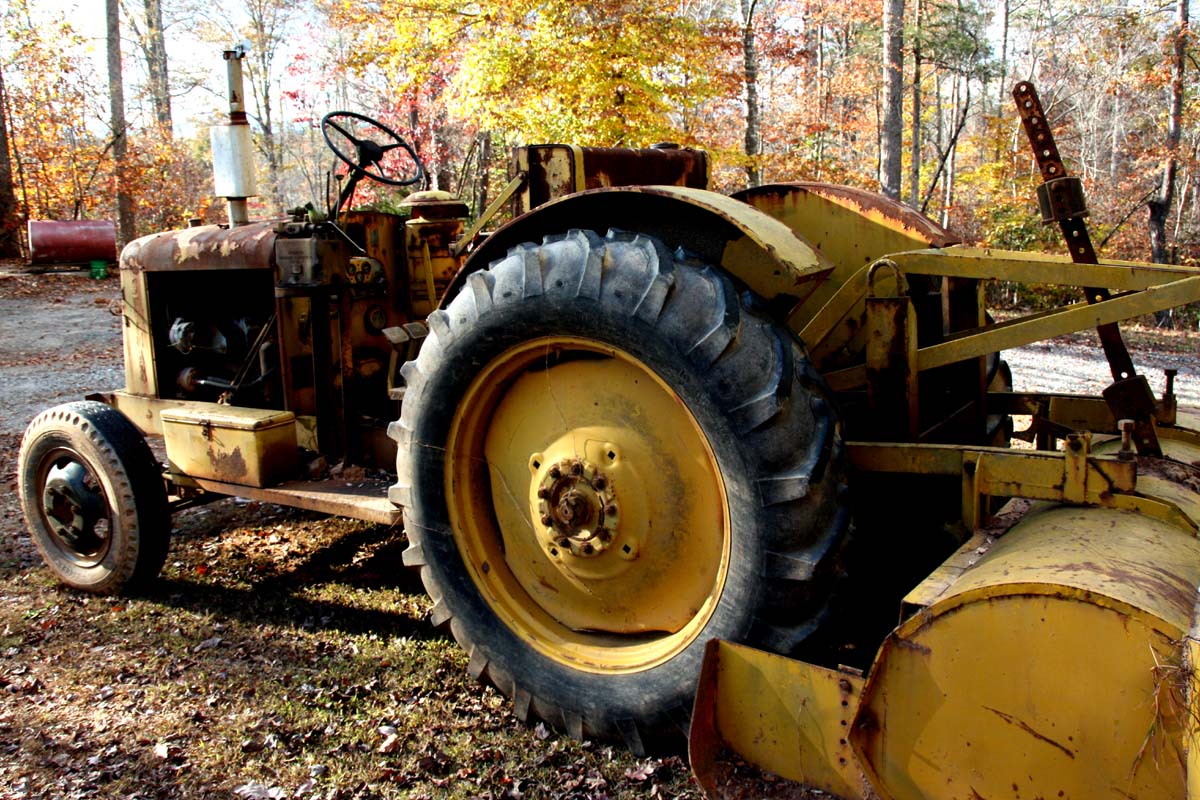


Bookmarks