Free 186 More Best Homemade Tools eBook:  
New: 300+ fresh build posts/day from 275 forums → BuildThreads.com

User Tag List

Results 1 to 10 of 11

Thread: remake of my 7 ft folding break

Threaded View

  1. #2
    Supporting Member Frank S's Avatar
    Join Date
    Aug 2015
    Location
    Peacock TX
    Posts
    12,623
    Thanks
    2,680
    Thanked 11,125 Times in 5,401 Posts

    Frank S's Tools
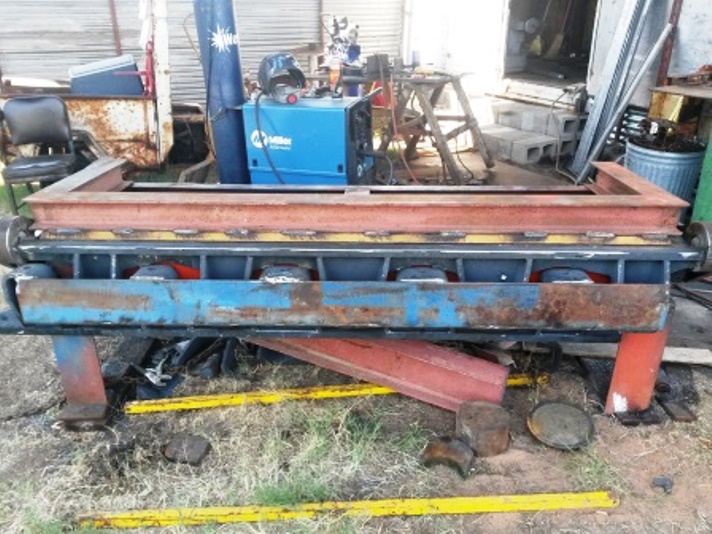
    this build or I should say rebuild so far has required me to make at least half a dozen new tools and parts of the build are shown in 8 or 9 other threads and some tools required other tools to be made before they could be used to make the parts this is at least a partial listing of those threads you may note some of the parts being processed to get the build to this point I am sure more will be required before I can call this a real machine
    http://www.homemadetools.net/forum/s...f-blocks-63258
    http://www.homemadetools.net/forum/2...ch-guide-63215
    http://www.homemadetools.net/forum/t...5-8-11-a-63210
    http://www.homemadetools.net/forum/a...5-x30%B0-63005
    http://www.homemadetools.net/forum/t...s-marker-63049
    http://www.homemadetools.net/forum/set-up-block-63032
    http://www.homemadetools.net/forum/1...ring-bar-62986
    http://www.homemadetools.net/forum/d...ing-head-62925
    http://www.homemadetools.net/forum/b...ving-bar-62901
    http://www.homemadetools.net/forum/n...nly-part-63084
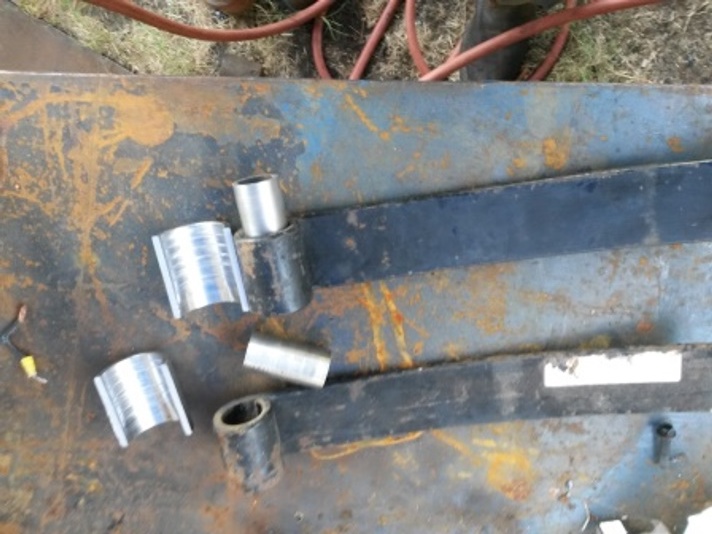
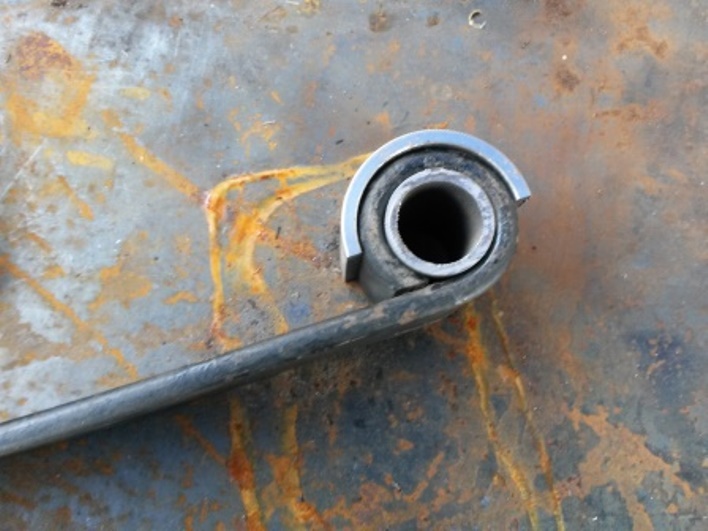
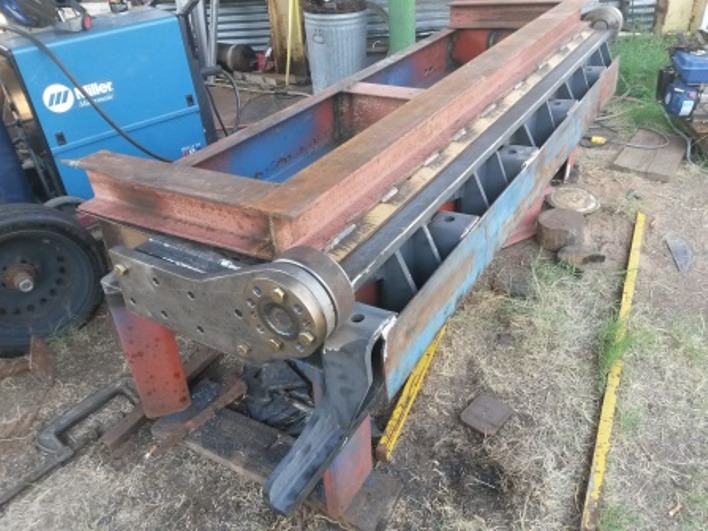
    I will be using the eye end of leaf springs for the top clamp pivot the reasons will be made clear in future posts
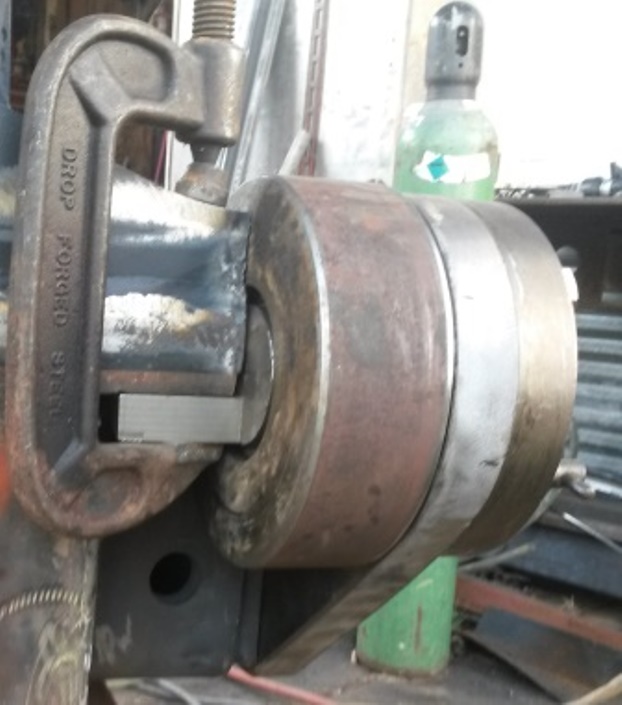
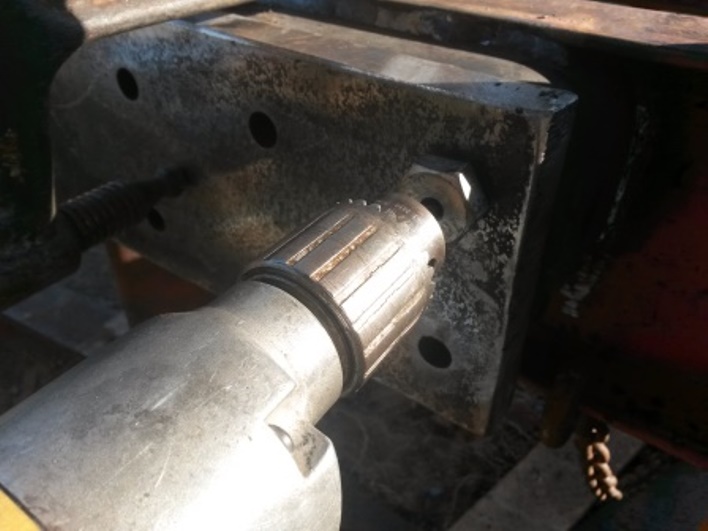
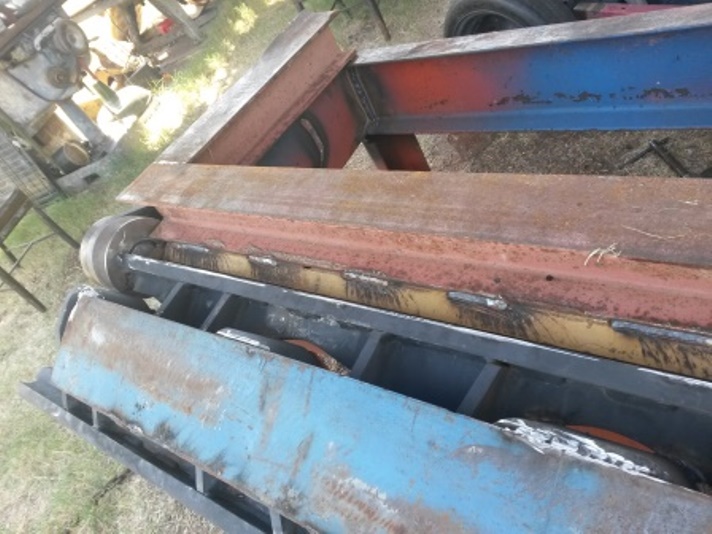
    first off I removed the urethane bushings and replaced them with a pair of hollow piston wrist pins that just happened to be 1/250" OD and 1.000" Id the half round pieces were made from 2 3/8OD oilfield pipe
    Click image for larger version. 

Name:	20170813_125813.jpg 
Views:	358 
Size:	120.6 KB 
ID:	19410
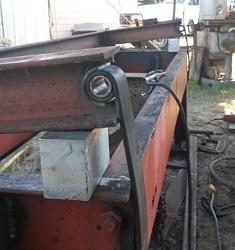
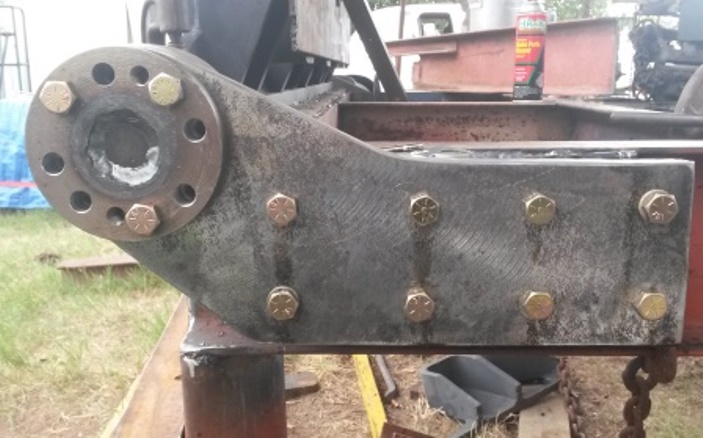
    this is how they will be fitted together on the machine the half round will be welded in the end or the clamp arms then the arms will be plated with 1" holes for a pin to become the pivot.
    Click image for larger version. 

Name:	20170813_125943.jpg 
Views:	353 
Size:	115.3 KB 
ID:	19411

    Click image for larger version. 

Name:	20170901_155719.jpg 
Views:	351 
Size:	120.0 KB 
ID:	19412

    Click image for larger version. 

Name:	20170901_155736.jpg 
Views:	355 
Size:	103.5 KB 
ID:	19413

    Click image for larger version. 

Name:	20170901_150929.jpg 
Views:	381 
Size:	119.2 KB 
ID:	19414

    Click image for larger version. 

Name:	20170901_181352.jpg 
Views:	355 
Size:	91.6 KB 
ID:	19415

    Click image for larger version. 

Name:	20170902_161753.jpg 
Views:	370 
Size:	111.0 KB 
ID:	19416
    first time the gate is opened
    Click image for larger version. 

Name:	20170904_152419.jpg 
Views:	412 
Size:	161.0 KB 
ID:	19417

    Click image for larger version. 

Name:	20170904_152432.jpg 
Views:	388 
Size:	171.3 KB 
ID:	19418

    Click image for larger version. 

Name:	20170904_152447.jpg 
Views:	398 
Size:	133.8 KB 
ID:	19419
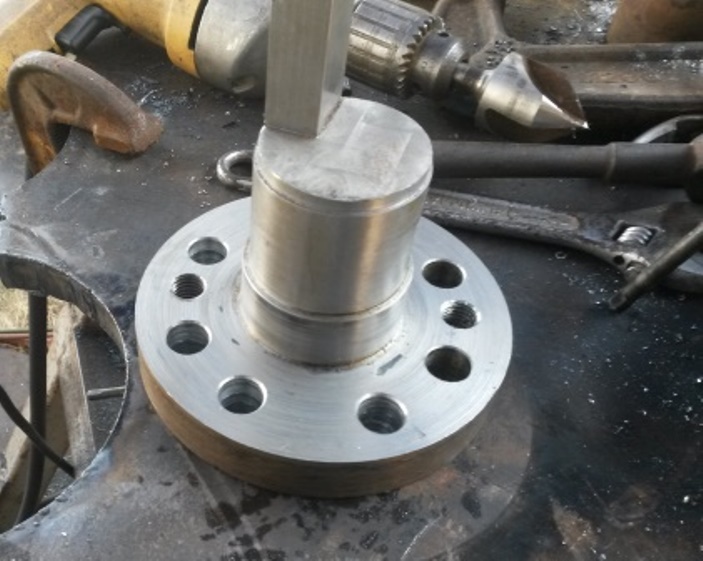
    start of the pivot for the top clamp
    Click image for larger version. 

Name:	20170904_164648.jpg 
Views:	372 
Size:	116.6 KB 
ID:	19420
    Never try to tell me it can't be done
    When I have to paint I use KBS products

  2. The Following 7 Users Say Thank You to Frank S For This Useful Post:

    baja (May 27, 2020), KustomsbyKent (Sep 5, 2017), Paul Jones (Sep 5, 2017), ronny des (Sep 8, 2017), Seedtick (Sep 5, 2017), Toolmaker51 (Jul 11, 2018), Y-geo (Sep 5, 2017)

Thread Information

Users Browsing this Thread

There are currently 1 users browsing this thread. (0 members and 1 guests)

Bookmarks

Posting Permissions

  • You may not post new threads
  • You may not post replies
  • You may not post attachments
  • You may not edit your posts
  •