
 LinkBack URL
 About LinkBacks


Some call them heat exchangers but that is not quite true.
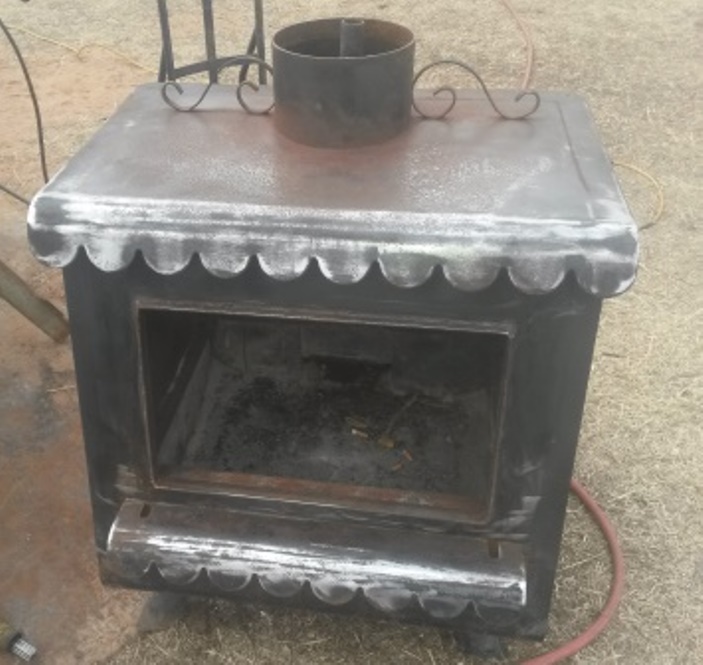
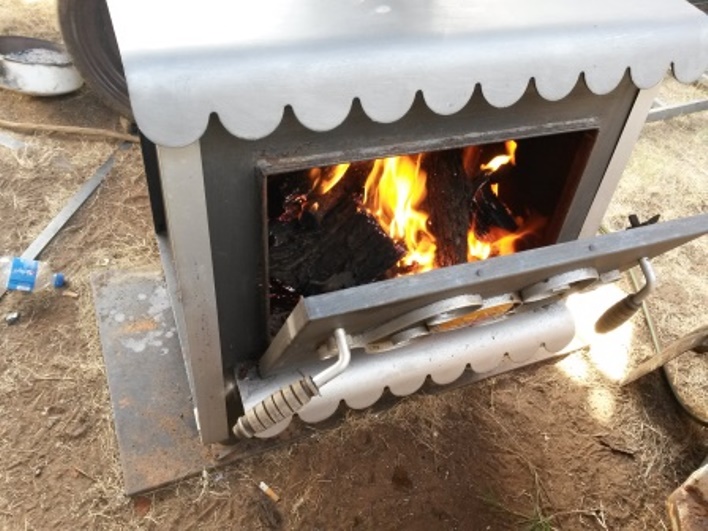
My Earth Stone wood heater did a fair job as manufactured but I knew from past experiences that it could do much better.
I decided since I needed to pull it out of the house and replace the chimney anyway I might as well do a couple of mods to it
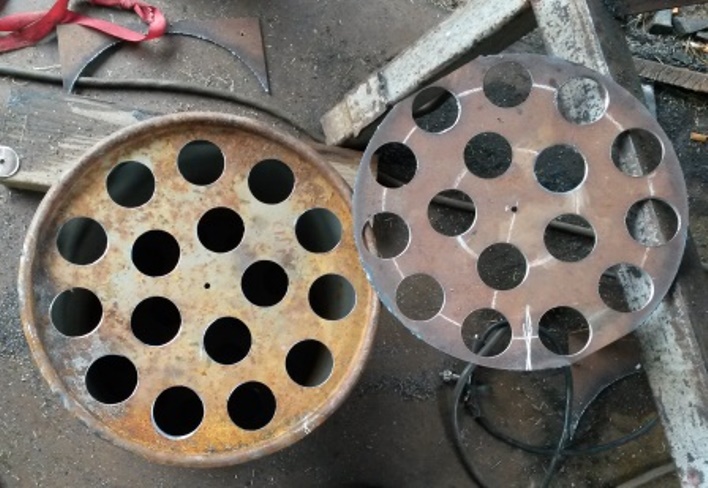
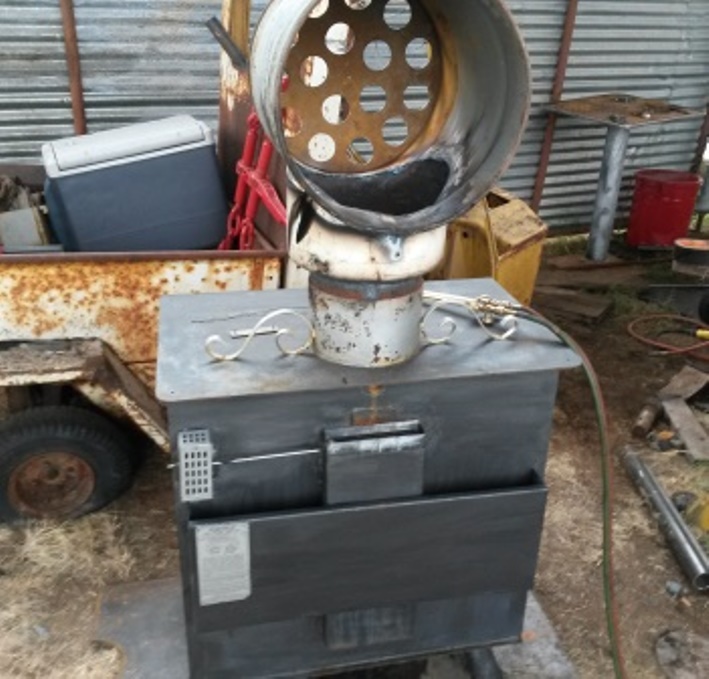
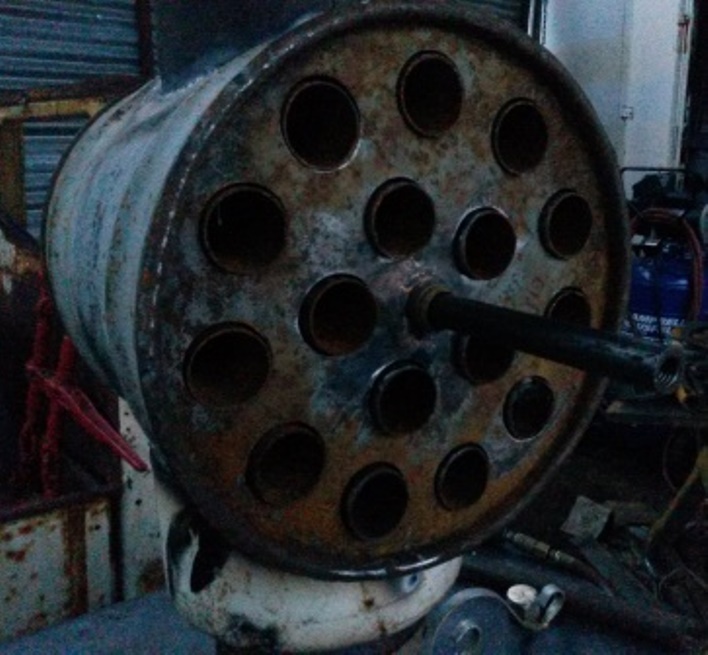
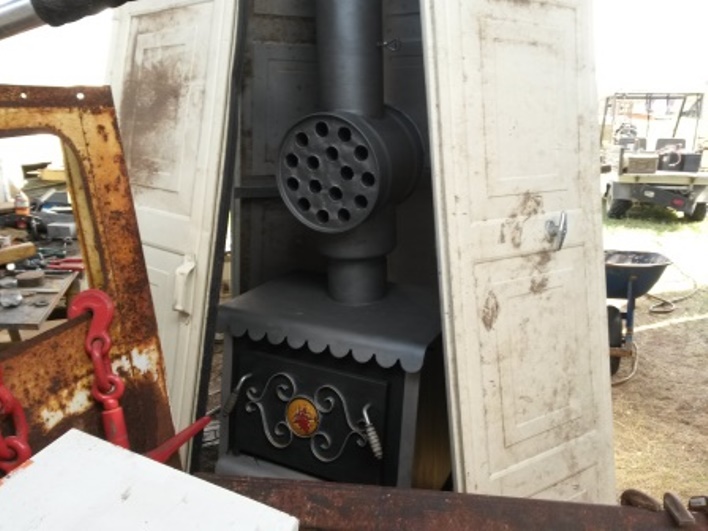
First off I wire brushed it down and repainted it in 2 tone Charcoal gray with KBS Extreme temp paint dark on the lower then I made the recovery unit out of a 15 gallon shorty drum by hole sawing 15 holes in the top and bottom and a 3rd disk to put inside to serve as a means to drag the coke build up off the heat tubes then I welded in the 15 1.94" diameter 16 ga tubes then welded the top to the drum with the clean out plate inside and a pull rod to push or pull it back and forth. after I cut a 11" diameter hold in 1 side and an 8" hole in the opposite side I welded a section of an old water filter tank to 1 side then cut an 8" hole in that I formed a piece of 16 ga into an 8" - cylinder and welded that to the dome of the tank this formed an expansion chamber to allow the stove exhaust to spread out exposing more of the tubes to the the heat. then on the now top of the unit I welded a section of 8" chimney pipe and installed a damper which the stove never had before, which had allowed much of the thermal energy to be lost up the chimney then I painted the top of the stove and the added bits with KBS extreme temp light metallic Charcoal gray.
This paint must be heat cured to 350 to 400°f for a minimum of 3 hrs before the stove could be returned to the house otherwise the fumes can be toxic to some people and they smell really bad anyway. So I built a fire in it then as the fire got hotter I stoked the stove completely full of mesquite
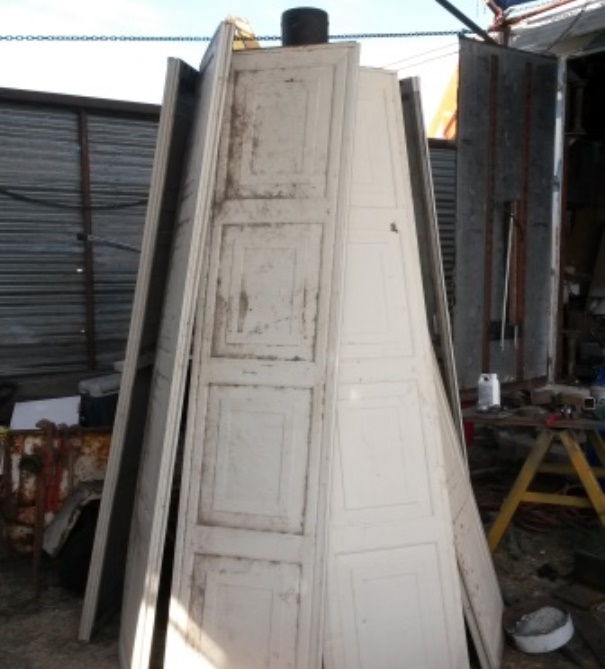
Mesquite burns really hot To help trap some of the radiant heat to further assist in the curing of the paint I made a makeshift thermal enclosure by stacking steel garage door [panels all around the stove . With the intake air regulator wide open and the draw damper set at 1/2 I let it bur for several hours probably 3 to 3 1/2 then I opened the door and saw that I could stuff some more wood inside so I added another wheel barrow full and let it burn the rest of the day and into the night. This morning it had gotten down to 33 ° but when I went out and checked on the stove it was still warm

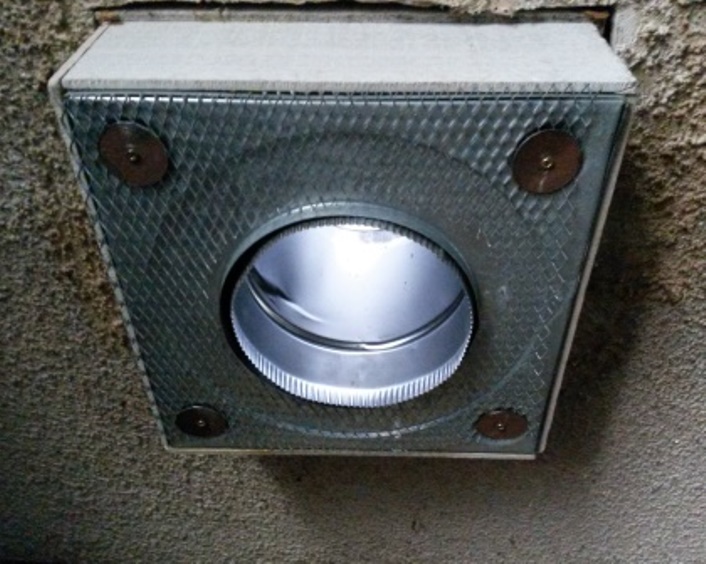
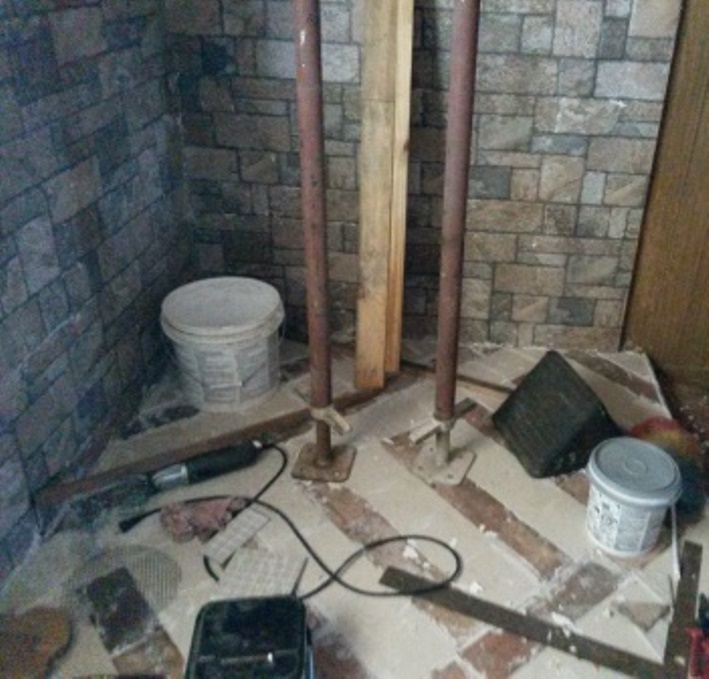
Ceiling support jacks made out of pipe and scafold screws to hold the ceramic tile against the transition box until the cement dries.
I screwed lathing to the bottom to the transition box to give the cement something to hold on to
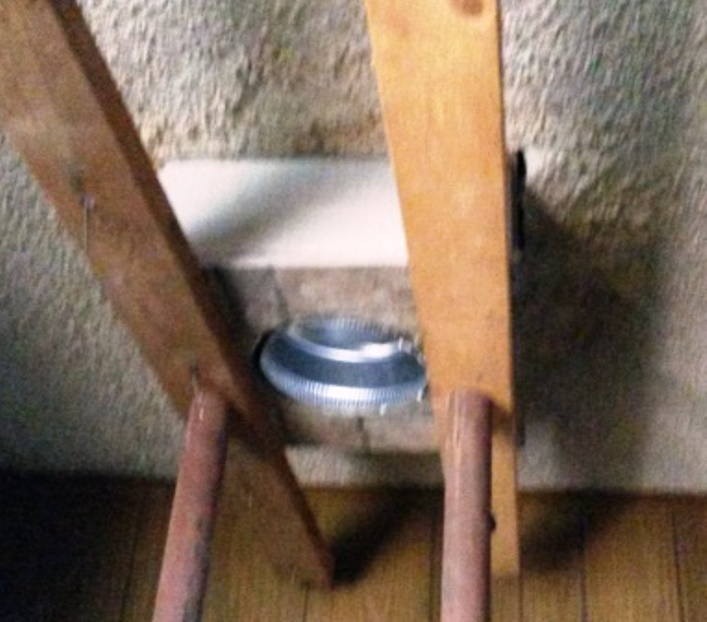
The transition box is 16" sq. and I affixed 2 layers of 1/4" cement backer board on the 4 sides extending almost all the way to the roof the chimney is 8" ID 12" OD triple pipe stainless steel inner pipe
The stove will sit on a 5 ft by 5 ft 4" thick raised concrete slab the fire protection walls are 5 ft high
I screwed 1" firing strips to the walls then added 2 layers of 1/4" cement backer board then covered that with 3/8" thick ceramic tiles with a brick pattern there will be a heat deflecting mantle on top of the fire walls which will be clad in ceramic tiles and later have LED strip lights hidden under them for lighting effect


 Reply With Quote

Bookmarks