
 LinkBack URL
 About LinkBacks


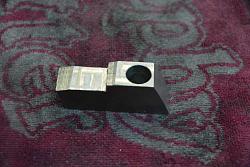
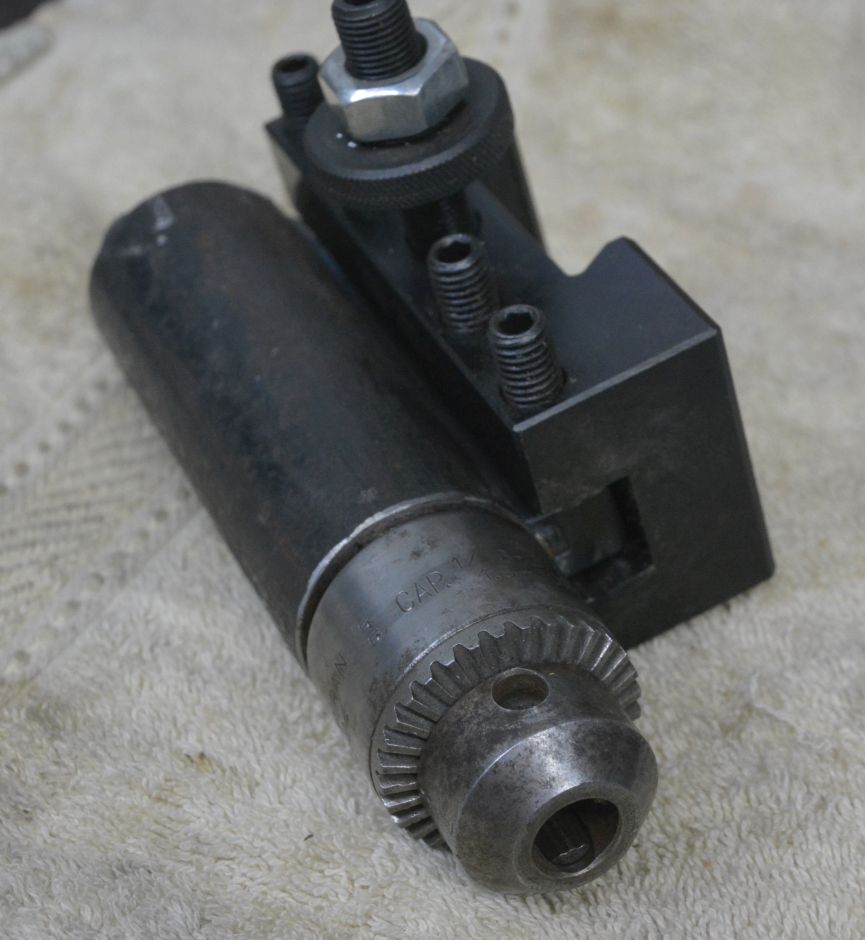
Many of us need to broach shaped holes or pockets occasionally. The most common probably being hexagon or square. There are posts on this forum showing how to build and use rotary broaches as well as making the simple tooling. I often use this method to make hexagon pockets for Allen keys. Sharpening the end of a piece of Allen key is not the best tool but I find that it does an adequate job for most uses. Here is my Q&D rotary broach which fits into QC tool holder for the lathe.
Click images for full size.
GEAR LEVER
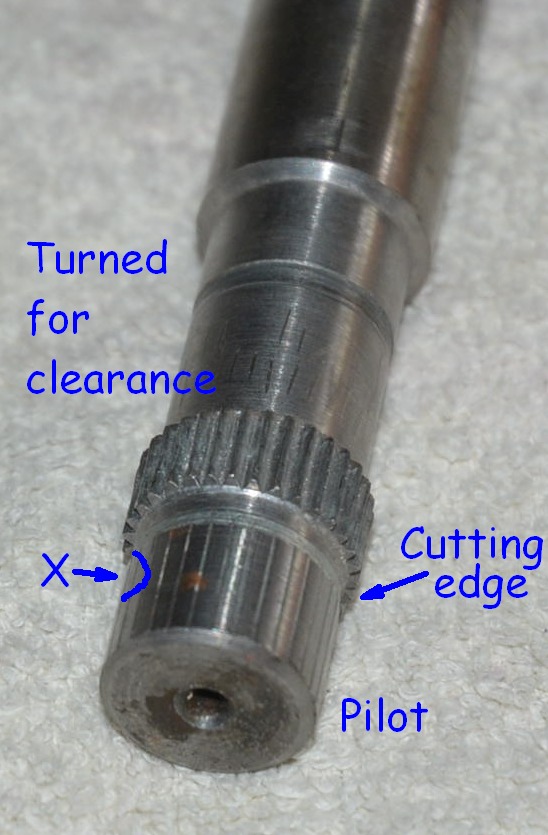
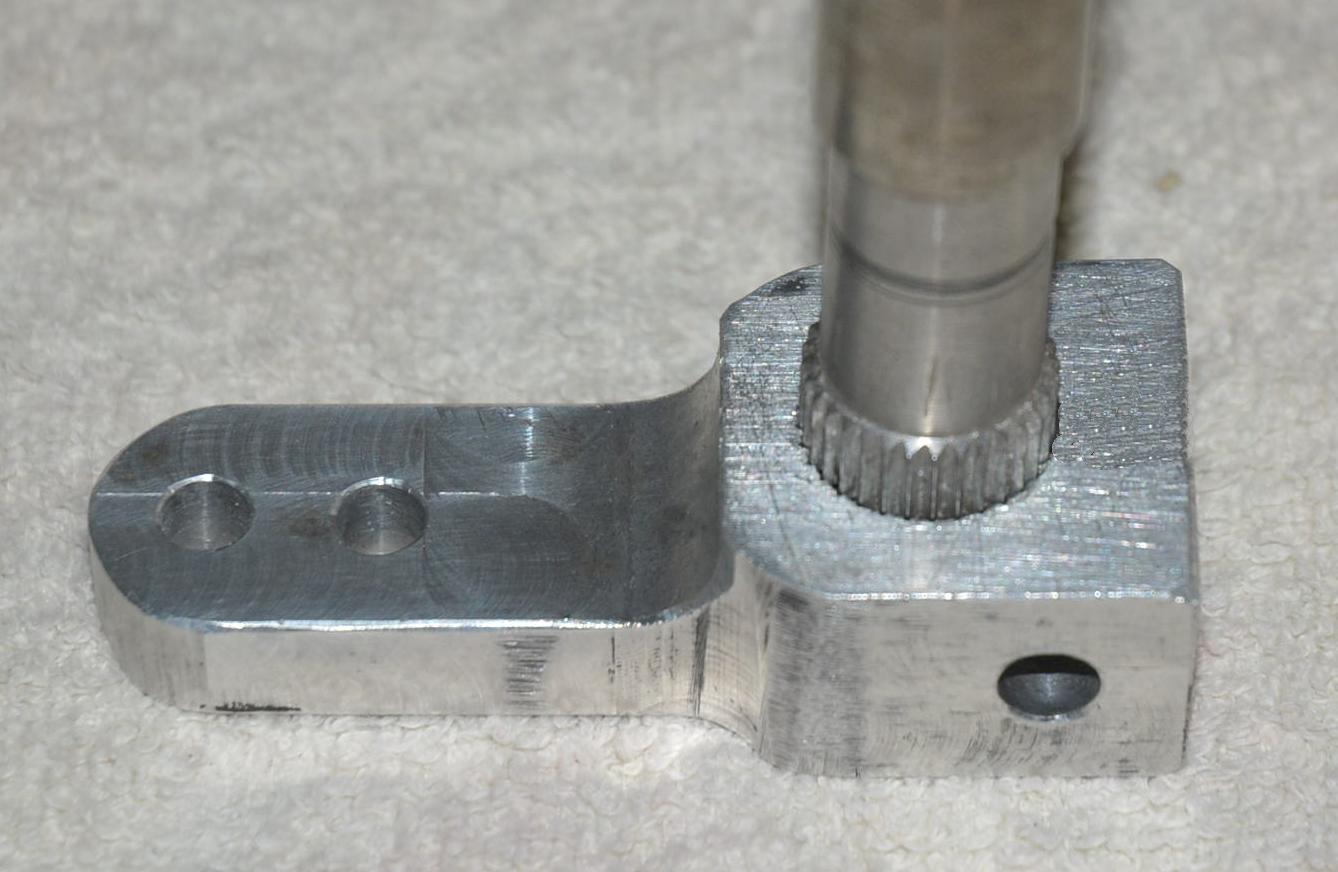
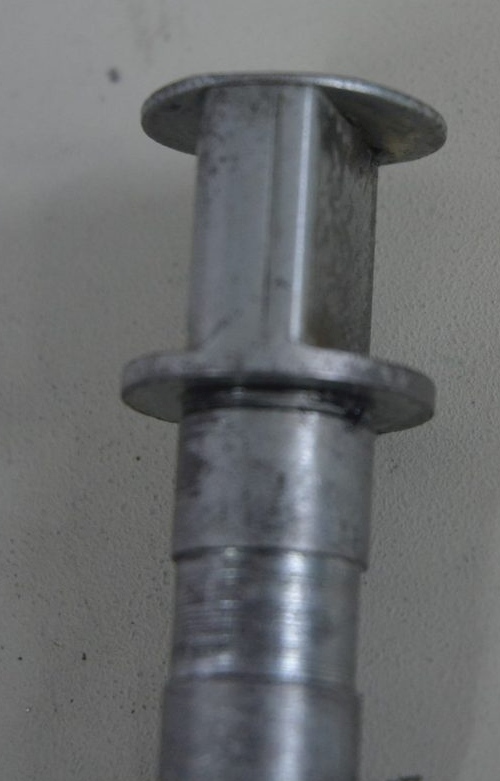
Every now and then I need to broach more complex shapes such as splines for motorcycle gear change levers, and very recently, some brake levers. Fortunately I make these from an aluminium alloy such as 6061 or 7075. For one offs or very small numbers this is fortunate because the broach tool does not need to be made in hardened steel. I have the male steel splined shafts. That allows me to use the existing male splines to cut the female splines in aluminium. That is I use the shaft as a broach. Some years ago I needed to make 2 or 3 gear change levers and I was lucky enough to have a spare gear change shaft. Rather than just forcing this into a drilled hole in the lever, which would have been difficult to align and would probably tear lumps out of the workpiece, I made some modifications to the shaft.

The modified shaft.
I knew from experience that alignment is both important and not always easy, so the first modification was to use some of the spline length as an alignment pilot. The leading edge of the splines was machined square to give a sharp edged cutting surface. The shaft at back edge of the splines was of a slightly larger diameter than the spline OD which would have limited the depth of the splines so I turned that down to less than the root diameter of the splines. There is one thing that I would do if I ever need to use this broach again. I would machine a groove as indicated by "X" in the photo above, to give space for the swarf to accumulate. Note that the initial pass of the broach is done before the clamping slot is cut. That results in the spline being very tight and difficult to fit together. When the slot was cut I inserted the clamping bolt and closed up the hole just a tad. Then I made a second pass with the broach which would just remove a smidgen more. Then when the bolt was released the two parts fitted together easily but not too loose.
BRAKE LEVERS
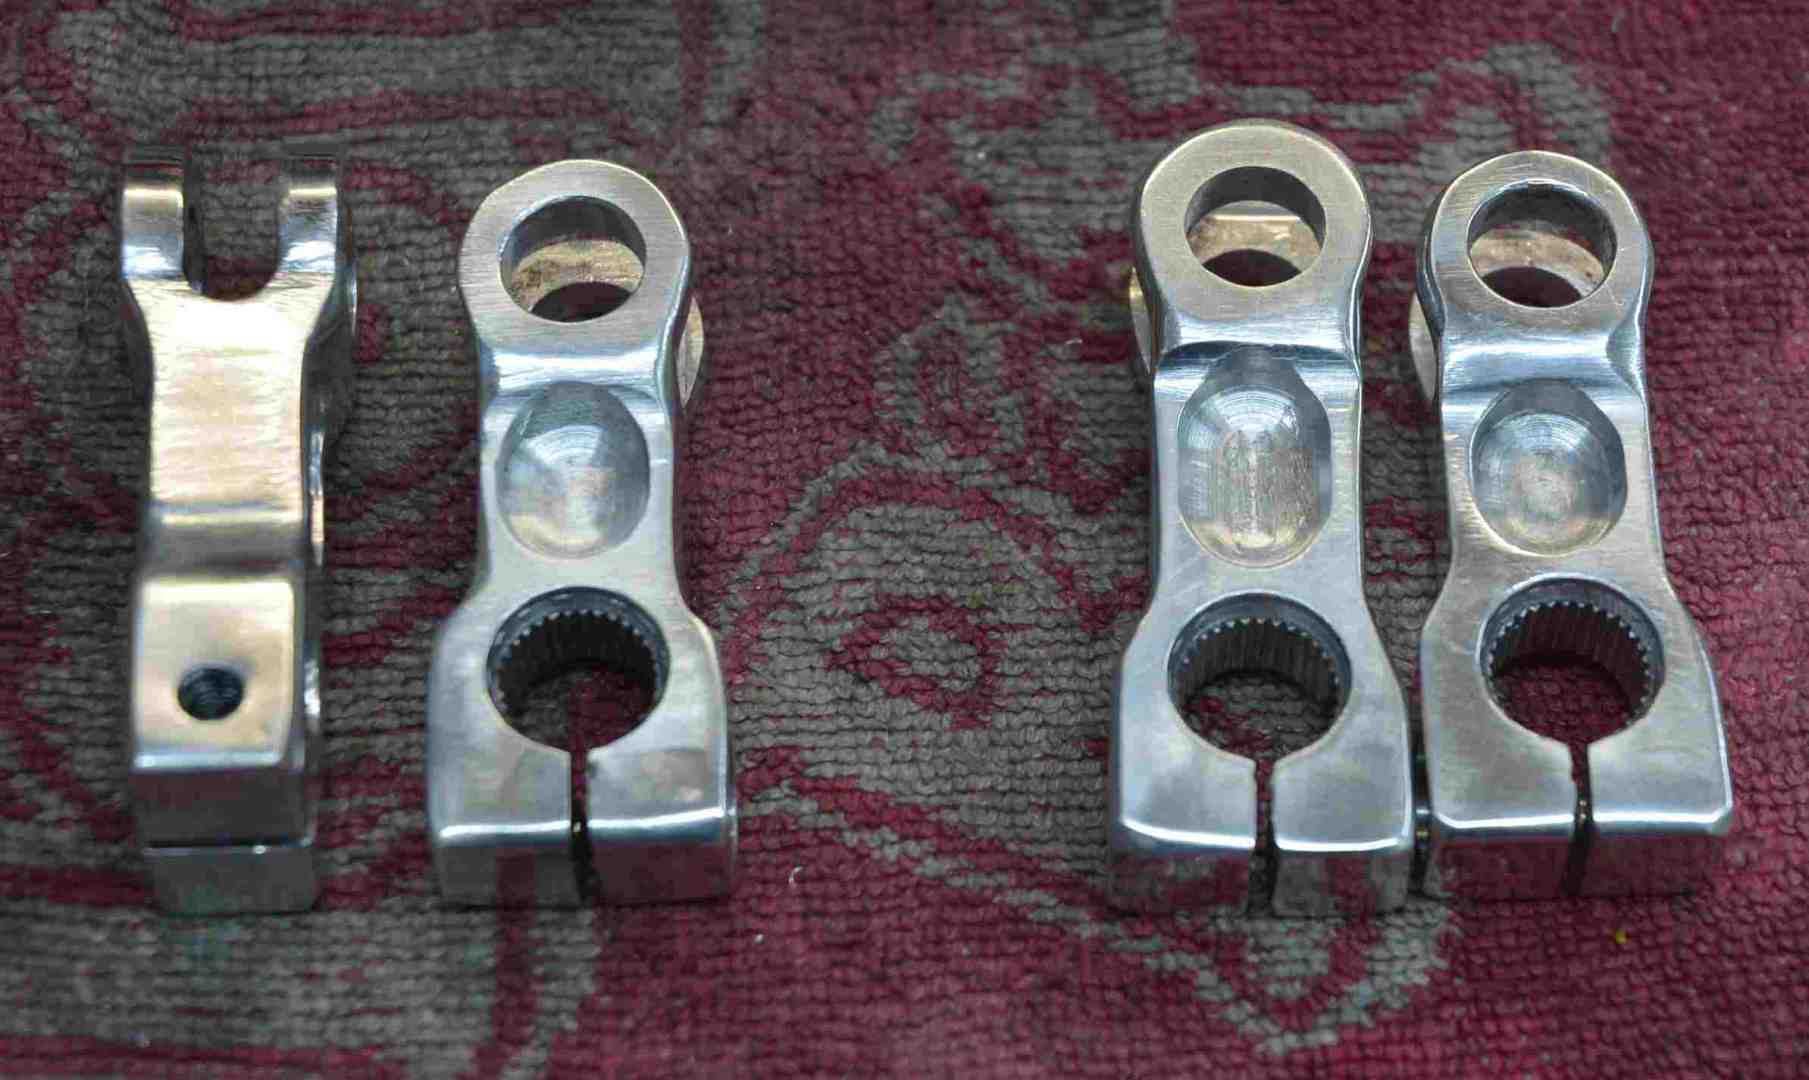
Very recently I needed to make four levers for a drum brake on a vintage racing motorcycle. Although milled to a symmetric finish I used a file for finishing to give a vintage look to them and they all look a little different as planned.
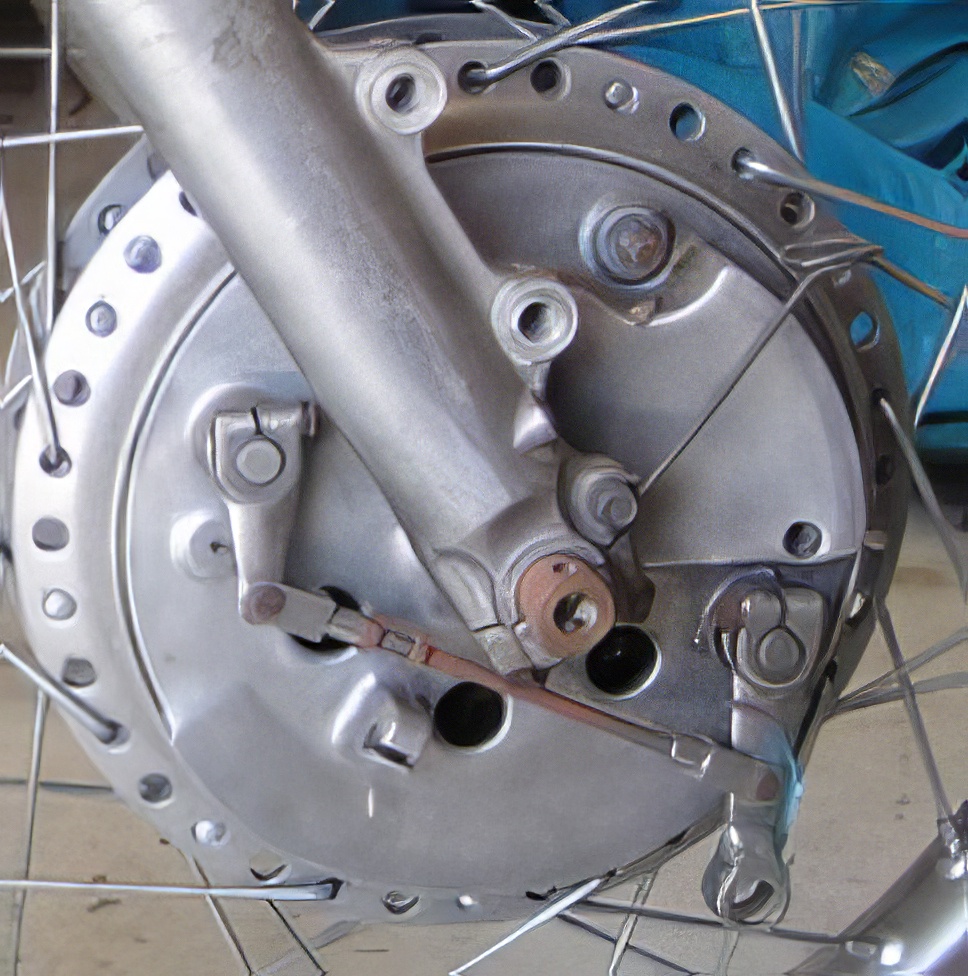
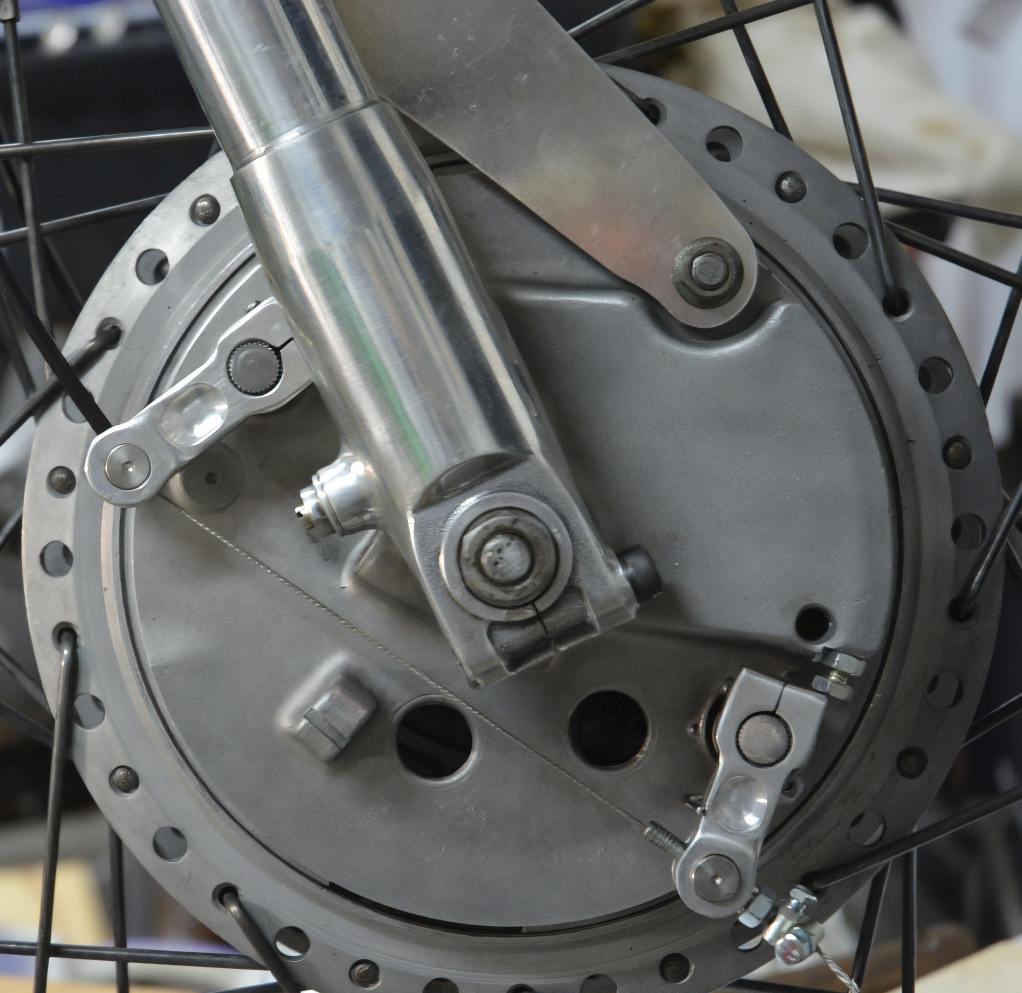
These levers were to replace the OEM steel levers which use an adjustment system that I have never liked, with a balanced cable system.
OEM linkage
New levers and preferred linkage
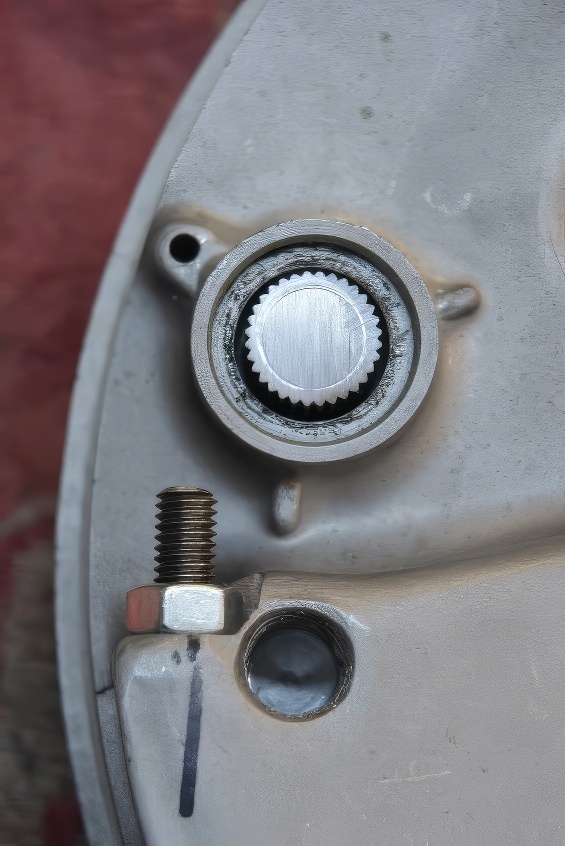
These have to fit the splined shafts which actuate the cams.
The splined end
The working end
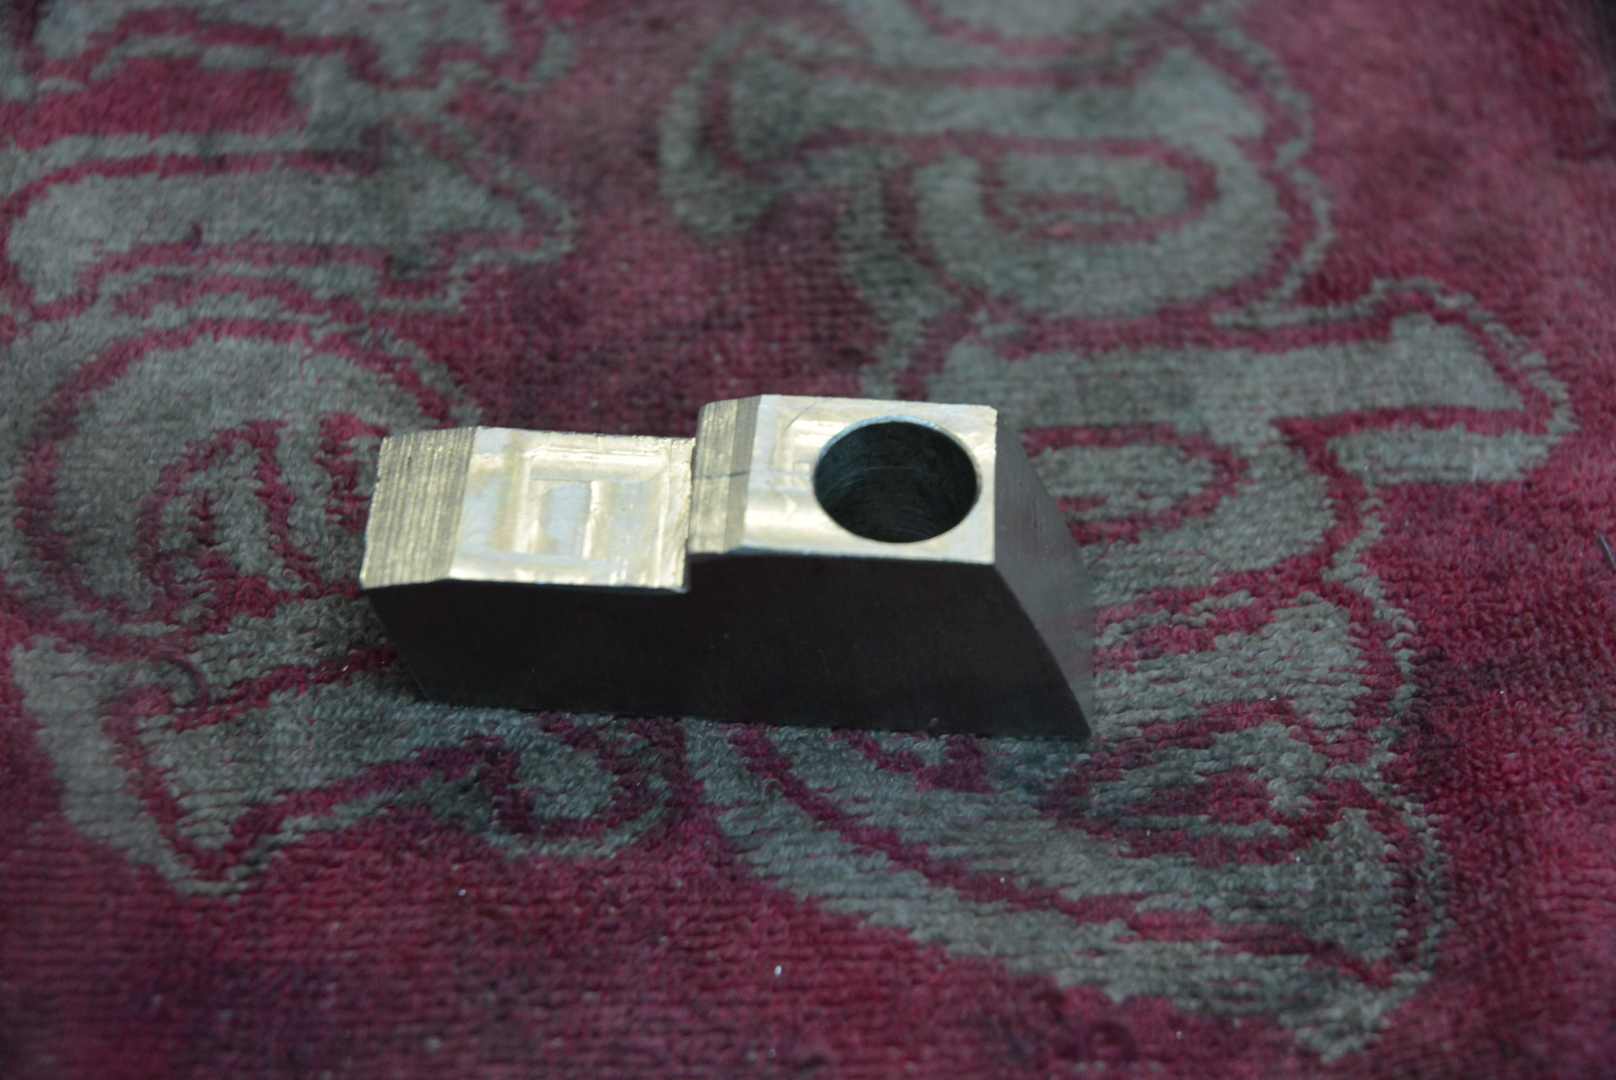
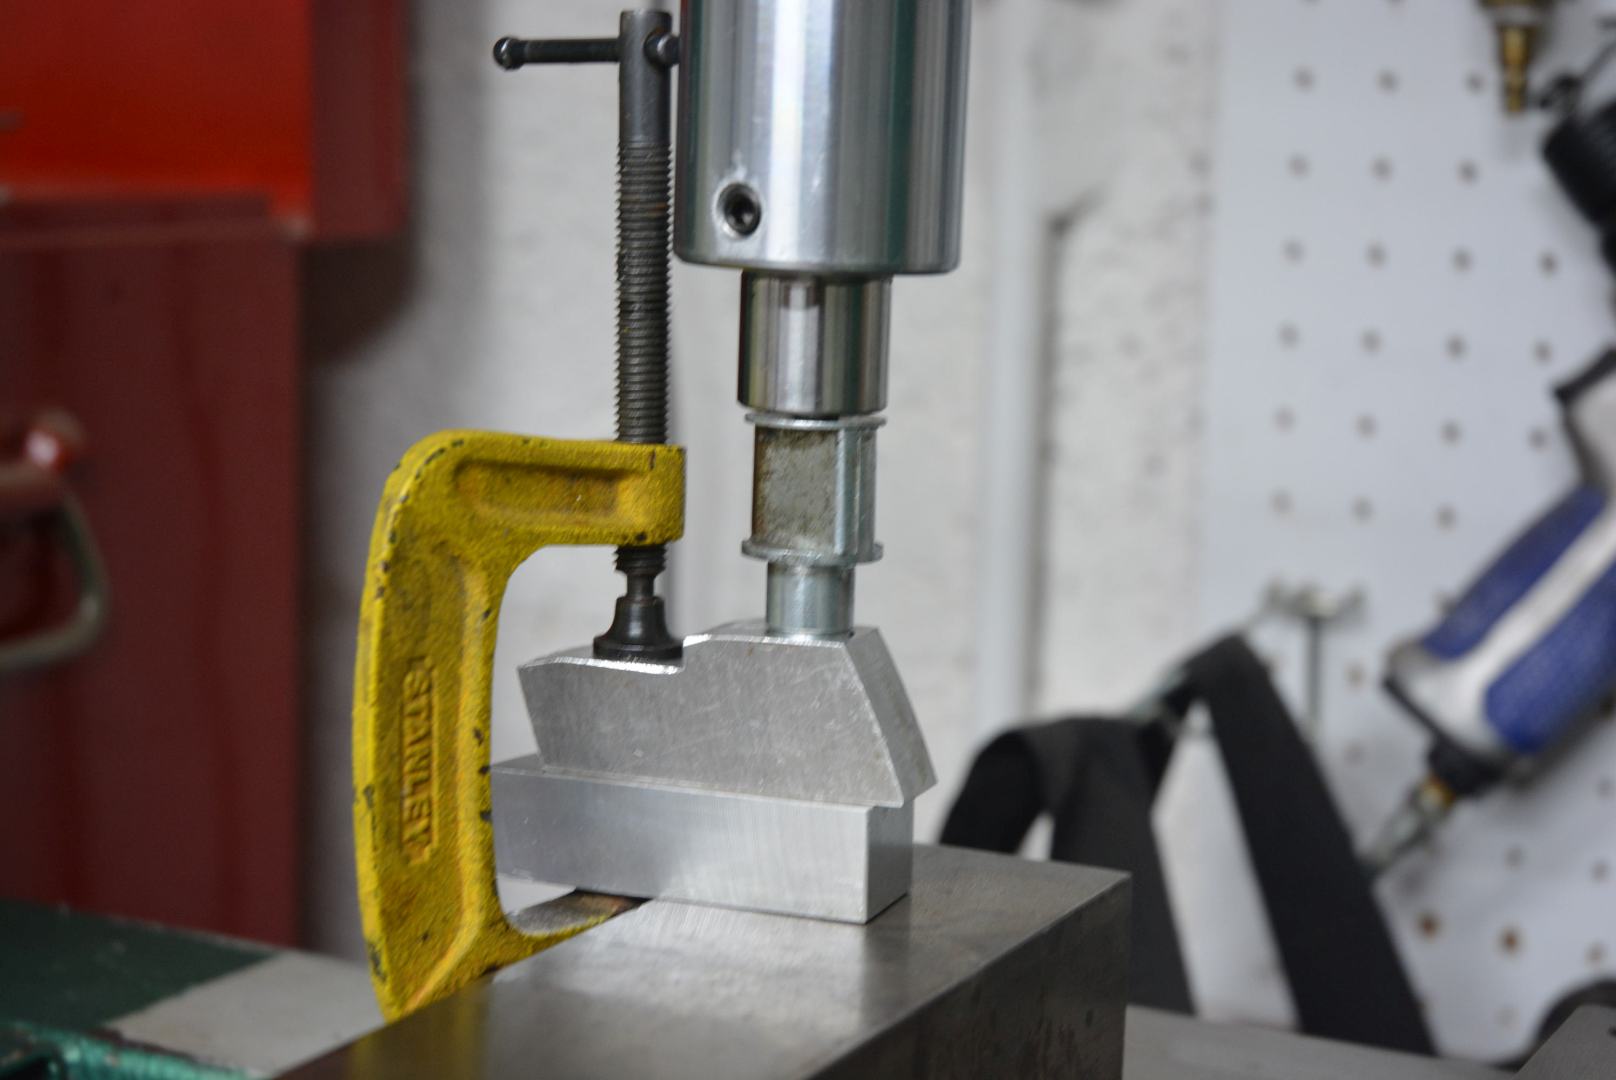
Unfortunately, I did not have a spare shaft to modify as per the gear change levers described above. My only option was to square off the splined end of one shaft to give cutting edges but would leave the shaft usable. Without an alignment pilot to guide the broach I had to improvise an alternative alignment method. With a piece from the scrap box I faced off the bottom and drilled a hole true to that surface. This hole was a nice sliding fit over the shaft. I made a stepped shaft to align that hole over the smaller hole in the workpieces and used a small G clamp to hold it in place. This gave me the broach alignment that I wanted.

I followed the same procedure as with the gear change lever, i.e. first pass with no clamping, second pass clamped up a little. All four levers were an easy but not loose fit on the shaft that I used as the broach. Then Murphy struck. None of the levers would fit on any of the other three shafts. A quick measure showed that the splines on the shafts all had different ODs, and I had randomly picked the smallest one for the broach. One was 0.2 mm larger, the other two being 0.15 and 0.1mm. I could have broached all of the levers with the largest shaft but that would have made them too sloppy a fit on the smallest shaft. I did not want to do it but I had no choice but to use all the shafts as broaches for one particular lever each and mark them for assembly. That works but I really did not expect to have to resort to selective assembly.
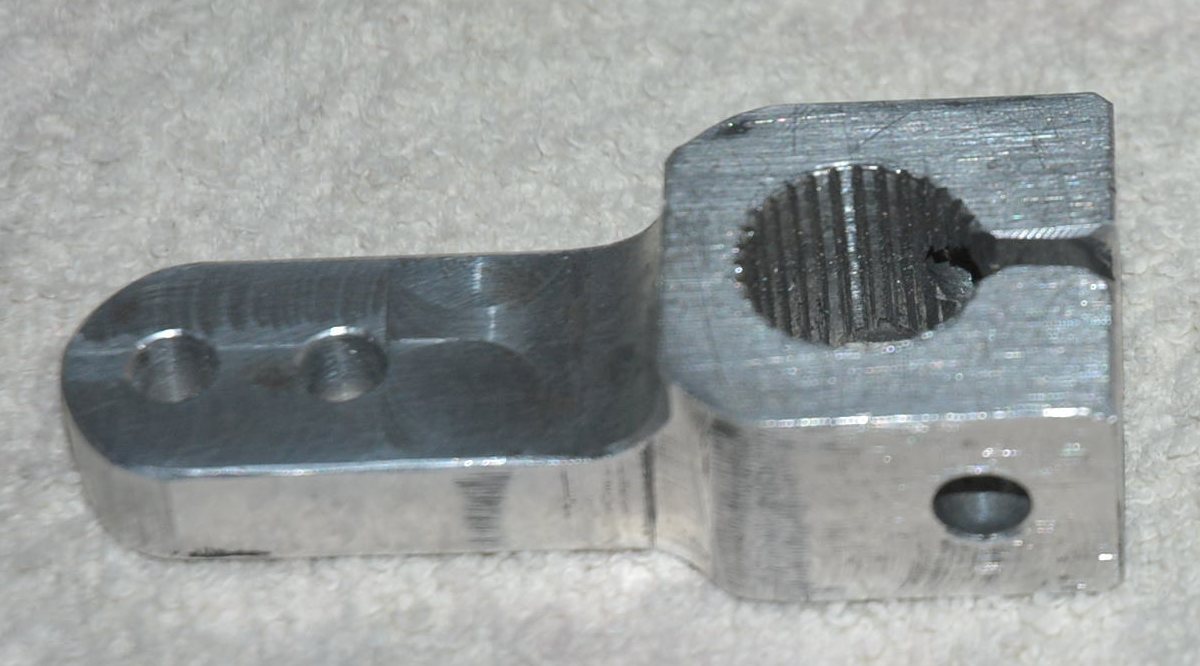
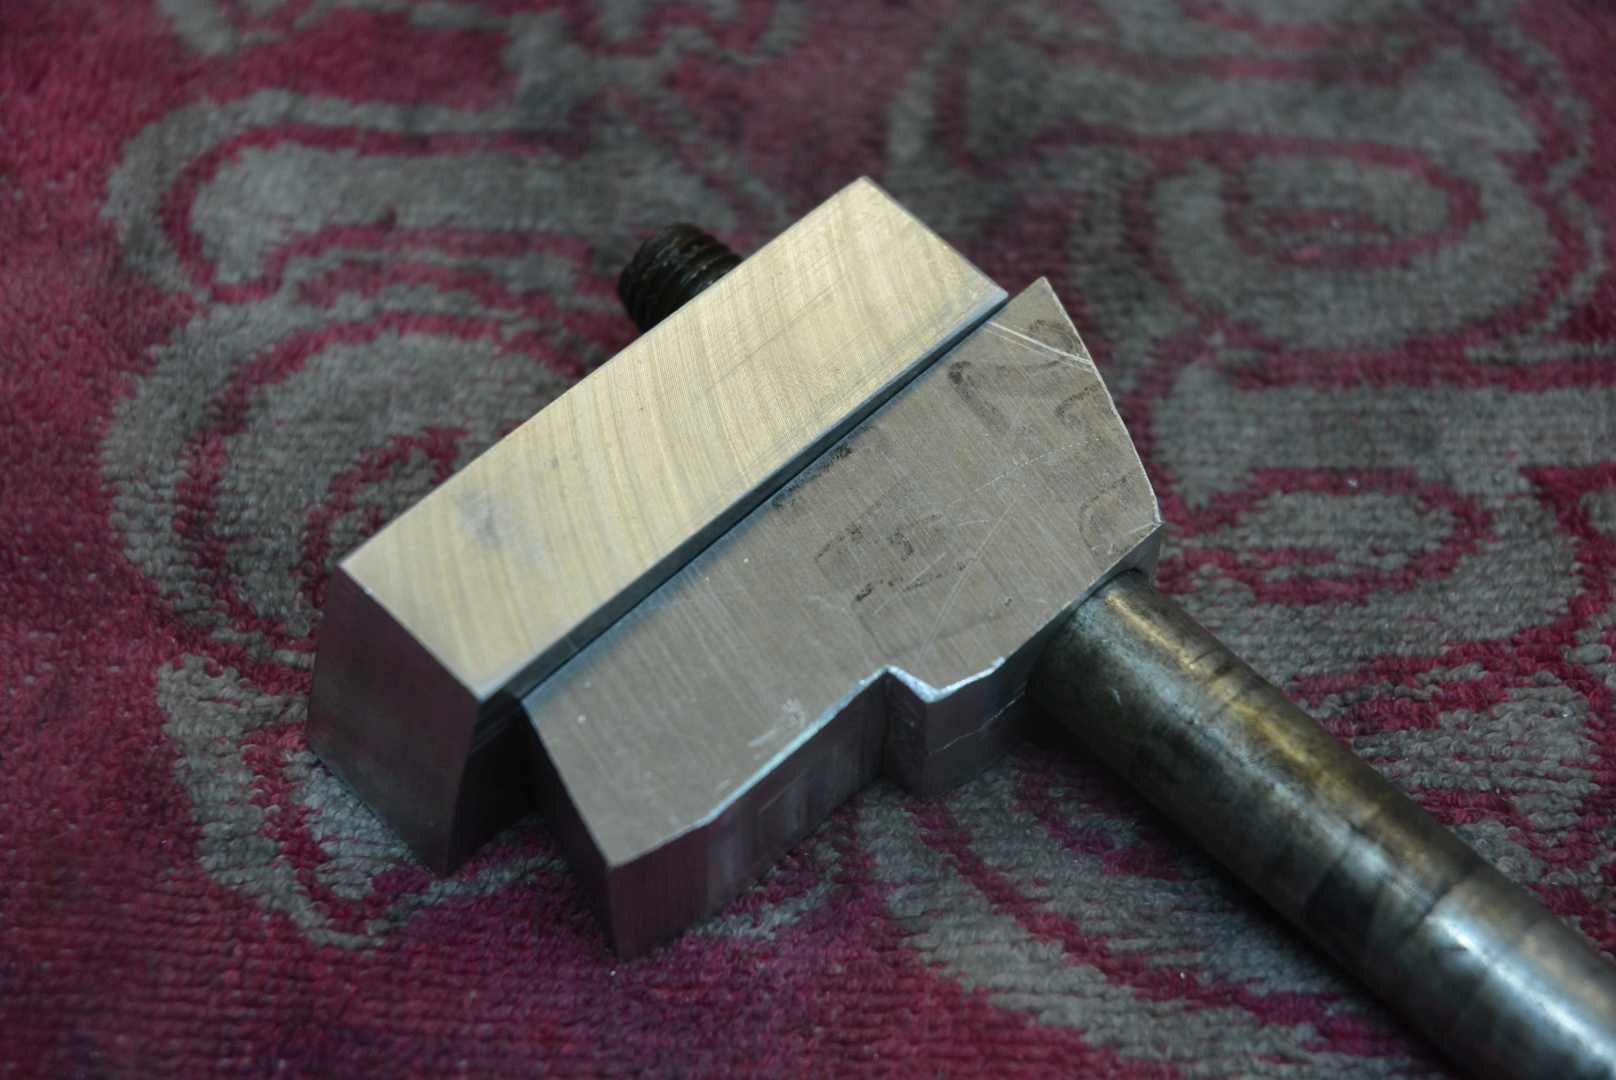
Pressing the improvised broach through the lever.
Although somewhat fiddly and time consuming the total time taken was less than it would have taken had I resorted to making a decent broach with hardened stepped teeth for ease of cutting. Firstly, there would have been the time spent measuring the spine shape, then grinding a tool to cut the splines in the broach. I would have still had to deal with Mr. Murphy and the different diameter shaft splines. Sometimes the crude methods work out well. The only thing that I would change in the procedures would be to cut that groove in the gear change broach to give space for the swarf. Although I had made several splines over the decades that was the first for which I used a pilot and without that the swarf would just drop out.
Here are some miscellaneous photos of making the levers


 Reply With Quote

Bookmarks